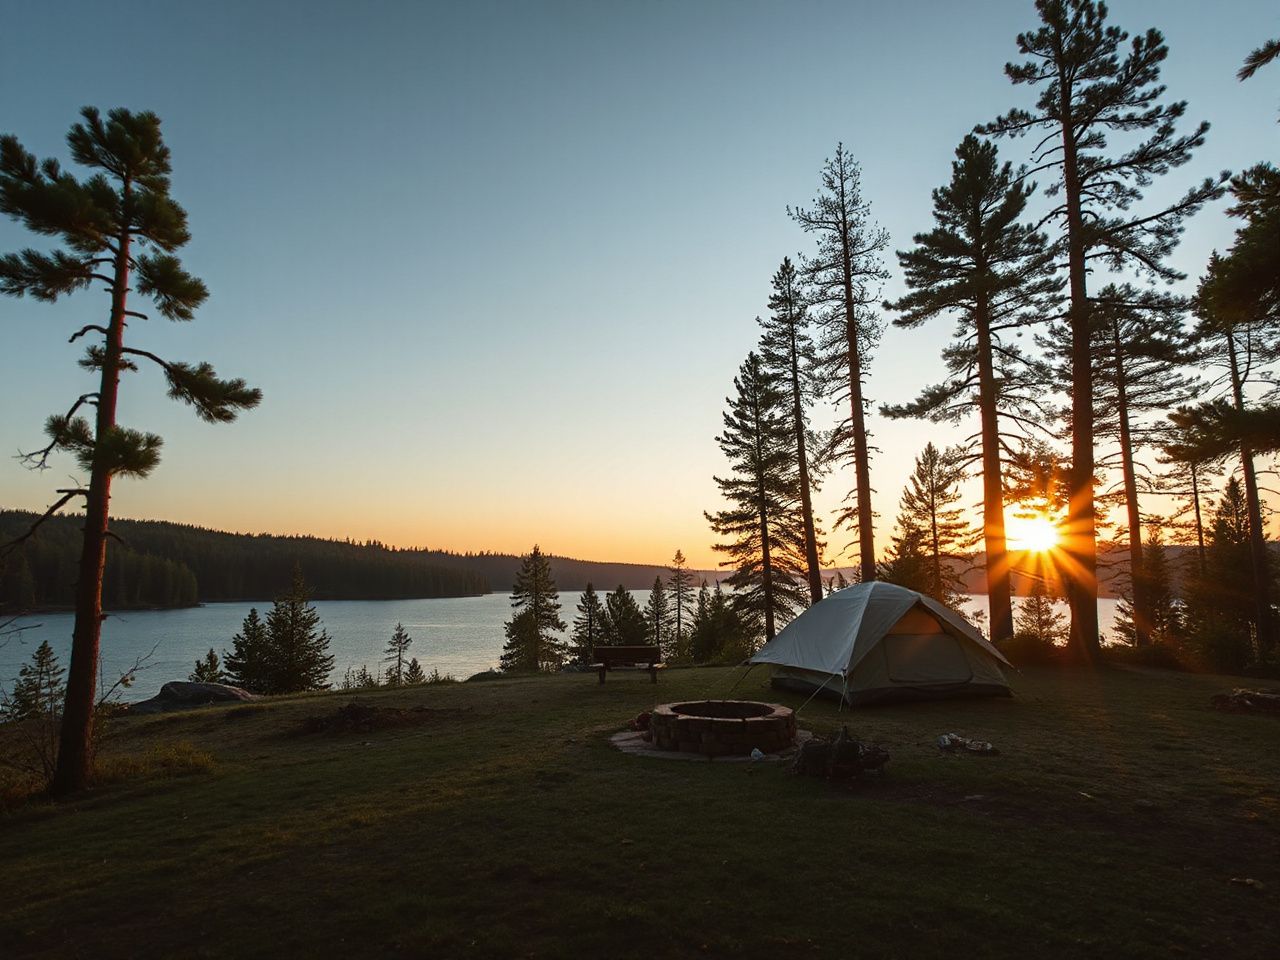
Overnight Packing Checklist: The Step-by-Step Guide
Contents
Do you actually need all that gear for one night under the stars? Most riders and hikers overpack because they fear being uncomfortable, but carrying too much makes you more miserable than a little chill ever will. I focus on a streamlined overnight pack that balances weight and comfort, prioritizing the big three—shelter, sleep, cook—while keeping redundancies minimal. I pack by layers of necessity rather than a shotgun checklist, so you adapt to terrain and season without carrying dead weight. This overnight packing checklist reflects that approach, and it starts long before you stuff the first item into a bag.
Key Takeaways
- Check the forecast first and pack for nighttime temperatures 10°F lower than the predicted low.
- Prioritize the big three—shelter, sleep, and cook system—while keeping food storage and water purification non-negotiable.
- Carry at least 2 liters of water per person plus a purification method, and never rely on a phone light as your primary headlamp.
- Organize your pack so rain gear and a headlamp are reachable in seconds, and test your stove before leaving the driveway.
Check the Forecast First, Then Build Your Layers
Weather drives every packing decision. A 40°F forecast at valley level can turn into 25°F on a ridge at night, and mountain microclimates laugh at phone-app predictions. Before you touch a stuff sack, pull up the National Weather Service forecast for the exact elevation you plan to camp at, not the nearest town. If you are riding a motorcycle to the trailhead, the wind chill on the ride home matters too; the principles in my guide to packing light for a cycling weekend translate directly to motocamping, just with more engine vibration and fewer pannier options.
Why the 10°F Cushion Matters
Forecasts are averages, not guarantees. A cold front can drop overnight lows by 15 degrees without warning, and valley fog traps cold air in ways that inversion models miss. The rule is simple: pack for a nighttime temperature 10°F lower than the predicted low. If the forecast says 38°F, assume 28°F and bring a sleeping bag rated accordingly. A sleeping bag rated to 0°F might be overkill for a 40°F night, but packing for 30°F instead of 40°F gives you a safety margin without adding much weight.
Layering Your Clothing for Temperature Swing
You need three clothing layers regardless of season. The base layer wicks sweat and should be merino wool or synthetic—never cotton, which holds moisture and chills you. The mid layer traps heat; a lightweight fleece or puffy works for most overnighters. The outer layer blocks wind and rain, and it must be waterproof, not water-resistant. A single garbage bag can work as an emergency poncho, but a dedicated rain shell weighs less than a pound and saves a trip. For a deep dive into layering logic that applies to any trip, my piece on clothes for cruise women uses the same three-layer system for a completely different environment.
Rain Gear Always Belongs in the Pack
Even with a zero-percent chance of precipitation, bring rain protection. A surprise shower at 3 a.m. without a rain fly or jacket turns a comfortable night into a shivering one. Pack a lightweight rain jacket and rain pants, or at minimum a poncho that covers your pack. Rain gear weighs under a pound combined if you choose wisely, and it doubles as a wind shell during exposed climbs.
The Big Three: Shelter, Sleep, and Pack
These three items consume most of your pack weight and volume, so they deserve the most scrutiny. For a single night out, you can use lighter gear than a multi-day expedition—but not so light that you compromise safety in unexpected weather.
Shelter Choice for a Single Night
What is the lightest tent you can get away with without compromising safety? For one night on a budget, a single-wall trekking-pole tent or a simple bivy sack plus tarp works if you know the weather will be mild. But if there is any chance of wind or rain, a double-wall tent with a full-coverage rain fly is the safest lightweight option. Look for a tent made of ripstop nylon with a waterproof rating of at least 1,500 mm. Weight matters, but a 2-pound tent that collapses in a storm is worthless. Are expensive ultralight tents worth it for occasional overnighters? No—spending $500 on a tent you use twice a year is unnecessary. A $120 to $180 two-person tent weighing under 4 pounds handles 90% of overnight conditions.
Down vs. Synthetic: A Practical Decision
Down sleeping bags are lighter and compress smaller, but they lose almost all insulation when wet. Synthetic bags are bulkier and heavier, but they retain warmth even when damp. For budget overnighters in dry climates, down is fine if you protect it with a dry bag. For humid or coastal trips, synthetic is safer and cheaper. If you buy down, look for RDS-certified down, which ensures the birds were not live-plucked. The European Committee for Standardization publishes the EN 13537 standard used to rate sleeping bags, and the comfort limit on the label is the temperature at which a cold sleeper will stay warm—pack to at least 10°F below that number.
How to Compress a Sleeping Bag Without Damaging It
Stuff the sleeping bag into its stuff sack foot-first, letting the air escape naturally as you push. Do not roll it tightly; compression sacks with straps let you cinch it down smaller, but over-compressing for weeks at a time breaks the synthetic fibers or down clusters. For an overnight trip, a 10-liter stuff sack is enough. A Sea to Summit Ultra-Sil Dry Sack works as both a stuff sack and a waterproof barrier, though any dry bag with a roll-top closure does the job for a fraction of the cost.
Pack Size and Fit
For one night, a 40- to 50-liter backpack is plenty. Sixty liters means you are carrying space you will fill with things you do not need. The pack should sit on your hips with the shoulder straps just snug enough to keep it stable. If you are on a motorcycle, compress the pack down and strap it to the luggage rack—do not wear it while riding, because a backpack shifts your center of gravity and can break your spine in a crash.
Cooking and Water Without the Bulk
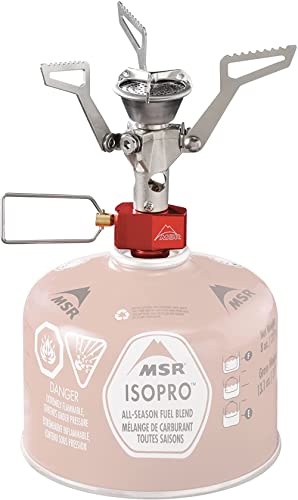
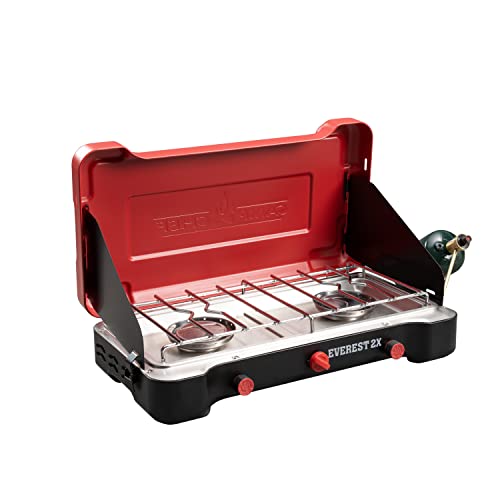
You need hot food and clean water, but you do not need a full kitchen. A single titanium pot, a canister stove like the MSR PocketRocket, and a long-handled spoon cover 95% of overnight meals. Skip the frying pan, the second pot, and the French press.
The Minimal Cook Kit That Still Feeds You
A titanium cookset costs more than aluminum, but it weighs less and lasts indefinitely. Titanium does not corrode, and soot buildup wipes off with a damp cloth—there is no need to replace a titanium stove or pot unless you physically damage it. Test your stove before leaving. A broken ignition wastes time and compromises your meal, and if the piezo igniter fails, you need a backup lighter or matches. Carry one fuel canister with at least 30 grams of fuel remaining for a simple boil-and-eat dinner and a hot breakfast.
Water: Carry Enough, But Don’t Skip Purification
The CDC’s backcountry water treatment guidelines list boiling, filtration, and chemical disinfection as reliable methods. For an overnight, carry 2 liters from home if you know there is no water at camp. If natural water exists, carry 1 liter and a filter or tablets. A CamelBak hydration bladder makes it easy to drink while hiking but is harder to fill and clean; a 1-liter Nalgene bottle plus a collapsible 2-liter bladder is the budget-friendly combo.
Food Storage in Bear Country: Even One Night Counts
You are in wildlife territory the moment you pitch a tent. Store all food, trash, toiletries, and even lip balm in a bear canister like the BearVault BV450 or hang it properly from a tree at least 10 feet off the ground and 4 feet from the trunk. Raccoons and mice will raid a poorly hung bag; a bear will destroy a tent to get at a granola bar. The National Park Service bear safety page explains the specifics for your region, but the rule is simple: if it has a scent, it goes in the canister—even for one night.
Clothing Layers for Temperature Swings
You already know the three-layer system, but the details matter. Pack clothes that dry fast, pack small, and serve double duty. A single merino wool base layer can be worn for 24 hours without stinking, which means you do not need a second one for one night.
The Three-Layer System for Overnighters
Base layer: one merino or synthetic top and bottom. Mid layer: a lightweight fleece or 100-gram synthetic puffy. Outer layer: a waterproof-breathable jacket and pants. Add a warm hat, a pair of liner gloves, and two pairs of socks—one to wear, one to keep dry. Avoid cotton in any layer. Your sleeping bag can double as your camp insulation, so you do not need a separate down camp jacket for an overnighter.
Where to Stash Rain Gear and Headlamp for Quick Access
Store your rain jacket in an outside pocket or the top of the pack where you can grab it without opening the main compartment. The headlamp goes in the hip belt pocket or around your neck on a lanyard. If a squall hits at 2 p.m., you need rain gear in 10 seconds, not 90. Use color-coded dry sacks—red for rain gear, yellow for first aid, blue for food—so you can identify them by touch in the dark. A Sea to Summit Ultra-Sil Dry Sack weighs under an ounce and keeps critical items dry even if your pack leaks.
Safety and Navigation Gear for One Night Solo
Even a single night solo requires the same safety baseline as a week-long trip. You cannot call for help if your phone dies, and a twisted ankle two miles from the trailhead becomes an emergency without a plan.
The Headlamp Rule: Never Rely on Your Phone
Bring a dedicated headlamp with spare batteries. A Petzl Tikka runs for 60 hours on low and weighs 3 ounces, but any headlamp with a red-light mode works. Your phone light drains battery fast, and you need that battery for navigation or emergency calls. Keep the headlamp in a pocket you can reach while wearing gloves.
Solo Safety Basics: First Aid, Navigation, and a Check-In Plan
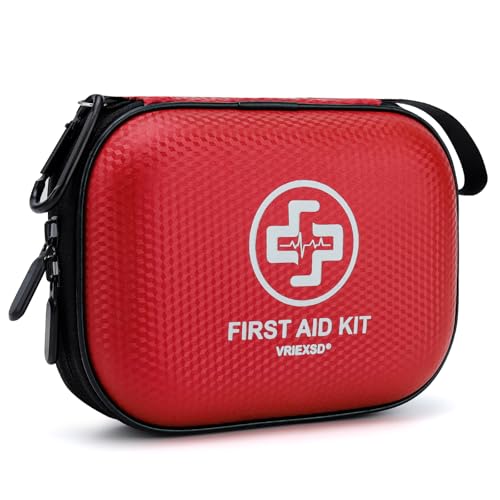
Carry a small first aid kit with bandages, antiseptic wipes, painkillers, and any personal medication. A Leatherman Wave multi-tool handles gear repairs from broken zippers to loose screws on a motorcycle rack. Bring a physical map and compass even if you use GPS—the compass weighs nothing and never runs out of battery. Tell someone exactly where you are going and when you will return. Leave no trace: pack out all trash, bury human waste 6 to 8 inches deep at least 200 feet from water, and minimize fire impact.
Pack Organization and Final Checks
How you pack matters as much as what you pack. Heavy items close to your back, frequently used items on top, and nothing rattling around loose.
Packing Order: Where Everything Goes
Bottom of pack: sleeping bag in a dry sack, tent body and fly in a separate sack. Middle: food in a bear canister, cook kit, fuel canister. Top: clothing layers, rain gear, first aid, headlamp. Outside pockets: water bottle, map, snacks, multi-tool. If you are on a motorcycle, keep the heaviest items in saddlebags or a tank bag, not on your back.
The Five Things Everyone Forgets
- Lighter or matches—your stove’s piezo igniter fails, and you have no backup fire source.
- Toilet paper and a trowel—a smooth rock works, but only if you have no dignity.
- Sunscreen and insect repellent—one hour of exposure at altitude burns faster than you think.
- Duct tape and repair patches—a torn tent fly or sleeping pad leak ends a trip without a quick fix.
- ID, insurance card, and cash—if you need a ride out, you need identification and payment.
The Pre-Trip Shakedown
Before you leave the house, do a full pack test. Set up the tent in the yard, fire the stove, check the headlamp batteries, and weigh the pack. If it weighs over 25 pounds for an overnighter without water, you are carrying too much. Remove one non-essential item for every pound over. Test the stove one more time, then go. The best overnight packing checklist is the one you actually use, and after a few trips, it becomes second nature.
Frequently Asked Questions
What’s the minimum water I should carry for an overnight trip?
Plan for at least 2 liters per person for drinking, cooking, and hygiene. If you have access to a reliable water source, you can carry 1 liter and treat the rest with a filter, chemical tablets, or boiling. Never assume a stream is safe without purification—giardia and cryptosporidium are invisible and common in backcountry water.
Is a down sleeping bag always better than synthetic for one night?
No. Down is lighter and packs smaller, but it loses insulation when wet. Synthetic bags are bulkier and heavier but keep working when damp. For dry climates, down is fine if you protect it with a dry bag. For humid, coastal, or rainy trips, synthetic is the safer and cheaper choice. Check the EN 13537 comfort rating and pack for 10°F below the predicted low.
How do I keep my food safe from bears on a quick overnight?
Use a bear canister or hang your food properly, even for one night. Store all scented items—food, trash, toothpaste, deodorant—inside the canister, placed at least 100 feet from your tent. Hang it 10 feet high and 4 feet from the trunk if using the hang method. Raccoons and mice are just as dangerous to your food bag as bears, and a canister stops them all.
Do I really need a dedicated headlamp, or is my phone enough?
You need a dedicated headlamp with spare batteries. A phone light drains your battery fast, and you need that battery for emergency calls and navigation. A headlamp keeps your hands free for setting up camp, cooking, or fixing gear in the dark. Any lightweight headlamp with a red-light mode works for an overnighter, so do not skimp on this one item. A solid overnight packing checklist always includes a headlamp, not just a phone.