RV Essentials for Beginners: What You Actually Need
Contents
RV setup rewards careful preparation.
RV essentials for beginners are easiest to understand when equipment is separated into two groups: items needed to connect and operate the RV, and convenience items that can wait. Each item makes more sense at the campsite task where it is used. Leveling, stabilizing, chocking, and supporting the RV also need separate treatment because they prevent different problems. That distinction matters just as much at a low-cost BLM campsite as it does at a full-hookup campground.
This guide starts with the gear that affects water, waste, electricity, movement, and basic safety. It leaves storage extras and comfort upgrades until the core systems are clear. For broader camp planning, the Camping Essentials For Beginners guide can sit alongside this more RV-specific checklist.
Key Takeaways
- Match every hose, cord, adapter, and regulator to the RV and campsite connection.
- Wheel chocks stop movement, while leveling blocks, stabilizers, and support equipment do different jobs.
- Black-water, gray-water, freshwater, shore power, and the house battery need separate routines.
- Safety checks before driving, connecting utilities, and sleeping inside prevent avoidable problems.
Beginner essentials: start with the systems
The first trip does not require a fully outfitted outdoor living room. It requires a way to keep the RV stationary, connect safely to available utilities, manage waste, and leave the campsite without forgetting an open valve or loose cable.
Step 1: Identify the RV before choosing equipment
Begin with the owner’s manual and the labels around the RV connections. Write down the electrical connection type, water inlet arrangement, tank controls, propane shutoff location, battery location, and the equipment needed for towing or driving. A connector that looks close enough may still be unsuitable, so matching the actual RV connection is more useful than buying by appearance.
RV types vary in layout and operating method. A Class A motorhome combines the living quarters and driving compartment in one solid body structure, while travel trailers, fifth-wheel trailers, truck campers, and pop-up trailers are also RVs but use different towing or support arrangements. Smaller pop-ups and travel trailers are typically under 18 feet (5.5 m), while mid-range travel trailers can measure 18 to 25 feet (5.5 to 7.6 m) and may reach 5,000 pounds (2,300 kg) or more.
Those figures are not a substitute for checking the vehicle and trailer labels. A compact economy car may tow a lightweight pop-up trailer under 700 pounds (320 kg), but that does not establish what any particular car can tow. Use the vehicle and trailer documentation for the actual limit.
Step 2: Separate required gear from later convenience items
For a first campsite, put the following in the required group:
- Wheel chocks for preventing movement.
- Leveling blocks for correcting side-to-side or front-to-back position.
- Any stabilizer or jack support specified for the RV.
- A freshwater hose made for the RV connection.
- A sewer hose that matches the RV outlet and campsite connection.
- A shore power cord and only the adapters that match both ends.
- A surge protector suited to the RV electrical connection.
- A water pressure regulator for the freshwater hookup.
- A basic toolkit that fits the fasteners and access panels on the RV.
- Working propane, smoke, and carbon monoxide detectors.
Storage bins, outdoor mats, extra seating, decorative lights, specialty cooking gear, and large comfort items can wait. An item that improves convenience cannot compensate for a missing chock, an incompatible electrical connection, or an unprotected sewer joint.
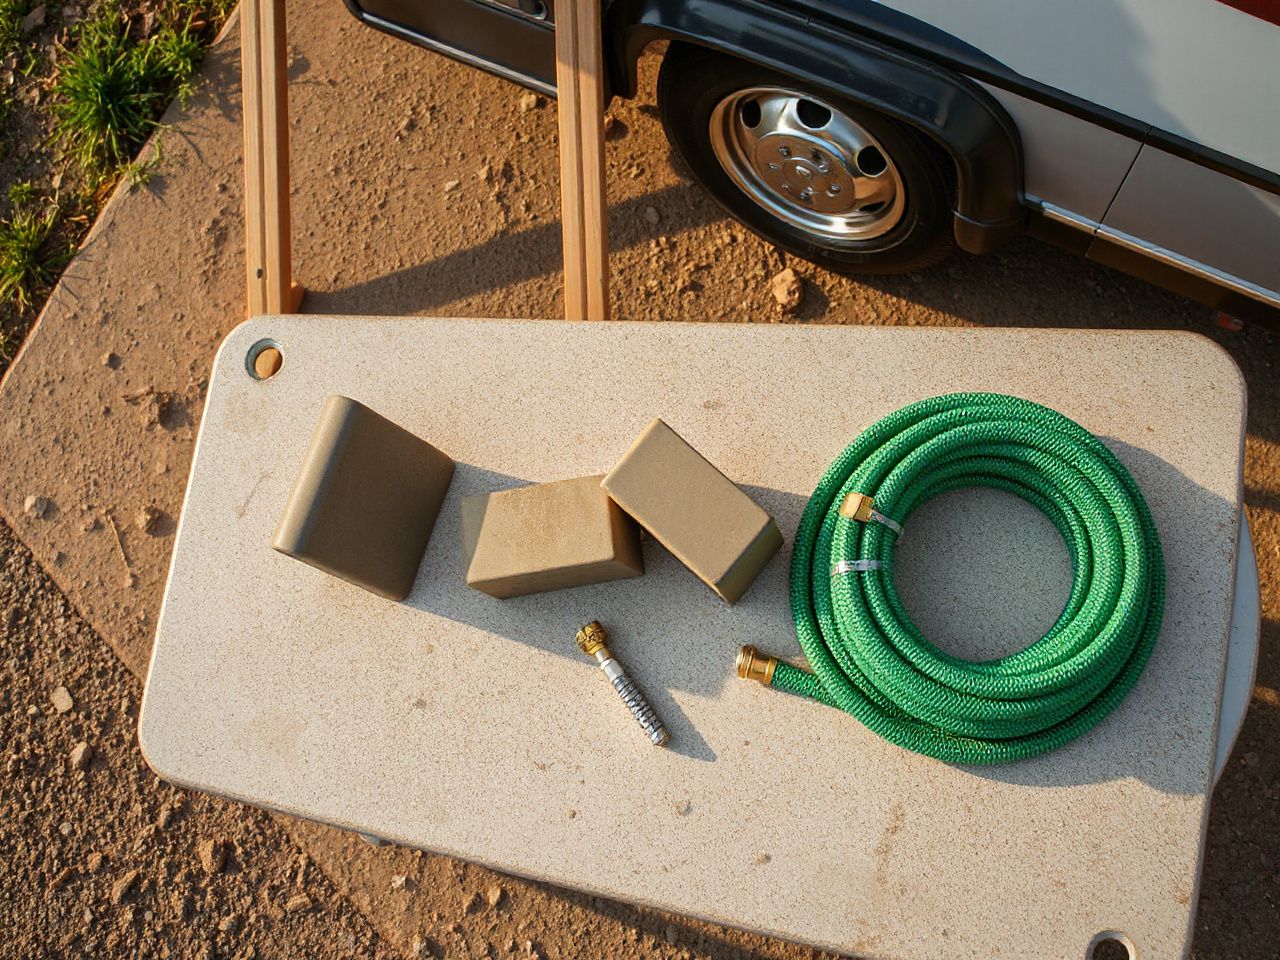
RV essentials for beginners at the campsite
Step 3: Chock, level, stabilize, and support in that order
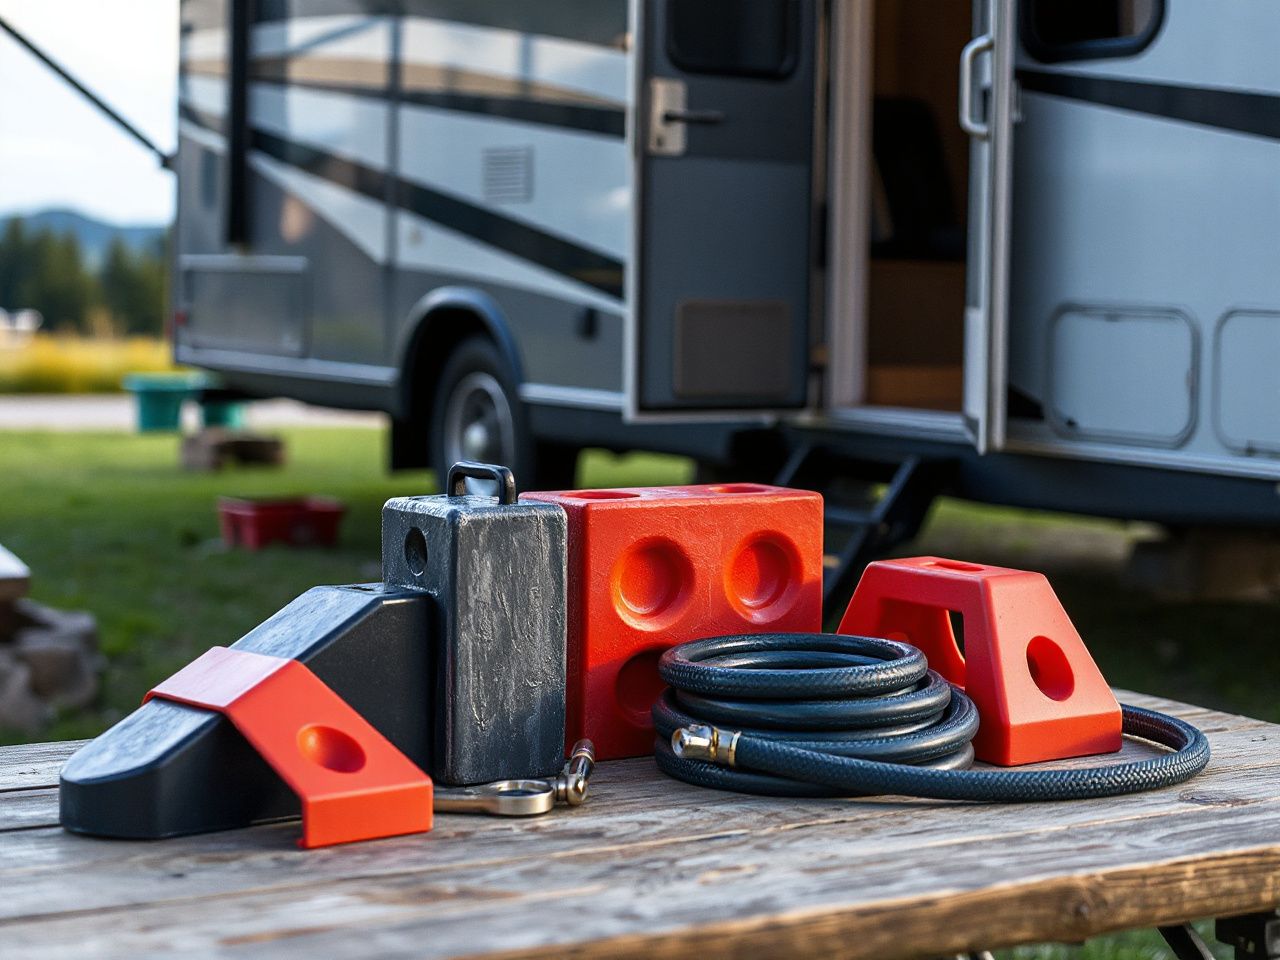
Wheel chocks help prevent the RV or trailer from moving. Chocks do not level the RV, replace stabilizers, or carry the same supporting role as equipment designed for the RV’s jack or trailer jack.
Leveling blocks raise selected wheels or contact points so the living space and appliances sit closer to level. Stabilizers reduce movement after the RV is positioned, but they are not a reason to lift the entire RV beyond the method allowed by the manufacturer. Support equipment carries or steadies a designated point; it is not interchangeable with a chock or a leveling block.
Leveling blocks correct the RV’s position, while wheel chocks resist movement after parking. Confusing those jobs can leave a trailer secure but tilted, or level but able to roll.
- Choose the parking position with the least risky slope and enough room for the utility connections.
- Apply the parking brake or towing setup required by the vehicle and RV instructions.
- Place wheel chocks before disconnecting a trailer or relying on the RV’s support equipment.
- Use leveling blocks where the RV needs correction, following the manual’s placement instructions.
- Deploy stabilizers or designated supports only after the RV is positioned and chocked.
- Walk through the interior and check doors, cabinet movement, and the feel of the floor before extending slides or setting up camp.
Some trailer jack blocks list a capacity of up to 10,000 lbs. That capacity belongs to the stated block and its intended use; it does not mean every jack, frame, support point, or RV can carry that load. Read the rating on the actual equipment and compare it with the RV documentation.
Step 4: Connect freshwater without guessing
A freshwater hose carries water from the campsite connection or an approved source to the RV. It should be made for that use and should match the RV inlet, rather than being replaced casually with an ordinary household garden hose. The reason is practical: an unsuitable hose may create contamination concerns, fit poorly, or make the connection difficult to control.
A water pressure regulator sits between the campsite supply and the RV when the RV instructions call for one. The regulator helps keep incoming pressure within the range the RV system is designed to handle, but the correct setting must come from the RV manual or regulator instructions rather than a guessed figure.
Connect the freshwater hose with the RV water pump and interior taps handled according to the manual. Open the supply gradually, inspect each joint, and listen for water movement after the taps are closed. A pump that cycles with no tap open, a damp connection, or water appearing inside a cabinet deserves attention before the system is left unattended.
A freshwater tank lets the RV carry water when no campsite supply is connected. A city-water connection feeds the plumbing from outside, while the pump draws from the tank when the system is arranged for onboard water. The exact valve positions vary, so the diagram in the manual matters more than a generic campsite routine.
Use a water filter only if its instructions and the RV water system support that arrangement. The FDA publishes food and water safety information, and its guidance is a better reference for drinking-water concerns than an informal assumption about a hose, tank, or campsite tap.
Step 5: Treat gray water and black water differently
Gray water comes from sinks and showers. Black water comes from the toilet and requires more careful handling because it contains toilet waste. The tanks, valves, and cleaning routines should not be treated as one shared system.
At a full-hookup site, connect the sewer hose to the RV outlet and the campsite connection only after confirming that both ends fit and can remain secure. A sewer hose support can help maintain a controlled slope and reduce low spots, but it does not repair a damaged hose or make a loose connection safe.
Keep the black-water valve closed until the tank is ready for the dumping procedure described by the RV manufacturer. Leaving that valve open continuously can allow liquid to drain while solids remain, which can contribute to a difficult tank condition. The gray-water valve also needs deliberate handling; opening it casually may expose the campsite connection to an unexpected discharge.
A black-water tank should be managed as a separate waste system, while a gray-water tank collects sink and shower drainage. Tank sensors can show a wrong reading because residue may remain on the sensor area, so a displayed level should be checked against the tank routine and other signs rather than treated as perfect.
If a sewer connection leaks, stop the flow, close the relevant valve, and keep people away from the contaminated area. Wear the protective equipment specified by the RV manual, clean the affected area according to the instructions for the material, and replace a damaged hose or seal rather than trying to solve a poor fit with makeshift tape.
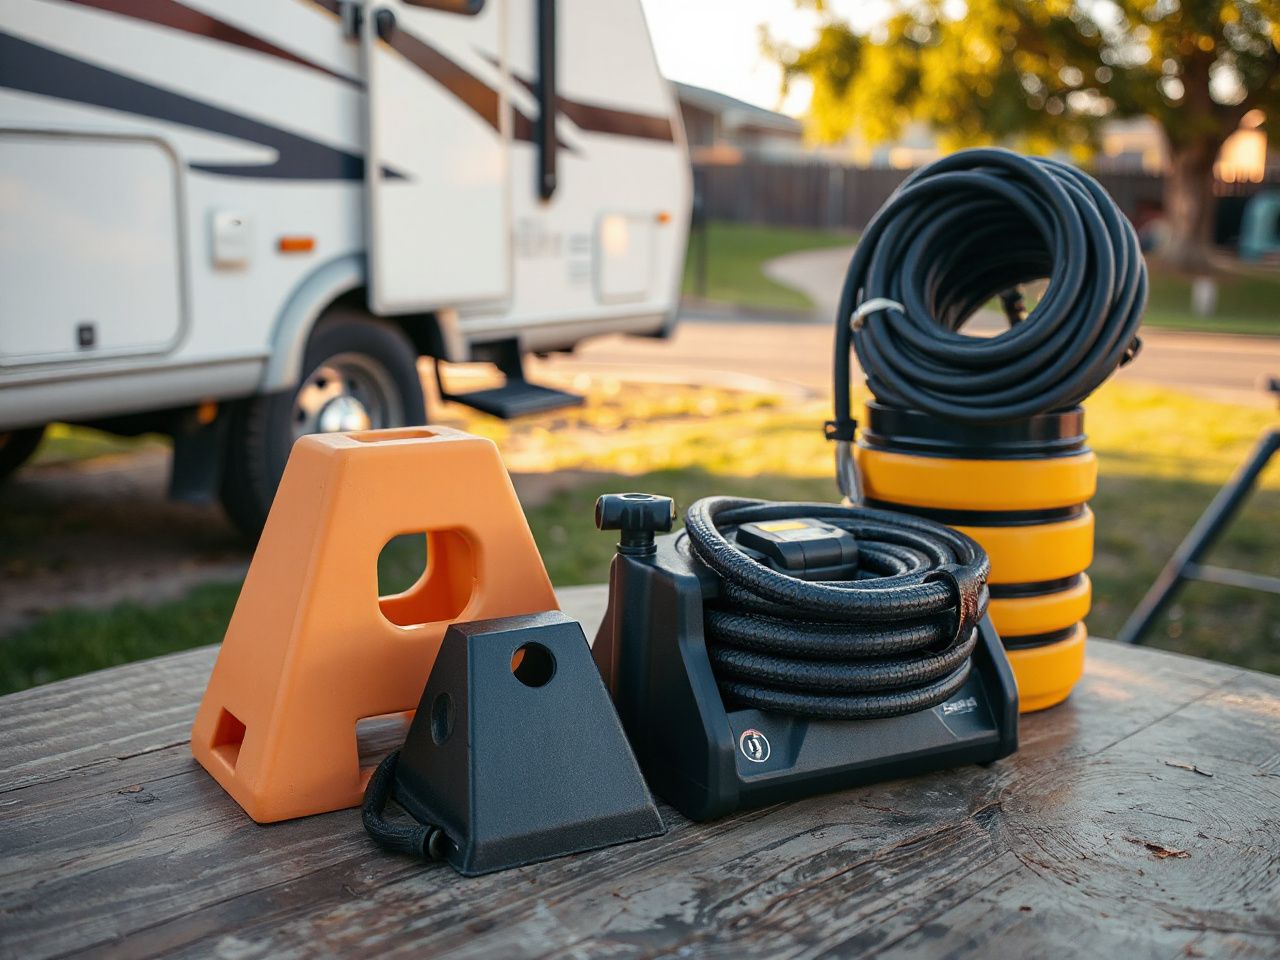
Electrical essentials and the hidden battery drain
Step 6: Make the shore-power connection methodical
Shore power supplies the RV from the campsite electrical connection. The converter changes incoming power for parts of the RV system and can charge the RV house battery according to the design of the RV. The battery then supports selected functions when shore power is absent, so these parts work together rather than as isolated accessories.
Switch RV appliances off before making the connection. Confirm that the shore power cord and any adapter match the RV and campsite connection, inspect the cord for visible damage, connect the surge protector as directed, and then connect the RV. Reverse the process before departure, with appliances off and the campsite supply handled as the instructions require.
An ordinary extension cord may be unable to handle the RV’s electrical demand or may not fit the intended connection safely. A household power strip is not a substitute for equipment designed for the RV electrical system. Use only connections approved by the RV documentation and the equipment instructions.
A surge protector helps monitor or guard against certain electrical problems, but it does not increase the capacity of a campsite connection. The RV should remain within the capacity stated for its electrical system, and a tripping breaker is a reason to reduce the load and investigate rather than repeatedly reset it.
The CPSC provides safety information about electrical, smoke, and carbon monoxide hazards. Its guidance belongs in a pre-trip safety routine because electrical mistakes can affect both equipment and occupants.
Why the house battery loses power while everything seems off
The RV house battery can lose charge even when obvious appliances are switched off. Battery monitoring, control boards, detector circuits, standby electronics, and other connected systems may still draw power, depending on the RV design.
Start with the battery display and the manual’s shutdown procedure. Check whether the RV is connected to shore power, whether the converter is operating as described, whether a battery disconnect is present, and whether any lights, fans, pumps, or control panels remain active. A battery that repeatedly loses power needs inspection of its connections, charging system, and connected loads by a qualified technician if the manual does not resolve the issue.
A house battery can support selected RV functions away from hookups, but it is not a replacement for a properly planned electrical system. Keep the battery area accessible, follow the manufacturer’s care instructions, and do not assume that a silent RV is electrically inactive.
Step 7: Build a safety check before sleeping
Propane appliances require ventilation and functioning propane, smoke, and carbon monoxide detectors. If propane is suspected, shut off the supply if it is safe to do so, leave the RV, and seek help from outside rather than searching for the leak inside.
Check detector status according to the instructions and keep vents clear. The CPSC warns consumers about carbon monoxide dangers and detector safety, so its public guidance is an appropriate reference for alarm concerns rather than relying on smell or a casual visual check.
- Confirm that the propane supply is off or operating as intended.
- Check for the expected detector status and respond to any alarm immediately.
- Keep ventilation openings clear of clothing, bags, and stored equipment.
- Do not operate a propane appliance in a way the manual prohibits.
- Keep an exit path clear before settling in for the night.
Beginner maintenance, departure, and cost control
Step 8: Maintain the systems between trips
Basic RV ownership costs continue after the initial equipment setup. Consumables, campsite fees, fuel, replacement seals, hose wear, cleaning supplies, battery care, propane, storage, and repairs can all add expense. No single checklist can give a meaningful cost total because the amount depends on the RV, travel pattern, hookups, climate, and condition.
Affordable travel comes from matching the trip to the RV rather than buying every accessory at once. A free or low-cost BLM campsite may remove a hookup fee but still requires a water plan, a waste plan, enough battery capacity for the intended stay, and a way to leave no utility connection behind. A budget biker-friendly motel can be sensible on a route where the RV cannot be parked safely, while an adventure lodge may provide rider-focused shelter without turning every night into a resort expense.
For a general family packing reference, the camping list for trips with kids covers personal and camp items that sit outside the RV’s mechanical systems.
Water system care
Follow the RV manual for draining, cleaning, and storing the freshwater tank. Do not leave stagnant water in the system simply because the next trip is soon. Inspect the freshwater hose, filter connections, inlet, pump behavior, and visible plumbing for leaks before departure.
Freshwater equipment needs a clean storage method separate from the sewer hose. A hose that touches the ground or a waste connection should not be handled as though it were a drinking-water connection. Labeling storage bins makes that separation easier at a dark campsite.
Waste system care
After dumping, inspect the sewer hose, seals, bayonet fittings, and campsite connection for leaks or retained waste. Use the cleaning method approved for the RV and tank equipment, and do not assume a sensor reading proves that a tank is clean.
If a sensor stays full after the tank has been emptied, verify the dumping procedure, inspect for residue-related readings, and follow the manual’s cleaning instructions. Repeated false readings or a valve that will not close calls for service rather than force.
Battery and propane care
Inspect visible battery connections for looseness or corrosion only in the manner allowed by the manufacturer. Store and charge the house battery according to the RV instructions, especially during RV cleaning, storage, and winterization.
Propane equipment should be checked according to its instructions, with attention to detector status, supply connections, ventilation, and any unusual odor. A suspected leak is an emergency: leave the RV and obtain qualified help from outside.
Step 9: Close the campsite before driving
Departure is a separate task from arrival. Before moving, walk the entire site and use the same sequence every time:
- Turn off and disconnect shore power with appliances switched off.
- Disconnect the freshwater hose and drain or cap it as the manual directs.
- Close and disconnect the sewer hose, contain it separately, and inspect the outlet.
- Retract awnings, slides, steps, stabilizers, and supports as applicable.
- Remove leveling blocks and wheel chocks only after the RV is ready to move.
- Secure cabinets, doors, loose gear, propane controls, and exterior access panels.
- Check tires, lights, mirrors, hitch or tow connections, and the route around the RV.
Use the same departure routine at a paid campground, a remote BLM site, or a roadside overnight stop. A written checklist is inexpensive, easy to update, and more reliable than trusting memory after a late arrival.
Common beginner mistakes and practical fixes
Using household substitutes
Ordinary hoses, extension cords, improvised adapters, and general-purpose tools may appear familiar but can create contamination, leakage, overheating, or shock hazards when they do not match the RV system. Check the connector, rating, and instructions before use; if the match is unclear, leave the item out until the RV documentation confirms it.
Assuming all campsite hookups work the same way
RV campsite hookups differ in available utilities and connection types. A site may provide electricity without water, water without sewer, or no utility connection at all. Plan the trip around the actual site information and the RV’s onboard freshwater tank, waste tanks, battery, and propane equipment.
Opening every valve at once
Freshwater, gray-water, and black-water controls have different purposes. Label the valves, understand which tank each one serves, and operate one part of the system deliberately while checking for leaks or unexpected flow.
Buying comfort gear before system gear
Storage bins and outdoor accessories are useful after the RV can be safely parked and connected. A basic toolkit, chocks, leveling equipment, compatible utility connections, and working detectors have a stronger claim on limited space and money.
New campers who are also planning walking routes can use Hiking Equipment for Beginners: Essential Gear Explained to keep hiking equipment separate from RV utility gear. That separation prevents the utility bin from becoming a catch-all that hides a needed adapter or hose seal.
Frequently Asked Questions
What do I actually need for my first RV trip?
Start with wheel chocks, leveling equipment, any required stabilizing supports, a compatible freshwater hose, a sewer hose, the correct shore power cord and adapters, a surge protector, a water pressure regulator, basic tools, and working propane, smoke, and carbon monoxide detectors. Food, clothing, sleeping gear, and personal camping items come next. Storage and comfort upgrades can wait until the first trip shows what the RV lacks.
What is the difference between leveling blocks and wheel chocks?
Leveling blocks change the RV’s position so the living area and equipment sit more level. Wheel chocks resist movement after the RV is parked. Stabilizers reduce movement, while designated support equipment serves specific jack or frame points. These items are not interchangeable, so use each one according to the RV manual and never treat a leveling block as the sole method of preventing movement.
Why is my RV battery losing power when nothing seems to be running?
The RV house battery may still supply standby electronics, detector circuits, monitoring equipment, control boards, or other connected loads. Check the battery display, shore-power connection, converter operation, battery disconnect, and any active lights or pumps. Follow the manual’s shutdown procedure. Repeated drain needs inspection of the battery, charging system, and connected circuits rather than repeated charging without finding the cause.
What should I do if the sewer connection leaks or the tank sensors read incorrectly?
Stop the flow, close the relevant valve, and keep people away from the affected area. Clean and contain the leak according to the RV instructions, then inspect the hose, seals, and fittings. A false sensor reading may result from residue or a sensor problem; compare the reading with the dumping routine and follow the approved cleaning method. Replace damaged parts or obtain qualified service when the valve or sensor remains unreliable.