Best Mountain Bike Parks in the US: Worth Knowing First
Contents
What makes a mountain bike park worth the trip: a long trail list, or terrain that matches how you actually ride? A useful ranking separates parks by riding experience rather than treating every lift-served destination as interchangeable: a smooth progression park, a jump-focused park, and a steep natural downhill venue serve different riders. The comparison should weigh terrain variety, trail maintenance, lift logistics, seasonal reliability, rental and instruction access, and the consequences of a long or difficult evacuation, not just the number of trails. That is the useful way to sort the best mountain bike parks in the United States.
This guide focuses on what a map, a park bulletin, and a realistic travel plan can tell you. I distrust inflated grades and destination copy written by people who never explain the surface beneath the tires. A trail with a forgiving, shaped surface asks different questions than a steep natural line with loose rock, roots, and limited ways out.
Key Takeaways
- Choose by riding goal: progression, jumps, technical downhill, natural singletrack, or a mixed network.
- Local trail ratings are not interchangeable, so read the current map and ask patrol or staff about conditions.
- Plan for lift access, weather closures, equipment demands, travel costs, and the difficulty of getting help off the mountain.
How to Choose Among the Best Mountain Bike Parks in the US
Start with the riding experience
A downhill mountain bike park is built around descending from lift access, usually with trails shaped for repeated runs. A lift-served trail center may blend machine-built flow with more natural routes, while a cross-country network asks riders to pedal between climbs and descents. Those categories overlap, but the distinction changes the bike, the physical effort, and the time needed for each run.
A cross-country trail network is not a lesser version of a downhill park. It rewards route planning and sustained pedaling, while a lift-served venue concentrates effort into technical descending, braking, cornering, and repeated impact. A park should be judged against its purpose rather than forced into a single ranking.
- Progression riding: Look for clear easier lines, broad turns, consistent surfaces, skills clinics, and rental access that lets a new rider learn without committing to severe terrain.
- Jump-focused riding: Read the trail descriptions carefully. A jump line demands comfort with takeoffs, landings, speed control, and the consequences of missing a feature.
- Technical downhill: Study the map for steep natural routes, rough surfaces, tight turns, and long sections where slowing down may be harder than expected.
- Mixed riding: A wider network can suit a group with different aims, provided the lift, trail openings, and skill levels line up.
Terrain variety matters more than a trail count printed on a brochure. The surface under the tires, the amount of braking required, and the availability of alternate lines tell you more about a day than a large number of named routes.
Use the map, not the color alone
Trail difficulty labels are not perfectly consistent between parks. A route marked difficult at one destination may feel more demanding than a route carrying the same label elsewhere because the slope, surface, exposure, and bailout options differ.
Read the local trail map before loading onto the lift, then ask patrol or staff about current conditions. Snowshoe Bike Park, Highland Mountain Bike Park, Killington Bike Park, Angel Fire Bike Park, and Windrock Bike Park may appeal to riders seeking different terrain styles, but a name alone does not tell you how a particular open route will ride that day.
Trail maps also reveal the practical shape of a visit. A venue with one main lift can function differently from a network with several lift zones, and a route that looks close to the base may still involve a difficult evacuation if a rider is hurt far from a service road.
Account for travel and operating limits
Travel distance changes the decision. A nearby lift-served trail system may deliver more useful riding than a famous destination that requires a costly trip, uncertain weather, and a full day of driving before the first run. Add parking, lift access, food, rentals, instruction, lodging, fuel, and a repair reserve before deciding what the visit costs.
Same-day operating information matters because weather, wildfire smoke, mud, storms, lift maintenance, and trail work can change access. A park can have attractive terrain on its map while offering fewer usable routes on the date you arrive.
Mountain Creek Bike Park and Mammoth Bike Park belong in a broader travel search, but the right choice depends on your starting point, the current operating schedule, and the trail type you want. The broader guide to mountain biking in America for 2026 can help place a park day inside a larger riding trip.
Park Styles: Progression, Jumps, Natural Downhill, and Mixed Networks
Progression parks for newer lift riders
Beginners should look for a gentle learning path rather than a famous name. The useful signs are a true easy route, clear trail intersections, rental and instruction access, staff who can explain lift procedures, and a surface that does not punish small mistakes immediately.
Beginner-friendly terrain should let a rider practise body position, controlled braking, smooth corner entry, and looking through turns. A hardtail or ordinary trail bike may be appropriate on easier machine-built routes, but the rider must confirm the local terrain and lift rules before loading.
A skills clinic can be more valuable than adding harder trails too soon. Instruction gives a rider a way to understand braking and cornering before steepness and speed multiply the cost of an error.
Jump lines and shaped flow
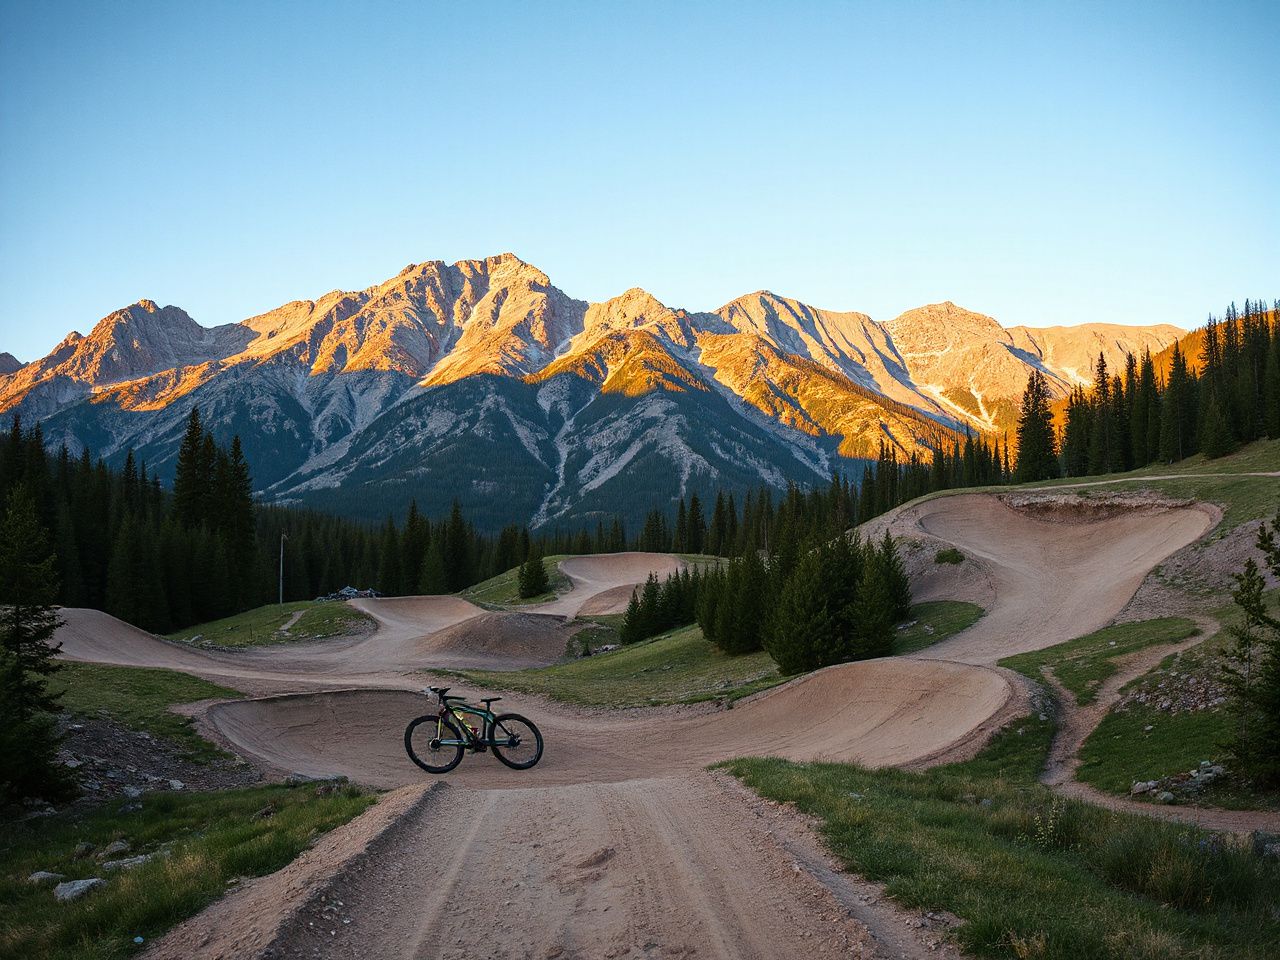
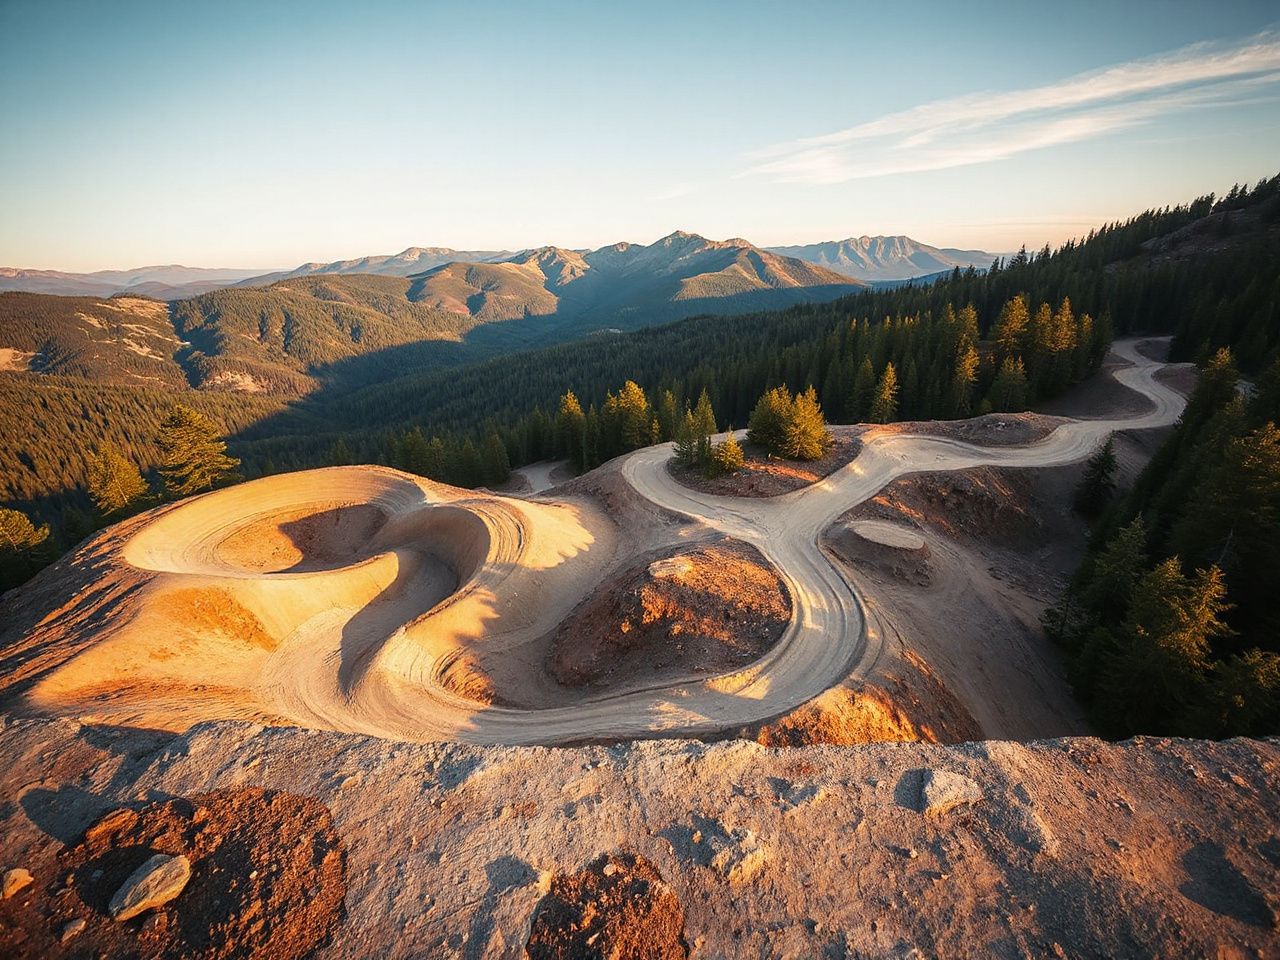
Flow trails usually have sculpted berms, rollers, and a predictable line. Jump-focused routes can look smooth while still demanding precise speed control and a reliable landing position. The absence of rocks does not make a jump line automatically easy.
Start by observing how features are marked and whether smaller options exist. Roll features that are designed to be rolled until a qualified instructor or park briefing confirms that your speed, position, and landing control are ready for airtime.
Highland Bike Park is often included in searches for jump and downhill destinations, but the useful question remains more specific: are the open trails appropriate for your current skill, and can you return to an easier line when fatigue appears? Marketing cannot answer that. The trail map and staff can.
Natural downhill and rough terrain
Natural downhill routes place more emphasis on roots, rocks, changing grip, compressions, and line choice. A steep grade is only one part of the difficulty. Loose surfaces and limited braking zones can make a route harder than its label suggests.
Snowshoe Bike Park, Windrock Bike Park, and Angel Fire Bike Park may be considered by riders looking for more serious descending, but no destination should be treated as advanced by reputation alone. Check which routes are open, ask about current mud or erosion, and choose a descent that leaves room for mistakes.
A steep natural downhill trail can turn a small loss of control into a long rescue problem, so riders should know where patrol access and trail exits are located. That consequence belongs in the trip decision alongside terrain quality.
Mixed networks and cross-country options
Some destinations make more sense for groups with different goals because they combine lift-served descending with broader trail riding. Buffalo River Outdoor Center offers 40 miles of cross-country trail along with 11 miles of downhill and has a stated vertical drop of 1,300 ft. That combination gives a group more than one way to spend the day, although cross-country distance does not tell you how difficult its individual routes are.
Lake Leatherwood Gravity Project has 6 miles of trail and a stated vertical drop of 372 ft. A compact venue can still be worthwhile if its routes fit your ability and the travel time is reasonable; a large destination is not automatically better for a short skills-focused visit.
Planning the Bike, Lift Day, and Safety Margin
Match the bike to the terrain
Lift-served downhill riding places heavier demands on suspension, brakes, tires, wheels, and protective equipment than ordinary trail riding. Repeated descents create more heat, impacts, and opportunities for a small fault to become a ride-ending problem.
A downhill bike is designed around descending demands, while an enduro or trail bike may suit a mixed day that includes pedaling or less severe routes. A hardtail can work on appropriate terrain, but a rider should not treat a simple frame choice as proof that the bike is suitable for every open trail.
Confirm lift procedures before joining the queue. Ask how bikes are loaded, whether a particular bike type or equipment setup has restrictions, and where to go if a mechanical problem appears at the base.
Protective equipment and personal limits
Wear the helmet required by the park and check its condition before riding. Full-finger gloves, eye protection, knee protection, and clothing suited to falls may be sensible additions, especially on rough or jump-focused terrain, but park rules remain the controlling requirement.
The U.S. Consumer Product Safety Commission publishes bicycle safety information, and its guidance is a useful public reference when checking general riding precautions. Park-specific rules still matter because lift access, helmets, body protection, and bike setup can vary.
For equipment standards and conformity questions, consult the American Society for Testing and Materials rather than relying on a vague badge or sales claim. A certification statement should be traceable to the named body that sets or publishes the relevant standard.
Pre-ride and post-ride checks
Before loading the lift, inspect the tires for visible damage, check that the wheels run normally, confirm that the brakes feel consistent, and look for loose controls. Squeeze the brake levers while stationary and listen for unusual rubbing or movement.
After repeated downhill runs, inspect the same areas again. Look for cuts, loose spokes, damaged rims, leaking suspension, worn brake surfaces, and shifting that no longer feels normal. A bike that survives a gentle local ride can still need attention after a lift-served day.
- Before riding: Check controls, wheels, tires, brakes, suspension settings, and fasteners according to the bike maker’s instructions.
- During the day: Stop when braking feel changes, a tire loses pressure, a wheel develops movement, or a new noise appears.
- After riding: Remove mud, inspect for impact damage, and arrange repairs before the next lift day if a problem remains.
Protective equipment reduces exposure to common falls, but no equipment removes the need to choose terrain conservatively. Your riding plan should include a point where fatigue ends the day.
Budget the whole trip
A park day may involve more than lift access. Count travel, parking, food, rental equipment, instruction, lodging, repairs, and the possibility that a closure makes the planned day unusable. Prices and policies change, so check the park directly rather than trusting an old itinerary.
Rental access can make a destination practical for visitors without a suitable bike, while instruction can improve the value of a short trip. A repair reserve matters because repeated impacts can affect tires, wheels, controls, suspension, and brakes.
Readers building fitness before a demanding trip can use this mountain bike training guide for stronger, more controlled rides. Better conditioning does not make a difficult trail safe by itself, but it can help preserve attention and braking control later in the day.
Closures, Conditions, and a Smarter Visit Plan
Check the park on the day you ride
Weather, wildfire conditions, mud, storms, lift maintenance, and trail work can change access with little connection to the forecast you saw while planning the trip. Check the official operating notice, lift status, trail closures, and any access restrictions before leaving and again after arrival.
Rain can alter grip and create damage on sensitive trails, while smoke or storms can affect operations even when the trail surface looks rideable. A closure is not an inconvenience to work around by entering a closed route; it is information about current access and risk.
Park staff can explain whether an open trail is running in its normal direction, whether a connection is unavailable, and where a mechanical or medical issue should be reported. Ask specific questions instead of requesting a vague judgment about whether the park is good today.
Use a flexible itinerary
Build the day around a main objective and a fallback. If jump lines close, a skills area or easier flow route may keep the day useful; if lift service is limited, a nearby trail network may offer a different form of riding.
Conditions can also change a trail’s character. A smooth surface with good grip may become slick after rain, while dust or loose material can make braking zones less predictable. Read the ground in front of the wheel and adjust speed before the next feature.
Trestle Bike Park and Copper Mountain Bike Park may appear in a Colorado-focused plan, while a rider considering the region can also review Colorado mountain bike rides organized by skill level. The point is not to collect names. It is to keep the terrain, operating day, and rider ability aligned.
Know the route out
A rider should know how to contact patrol, where the base area lies, and which trails connect to an exit or service point. That knowledge matters more on steep terrain and in remote sections where walking a damaged bike may be difficult.
Long or difficult evacuation changes the consequences of a fall. Carry whatever communication and personal safety items the park permits, tell your group where you are going, and stop before conditions or fatigue make a return uncertain.
Strong trip planning includes a realistic exit plan, not only a list of descents. The best park for a rider is the destination whose terrain, access, support, and conditions fit the whole day.
Frequently Asked Questions
Which mountain bike parks in the United States suit beginners?
Look for a venue with an obvious easy route, clear trail intersections, rental access, and skills instruction. Beginner suitability depends on the open terrain that day, not the destination’s reputation. Ask staff which route allows a new lift rider to practise braking and cornering without entering a steep or technical descent. A progression-focused visit is more useful than chasing a famous trail name.
Which parks are better for advanced downhill riders?
Advanced riders should compare steepness, natural surfaces, technical features, trail length, lift logistics, and evacuation access. Windrock Bike Park, Snowshoe Bike Park, Highland Mountain Bike Park, Killington Bike Park, and Angel Fire Bike Park may belong in that search, but the local map and current openings matter more than the label. Ask patrol about surface changes and difficult exits before riding.
How do flow trails compare with technical downhill trails?
Flow trails usually provide shaped turns, rollers, and a more consistent line, while technical downhill trails demand more reading of rocks, roots, changing grip, and braking zones. Neither category is automatically easy. A jump-focused flow route can require precise speed control, and a natural route can become especially demanding after weather changes the surface.
What bike and protective equipment do I need for a lift-served park?
Match the bike to the terrain and confirm the park’s lift procedures and equipment rules before riding. Lift-served descending places greater demands on brakes, tires, wheels, suspension, and protective equipment than ordinary trail riding. A trail bike may suit moderate terrain, while a downhill bike may be more appropriate for severe descending. Check the bike before and after each riding day.
What should I do if weather, smoke, or trail work closes routes?
Check official same-day operating and closure information before travelling and after reaching the base. Do not enter closed terrain. Use a planned fallback, such as an open progression route, skills clinic, or nearby cross-country network, and confirm whether lift service, rentals, or instruction have changed. A closure may also indicate that the surface needs protection from further traffic.