The Complete Guide to Camping Mess Kits for 2026
Contents
What if the one piece of gear you skimped on turned a perfect campsite into a frustrating evening? Gear skipped to save money is almost always the gear you regret not having when you need it most. Invest once, invest right. Choosing the right camping mess kits is part of finding the overlap between affordable and excellent—hunting down BLM free camping spots, $45 biker-friendly motels, and adventure lodges that offer real rider amenities without the resort price tag.
Key Takeaways
- A mess kit’s weight and packability matter more than its pot capacity for most solo and duo campers.
- Material choice—aluminum, stainless steel, or titanium—directly affects cooking performance, durability, and cleanup ease.
- A well-organized kit saves time and fuel, especially when you’re cooking in remote, windy conditions.
What Actually Goes Into a Camping Mess Kit?
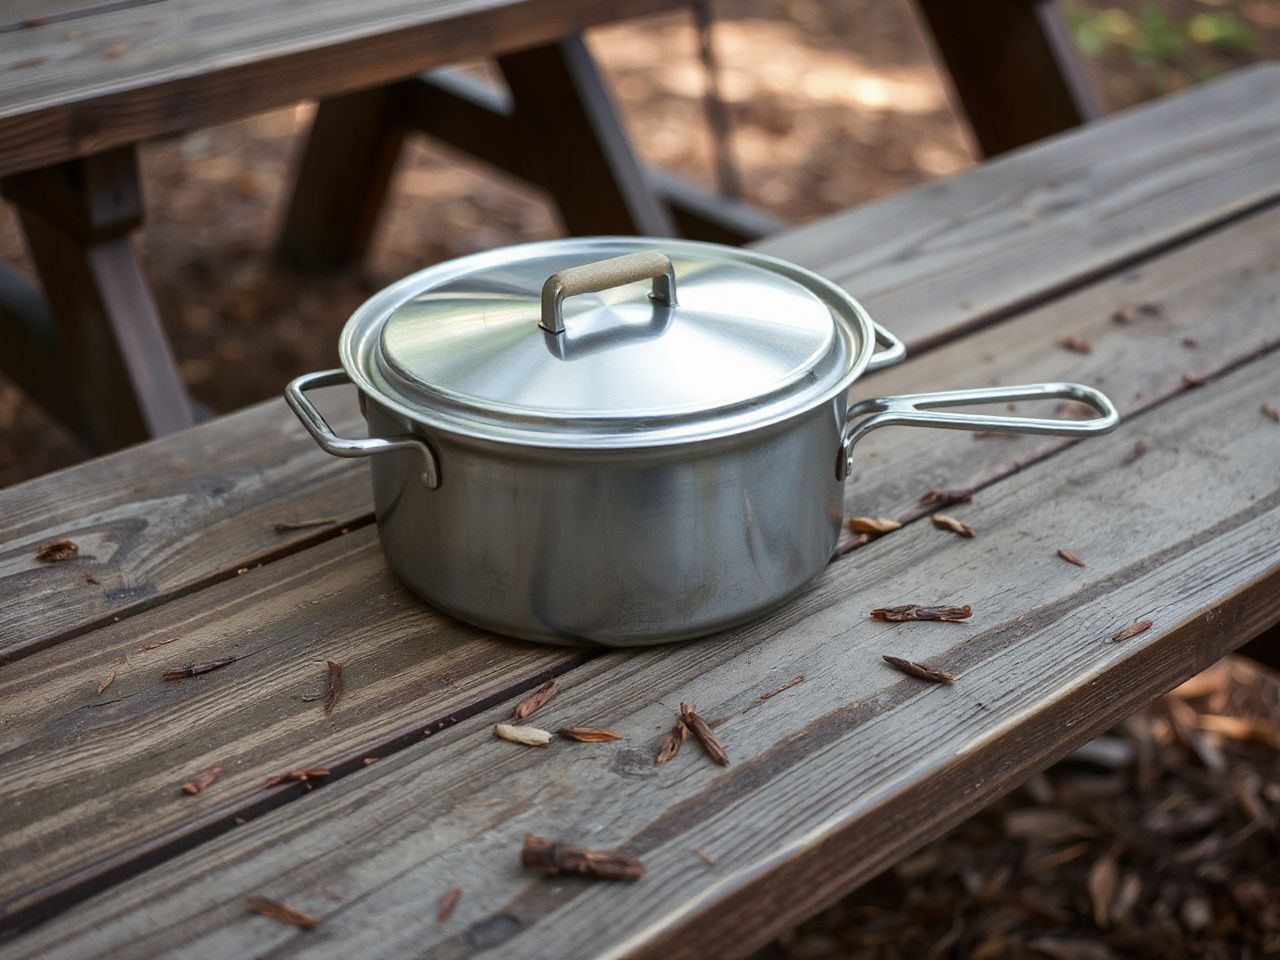
A mess kit is a compact set of cookware and utensils designed for outdoor cooking and eating. At its core, you’ll find a pot or saucepan, a frying pan or lid that doubles as a pan, a bowl or cup, and utensils like a fork, spoon, and sometimes a knife. Many kits also include a stuff sack or mesh bag for storage. The genius of a good mess kit is that every piece nests inside another, saving precious space in your pack or pannier.
Beyond the basics, some kits add a cutting board, a small colander, or a mug. For motorcycle travelers, every ounce and cubic inch matters. Riders often strap on massive 4-person kits when a well-designed 1-2 person set would do the job with half the weight. The key is matching the kit to your actual meal plan, not your fantasy of cooking gourmet feasts for a crowd.
Why Material Matters for Your Kit
The three main materials for mess kits—aluminum, stainless steel, and titanium—each come with trade-offs. Aluminum is lightweight and heats quickly, but it can warp over high heat and is prone to scratching. Stainless steel is durable and easy to clean, but it’s heavier and conducts heat less evenly. Titanium is the lightest and strongest, but it’s expensive and can develop hot spots if you’re not careful with flame control.
Anodized aluminum offers a good middle ground: it’s more resistant to corrosion and scratching than bare aluminum, and it won’t break the bank. If you’re planning to cook over an open fire frequently, stainless steel’s durability wins out. For ultralight backpacking or motorcycle touring where every gram counts, titanium is worth the investment.
How to Choose the Right Size Mess Kit for Your Trip
Size is about more than pot capacity. It’s about how many people you’re cooking for, how long you’ll be out, and what kind of meals you plan to make. A 1.5-liter pot works well for one person boiling water for dehydrated meals or cooking a single-serving pasta. For two people, a 2.5- to 3-liter pot gives you room to cook a proper meal without overflow.
But here’s the catch: bigger pots take up more space and weigh more. Riders sometimes pack a 4-liter pot for a solo weekend trip, only to realize they could have used a 1.5-liter pot and saved half the weight. For most trips of 1-3 nights, a 2-3 liter kit is enough for one or two people. If you’re planning longer stays or cooking for more than two, consider a modular system where you can add a second pot without carrying a huge single piece.
Packing for Motorcycle Travel
On a motorcycle, space is at a premium. Pack the mess kit inside a larger cooking pot or nested inside the camp stove to fill dead space. Many kits come with a mesh bag that lets the gear air dry after washing, which is crucial when you’re packing up a damp kit. Wrap the pot in a bandana or small towel to prevent rattling and protect the non-stick coating if it has one.
If you’re new to camping, our Camping Essentials For Beginners: A Complete Guide covers what else you need beyond the mess kit to set up a comfortable camp.
How to Pack and Use Your Mess Kit Efficiently
Efficiency starts before you leave home. Take your kit apart and lay out every piece. Decide what you actually need for each meal, and leave the rest behind. For a weekend trip, one pot, one frying pan lid, one bowl, one spoon, and a spork are enough. That’s it. The extra cup or plate stays home.
When you’re at camp, set up your cooking area before you start. A small piece of aluminum foil works as a windscreen to save fuel and speed up boiling times. Always pre-measure your water and ingredients at home so you’re not fumbling with baggies at the campsite. And never, ever pack a dirty mess kit. Food residue attracts animals and creates a smelly, sticky mess in your pack.
Cleaning Your Kit in the Backcountry
Cleaning a mess kit without running water is a skill. Scrape out food scraps into a trash bag first. Then use a small amount of water and a scrub pad—using a cut-down sponge can be helpful—to clean the pot and utensils. For stubborn grease, a paste of baking soda and water works well. Always wash at least 200 feet away from any water source to avoid contaminating streams and lakes.
After washing, rinse with clean water and dry everything completely. Hang the pot upside down on a stick or rock to let air circulate inside. Never store a damp kit in a sealed bag; it will grow mold within a day or two in warm weather.
How to Cook Simple, One-Pot Meals with Your Kit
One-pot meals are the mess kit’s best friend. They minimize cleanup and maximize flavor. Start with a base of dehydrated vegetables, rice, or pasta. Add protein like canned chicken, tuna, or pre-cooked sausage. Season with salt, pepper, and a spice blend you make at home. Boil everything together for 10-15 minutes, stirring occasionally, and you have a hot meal with only one pot to wash.
For breakfast, instant oatmeal with dried fruit and nuts cooks in five minutes. For dinner, a packet of ramen with added dehydrated veggies and a spoonful of peanut butter makes a surprisingly filling and calorie-dense meal. These recipes work with any mess kit and require no special equipment.
Fuel Efficiency Tips
Using your mess kit efficiently saves fuel and time. Always use a lid to trap heat and bring water to a boil faster. Cut ingredients into small, uniform pieces so they cook evenly. And avoid peeking: every time you lift the lid, you lose heat and extend cooking time. For most camp stoves, simmering with the lid on uses about half the fuel of boiling without one.
If you’re cooking in windy conditions, set up a natural windbreak using rocks or your backpack. This can cut fuel consumption by 30% or more. Riders can burn through a full canister of isobutane in one windy evening because they didn’t shield their stove.
Frequently Asked Questions
What’s the difference between a mess kit and a cook set?
A mess kit typically includes both cookware and eating utensils, while a cook set focuses on pots and pans for cooking. Mess kits are more all-in-one, often including bowls, cups, and utensils. Cook sets may require you to buy separate plates and cutlery. For most campers, a mess kit is the more convenient option.
Can I use a camping mess kit over an open fire?
Yes, but with caution. Aluminum and titanium kits can warp or burn if placed directly on high flames. Stainless steel handles open fire better. Always use a camp stove or a grate over the fire, and avoid letting the flame touch the pot’s sides. If you’re cooking over coals, place the kit on a stable surface and monitor heat closely.
How do I prevent my mess kit from rusting?
Aluminum and titanium don’t rust, but stainless steel can develop surface rust if left wet. The best prevention is thorough drying after every use. Wipe down stainless steel pots with a dry cloth, and store them in a breathable bag. If you see rust spots, scrub them off with a stainless steel cleaner or fine steel wool before they deepen.
What size mess kit do I need for a week-long trip?
For one person on a week-long trip, a 2- to 3-liter pot is sufficient. You’ll boil water for dehydrated meals and cook simple one-pot dishes. If you plan to cook more elaborate meals, consider a kit with two pots: a 1.5-liter for boiling and a 2.5-liter for cooking. For two people, aim for a 3- to 4-liter total capacity.
How do I maintain the non-stick coating on my mess kit?
Use only plastic or wooden utensils to avoid scratching the coating. Avoid cooking over high heat, which can degrade the non-stick surface. Hand wash with a soft sponge and mild soap—never use abrasive scrubbers. If the coating starts peeling, replace the pot to avoid ingesting flakes. Non-stick coatings typically last 1-2 years with regular use.
Before you head out, review our Camping Safety Tips Every Adventurer Needs for advice on fire safety, food storage, and wildlife encounters. And if you’re planning a beachside camp, our guide to The Best Beach Camping Tents of 2026 has you covered for shelter that handles sand and wind.