All Weather Tent: What Nobody Tells You About Choosing
Contents
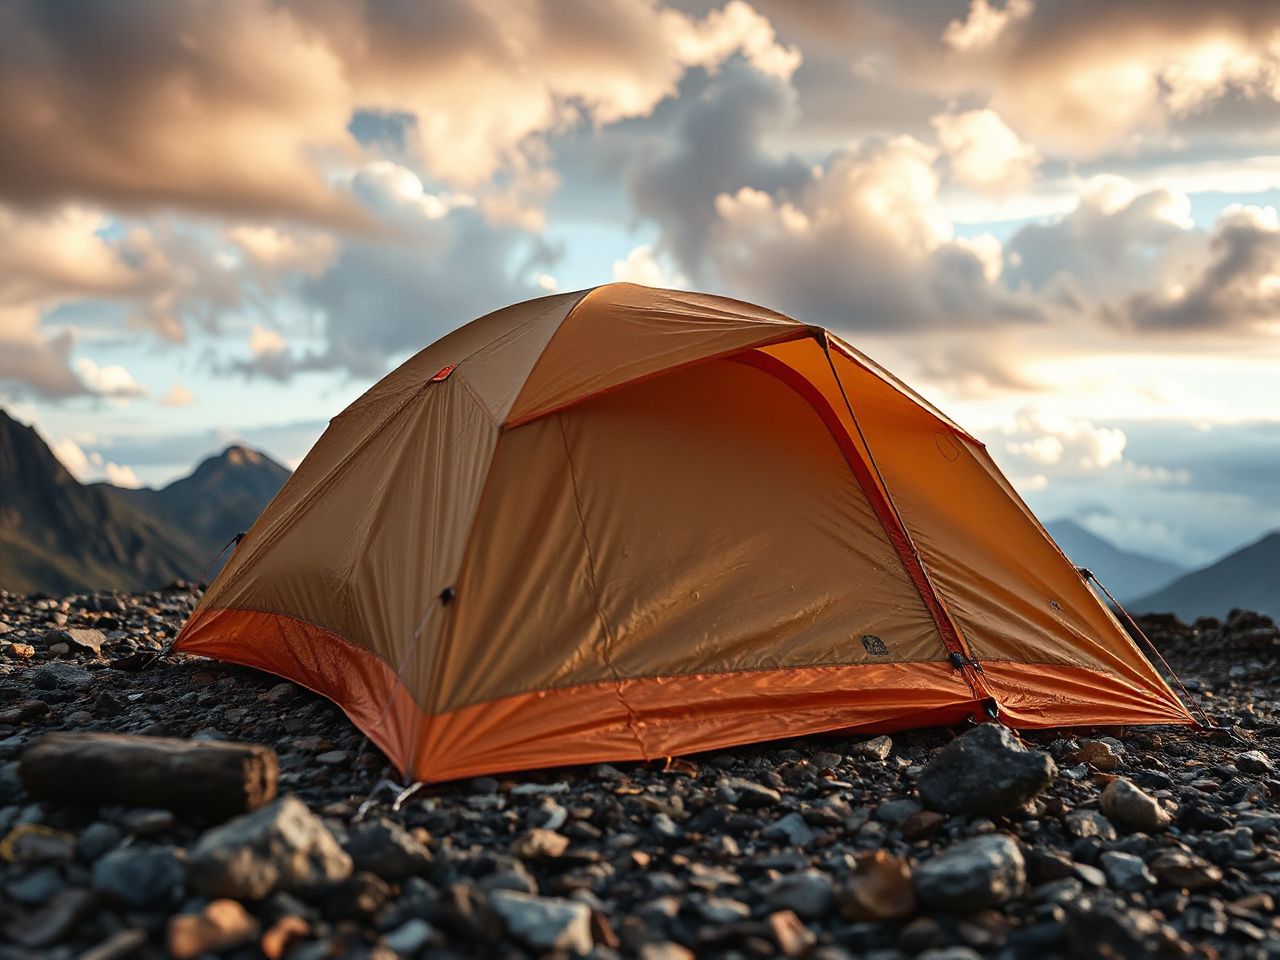
The real danger of buying a tent that can’t handle weather is not that you’ll get wet. It’s that you’ll get wet at 3 a.m., in the dark, with a broken pole stabbing through the flysheet and your sleeping bag turning into a sponge. That failure is not a random accident. It’s a predictable result of choosing a shelter based on the wrong numbers and ignoring how the tent manages wind, snow, and condensation as a single system.
An all weather tent is the only answer for anyone who camps in shoulder seasons, high country, or anywhere the forecast changes without warning. For a rider who treats a campsite as a temporary parking garage, the same standards apply: the shelter must protect gear, shed wind, and stay upright when things go sideways.
Key Takeaways
- All-weather means storm-capable, not just waterproof. A tent must shed wind, handle snow load, and vent moisture while staying dry inside.
- Hydrostatic head ratings only matter if seams are taped and the flysheet is tensioned correctly. A 3,000mm HH fabric with untaped seams will leak faster than a 1,500mm sheet with perfect sealing.
- Pitching is half the battle. The strongest tent collapses if you use weak stakes, skip guy lines, or pitch it broadside to the wind.
- Condensation will soak you even in a perfectly waterproof tent. Ventilation is not optional; it is the difference between waking up dry and waking up in a sauna.
What ‘All-Weather’ Really Means for a Tent
The term all weather tent is not a standardized category like 3-season or 4-season. No industry body certifies a tent as “all weather.” Instead, it’s a manufacturer’s claim that the shelter is built to handle sustained rain, strong wind, and occasional snow, while remaining livable in mild conditions. That definition matters because it sits between the two official ratings.
A 3-season tent prioritizes ventilation and light weight. It handles rain but struggles with snow load or 40 mph gusts. A 4-season tent prioritizes strength and snow shedding, often at the cost of breathability and weight. An all-weather design borrows from both: it uses stronger poles and a steeper flysheet than a 3-season, but keeps more mesh and venting than a full winter tent. The EN ISO 5912 standard, developed by the European Committee for Standardization, rates tents for wind and rain resistance, but it does not define “all-weather” as a class. Manufacturers use the term to signal a design philosophy, not a certification.
The core distinction is between a tent that merely repels rain and one that manages wind, snow, and condensation as a system. A beginner reads the waterproof rating and thinks that settles it; an experienced camper looks at pole geometry, flysheet cut, guy-out points, and how the vents work under storm conditions. The real measure of an all-weather tent is its behavior when the wind shifts — whether it keeps its shape, sheds gusts, and stays dry inside without suffocating you.
From a motorcycle security standpoint, that same system discipline applies. A tent that flaps and deforms in gusts will throw gear around the vestibule, knock a helmet off a seat, and make you question whether your panniers are still dry. A stable shelter is a secure garage. That’s what an all-weather design promises.
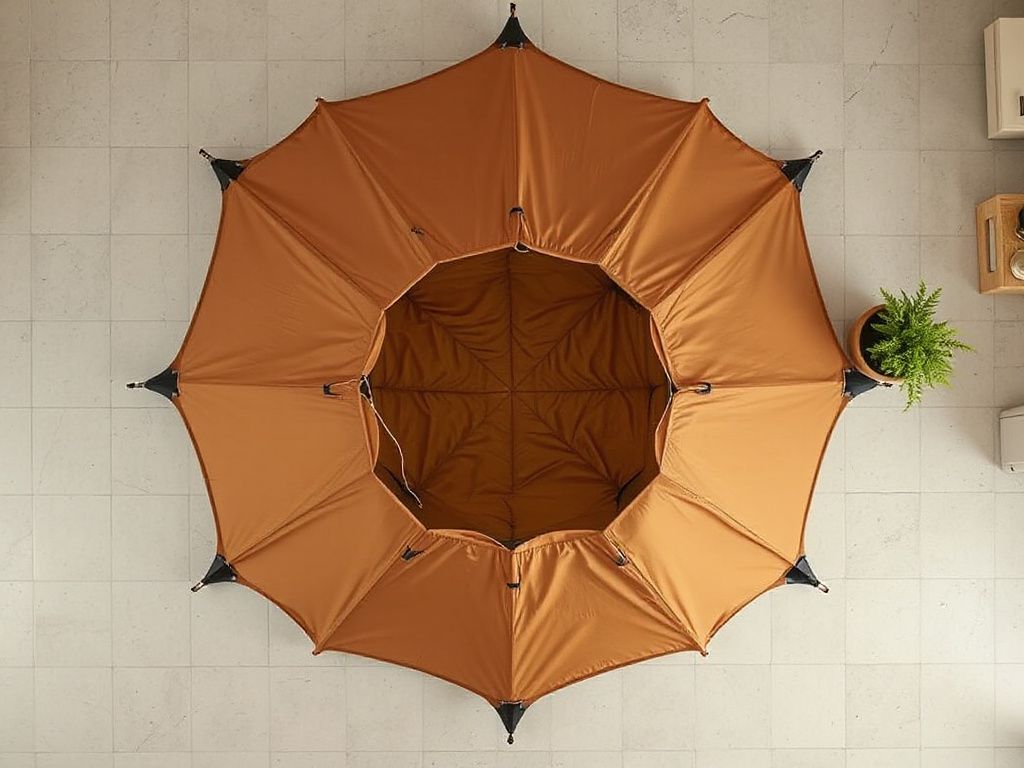
The Architecture of a Storm-Proof Shelter: Materials and Construction
You can’t judge a tent’s stormworthiness from a single spec. You have to look at how the flysheet, poles, and seams work together. Here’s what actually matters.
Pole Geometry and Material
The poles are the skeleton. An all-weather tent needs poles that flex without snapping, and a geometry that transfers wind load to the ground instead of the fabric. DAC aluminum poles are the benchmark because DAC uses a specific aluminum alloy (7001 or 7075) with a consistent heat treatment that balances strength and weight. Cheaper tents use softer aluminum that bends permanently under stress. The pole design matters more than the brand, though. Look for a tent with crossed poles that create a stable dome or geodesic shape. A single hoop or tunnel design can work, but it requires more staking and guy lines to stay rigid in shifting wind. The more pole intersections, the more the load is distributed. A two-pole hoop has one intersection; a geodesic dome has three or four. That’s the difference between a tent that sways and a tent that stands.
Flysheet Fabric and Waterproofing
The waterproof rating, expressed as a hydrostatic head (HH) rating, measures how much water pressure a fabric can withstand before leaking. A rating of 1,500 mm means a column of water 1.5 meters tall can sit on the fabric without pushing through. But that number only tells you about the fabric itself. It says nothing about the holes where the needle went through. Seam sealing tape is what closes those holes. A flysheet with a 5,000 mm HH rating but untaped seams will leak at every stitch line within the first hour of rain. Conversely, a 2,000 mm fabric with factory-taped seams can keep you dry for an entire storm. Always verify that the tent has taped seams on the flysheet and the floor.
Most all-weather tents use ripstop nylon or polyester for the flysheet. Ripstop nylon is lighter and more tear-resistant, but it stretches when wet, which can cause sagging. Polyester resists stretch and dries faster, but it’s slightly heavier. A well-designed tent accounts for nylon’s stretch by using a catenary cut flysheet that stays taut even when wet. The listing will rarely mention this, but if you see a flysheet that hangs loose when pitched dry, it will only get worse in rain.
Vestibule Design and Guy-Out Points
The vestibule is your garage. A good all-weather tent has a vestibule large enough to store boots, a helmet, and a set of panniers without touching the inner tent. The vestibule door should close completely against wind-driven rain, not just against vertical drops. Look for a door that overlaps the tent body or has a double zipper with a storm flap. Guy-out points are the unsung heroes. A tent with only two guy points per side cannot resist a broadside gust. You need at least three per side, plus reinforced loops at the pole intersections. Those points are where you attach additional lines to pull the flysheet away from the inner tent and tension the structure. Without them, the flysheet presses against the inner tent, transferring moisture and reducing ventilation.
Reputable brands like Hilleberg, MSR, and Big Agnes build their all-weather models with these details in mind. Hilleberg’s tunnel tents, for example, use a single pole sleeve design that distributes wind load evenly, while MSR’s geodesic tents rely on multiple crossing poles. Big Agnes often integrates steep sidewalls and multiple guy points. The brand doesn’t guarantee quality, but these manufacturers publish detailed specs that let you compare pole diameters, flysheet weights, and guy point counts before you buy.
Pitching for High Wind and Snow Load: The Difference Between Standing and Collapsing
A $900 tent pitched with toothpick stakes will fail faster than a $200 tent staked properly. The tent is only as strong as its weakest anchor point. Here’s how to pitch it so it survives what the mountain throws at you.
Site Selection and Orientation
Choose a site with natural windbreaks: a clump of trees, a boulder, a low ridge. If none exist, orient the tent so the narrowest profile faces the prevailing wind. For a tunnel tent, point the foot into the wind. For a dome tent, orient one door into the wind rather than a broad side. This reduces the surface area the wind can push against. Avoid pitching in depressions where cold air and water pool. In snow, pack down the snow before pitching so it hardens into a stable platform.
Stakes and Guy Lines
Use stakes matched to the ground. In soft soil, use wide-bladed stakes or Y-shaped aluminum stakes that bite. In sand or snow, use dedicated snow stakes or bury deadman anchors. The stakes that come with most tents are functional but minimal. Upgrade to at least 8-inch stakes for the main corners and 6-inch for the vestibule. Guy lines are non-negotiable in wind. Attach them to every guy-out point, even if the weather looks calm. A sudden gust can generate enough force to snap a pole if the tent is not guyed. Use reflective cord so you don’t trip at night, and tension each line so it’s tight but not guitar-string tight. The flysheet should be drum-tight; any flapping fabric will fatigue and tear. If you’re on a motorcycle trip where space is limited, carry at least four extra guy lines and a set of lightweight but strong stakes. Your bike’s side stand plate can serve as an emergency snow anchor in a pinch, but only if you’re willing to leave the bike outside the vestibule.
Snow Load and Flysheet Shape
Snow is a different enemy than wind. Wind pushes; snow loads. A heavy, wet snow can add hundreds of pounds to the flysheet within hours. The tent must shed that snow continuously, not hold it. The key is flysheet geometry. A steep flysheet with a sharp pitch angle allows snow to slide off. A shallow flysheet with large flat panels collects snow, which then deforms the poles and eventually collapses the tent. Vestibules are especially vulnerable because they create large unsupported surfaces. Look for an all-weather tent with a flysheet that extends close to the ground but has steep side slopes. Some designs include snow flaps along the bottom edge that you can pile snow onto to seal out spindrift, but those flaps are only useful if the flysheet itself sheds snow. If you’re camping in heavy snow, periodically knock the accumulation off the tent from the inside. A collapsed tent from snow load is almost always preventable with a bit of attention.
Condensation and Ventilation: The Hidden Soaker
Even a perfectly waterproof tent will soak you from the inside if it can’t vent moisture. Your body exhales about a pint of water vapor overnight. If that vapor can’t escape, it condenses on the inner surface of the flysheet and drips down onto your sleeping bag. That’s not a leak; it’s physics. The only cure is airflow.
Vent Design and Airflow
An all-weather tent needs high and low vents. High vents, typically located near the peak, allow warm, moist air to exit. Low vents, often at the base of the flysheet or through mesh panels in the inner tent, allow cool, dry air to enter. This creates a chimney effect. Without a low vent, the high vent is useless because no air moves. Some tents use a double-wall construction: a breathable inner tent body and a waterproof flysheet. The gap between the two allows air to circulate and carry moisture away. A single-wall tent, like many mountaineering tents, uses a waterproof-breathable fabric similar to Gore-Tex, but that fabric’s breathability drops dramatically when the outer surface is wet. In sustained rain, a single-wall tent is far more prone to internal condensation than a double-wall. For most all-weather camping, a double-wall design is the better choice.
The vestibule solves two problems at once. It keeps wet gear outside the inner tent, and it provides a covered area where you can open the door slightly without letting rain in. That door crack is a low vent. In stormy weather, leave the vestibule door open at the bottom and the top vent open. In calm but humid conditions, open both doors fully. In cold rain, crack one door just enough to allow a steady slow airflow. The trade-off is always between dryness and warmth, but a damp sleeping bag in warm air is still warmer than a drenched one from condensation.
Why Hydrostatic Head Alone Is Misleading
The HH rating tells you only about the fabric’s resistance to water pressure. It says nothing about seam integrity, flysheet tension, or ventilation. A tent with a 10,000 mm HH flysheet but poor venting will still produce a liter of condensation inside. And a tent with a 2,000 mm HH flysheet but perfectly taped seams and a well-vented double-wall design will keep you dry in all but the most extreme downpours. So don’t chase the highest number. Chase the system: taped seams, steep flysheet, multiple guy points, and real ventilation. For reference, a flysheet with a 1,500 mm HH rating is considered waterproof for general camping, 3,000 mm handles most heavy rain, and 5,000 mm or higher is mountain-grade. But even 10,000 mm is worthless if the seams leak.
If you’re planning a trip that involves cold weather and your feet are the first to freeze, check out our roundup of extreme cold weather boots. Keeping your feet warm inside the tent is part of the overall system.
Using an All-Weather Tent in Summer (Without Baking)
A storm-capable tent can become an oven in July. The same features that keep you dry in a blizzard — steep flysheet, minimal mesh, heavy fabric — trap heat and humidity on a hot night. But you can mitigate that by using the tent differently.
First, choose a shaded site. Direct sun on the flysheet will turn the interior into a greenhouse even with all vents open. Pitch under trees or a tarp. Second, remove the flysheet entirely if the forecast is clear and warm. Many all-weather tents allow you to pitch just the inner tent on its poles. That gives you a bug screen with full airflow. Third, open every vent, door, and window. The more mesh, the better. Fourth, consider using a lightweight summer tent for trips where you know the weather will be mild. An all-weather tent is designed for variable conditions, not for a week of 90-degree sunshine. Our guide to the best tent for hot weather breaks down lighter options that will keep you cooler when the storm risk is low.
From a motorcycle security perspective, summer also means more gear outside the tent. A vestibule that’s too hot to sit in becomes a useless storage area, and you’ll end up leaving boots and jacket inside the inner tent where they block airflow. That’s a double whammy: sweaty gear and less ventilation. If you’re car camping or have a vehicle as a base, a best car tent solution might offer a better compromise, with the vehicle acting as a windbreak and a secure lockbox.
Maintenance and Re-Waterproofing: Keeping the Flysheet and Seams Alive
A tent that has been used for a few seasons will eventually lose its waterproofing. Dirt, UV exposure, and abrasion break down the fabric’s coating and the seam tape. The good news is you can restore both.
Cleaning and Storage
Never store a tent wet. Mildew will destroy the polyurethane coating faster than any storm. If the tent gets wet, pitch it in the garage or hang it over a line until completely dry. When cleaning, use a mild soap or a tent-specific cleaner, not laundry detergent, which strips the waterproof coating. Spot-clean dirt and bird droppings with a soft brush and cold water. Always store the tent loosely in a large mesh sack, not compressed in the stuff sack. Long-term compression can crack the coating and damage the seam tape.
Re-Waterproofing the Flysheet
When water stops beading on the flysheet and instead soaks into the fabric, it’s time to re-apply a durable water repellent (DWR) treatment. Spray-on or wash-in DWR products work, but they only restore surface repellency, not the underlying waterproof layer. If the polyurethane coating on the inside of the flysheet has peeled or worn thin, you’ll need to apply a new coating. Seam sealer can be applied to the inside of the seams to replace cracked tape. The process is simple: clean the area, apply the sealer along the stitch line, and let it cure. For a full re-proofing, many campers use a product that combines a wash-in waterproofing agent with a spray-on DWR. The result is a flysheet that sheds water again.
The tent floor is often neglected. It suffers the most abrasion from boots and gear, and a punctured floor lets groundwater in from below. Use a footprint or groundsheet under the tent to protect the floor. A footprint also adds a layer of insulation and keeps the floor clean. If the floor develops pinholes, you can patch them with a repair tape that bonds to nylon or polyester. A well-maintained tent can last a decade, but a tent left wet in a stuff sack for one winter can be ruined by spring.
Frequently Asked Questions
What does “all-weather” really mean for a tent?
It means the tent is designed to handle sustained rain, high wind, and light snow, while still being usable in mild weather. It’s not a certified category like 3-season or 4-season. Look for a steep flysheet, strong DAC poles, taped seams, and multiple guy points. The term signals a design intent, not a specific performance guarantee.
How is an all-weather tent different from a 4-season tent?
A 4-season tent is built for winter use: heavier, stronger poles, solid fabric panels instead of mesh, and a flysheet that extends to the ground to seal out spindrift. An all-weather tent is usually lighter and keeps more mesh for ventilation, so it won’t roast you in spring or fall. It can handle an unexpected snowstorm but isn’t designed for basecamp winter use.
Can I use an all-weather tent for summer camping?
Yes, but you need to manage heat. Pitch in shade, remove the flysheet when possible, and open all vents. An all-weather tent has more mesh than a true 4-season tent, but less than a dedicated summer tent. If you mostly camp in hot weather, you’ll be more comfortable with a lightweight 3-season tent.
What kind of stakes and guy lines do I need for a storm-proof setup?
For high wind, upgrade to 8-inch aluminum Y-stakes or wide-bladed stakes for soft ground. In snow, use snow stakes or deadman anchors. Always carry extra guy lines with reflective cord. Attach a line to every guy-out point and tension the flysheet until it’s drum-tight. Weak stakes are the number one cause of tent collapse in wind.
How do I stop condensation from soaking my sleeping bag?
Open the high vent and at least one low vent to create airflow. Use a double-wall tent with a gap between the inner and flysheet. Keep wet gear in the vestibule, not inside the tent. In humid conditions, crack the door even if it’s raining. Condensation is not a leak; it’s a ventilation problem.