Prescott Mountain Bike: What Nobody Tells You Before Riding
Contents
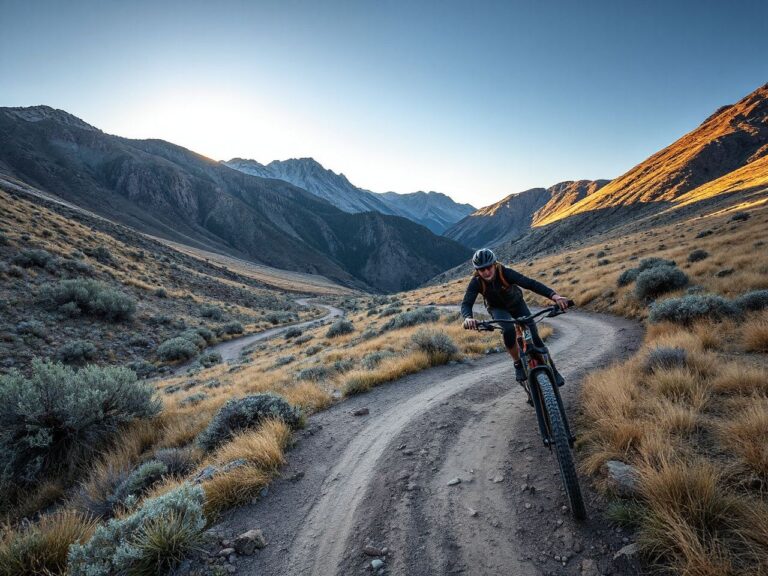
Prescott mountain biking is drawing more attention as riders look beyond crowded destination hubs and toward technical Arizona trail systems with a broad mix of terrain. A useful Prescott guide distinguishes trail character by surface and exposure rather than treating the area as one uniform riding destination: granite slabs, loose decomposed granite, forested singletrack, and open desert terrain demand different line choices and braking habits. Route selection should account for recent rain, heat, technical features, and land-manager rules, because a trail that feels manageable in dry conditions can become slippery, fragile, or unsafe after weather changes.
Key Takeaways
- Choose routes by surface, exposure, technical difficulty, and current weather rather than by mileage alone.
- Peavine, Granite Basin, Spence Basin, White Spar, and Bean Peaks serve different riding goals and require different levels of control.
- Carry water, navigation, repair tools, a spare tube, and a weather plan, then confirm access and e-bike rules before departure.
How to Choose a Prescott Mountain Bike Route
The right route depends first on the rider’s current skills, then on the day’s conditions. A smooth forested trail may suit a cautious beginner, while exposed granite and loose rock can make a short route more demanding than its map profile suggests.
Step 1: Match the trail to your control skills
Beginners should look for lower-exposure trails with room to slow down, visible sightlines, and technical features that can be bypassed or assessed before riding. White Spar Campground trails may make sense for building basic confidence, while selected sections around Granite Basin can suit riders who are ready for more rock and uneven ground. The exact choice should follow current signs, maps, and conditions rather than a general label such as easy.
A beginner mountain biker should be able to brake in a straight line, shift body position over uneven ground, and dismount before a feature becomes overwhelming. Those skills matter more than completing a named loop. Riders who are still learning should avoid treating the Prescott Circle Trail as one consistent experience; connected sections can change in surface, grade, exposure, and traffic.
Step 2: Compare the main riding areas
- Peavine National Recreation Trail: Expect broad views, exposed sections, and a surface that can change from firm to loose. The route can appeal to riders seeking a scenic introduction, but open terrain can increase heat exposure and reduce shade.
- Granite Basin Recreation Area: Granite features and uneven rock make line choice important. Riders should scan several bike lengths ahead, keep speed controlled, and avoid braking abruptly on sloping slabs.
- Spence Basin Trails: The trail network offers a range of riding character, so riders should examine the chosen loop rather than assuming every segment has the same difficulty.
- White Spar Campground trails: These trails can work for skill-building and shorter outings, but camping-area access, trail traffic, and current restrictions still need checking.
- Bean Peaks Gravity Flow Trail System: The gravity trails south of downtown are designed around one-way travel. Riders must confirm the direction and understand that flow-style terrain still demands braking control, feature judgment, and a plan for mechanical trouble.
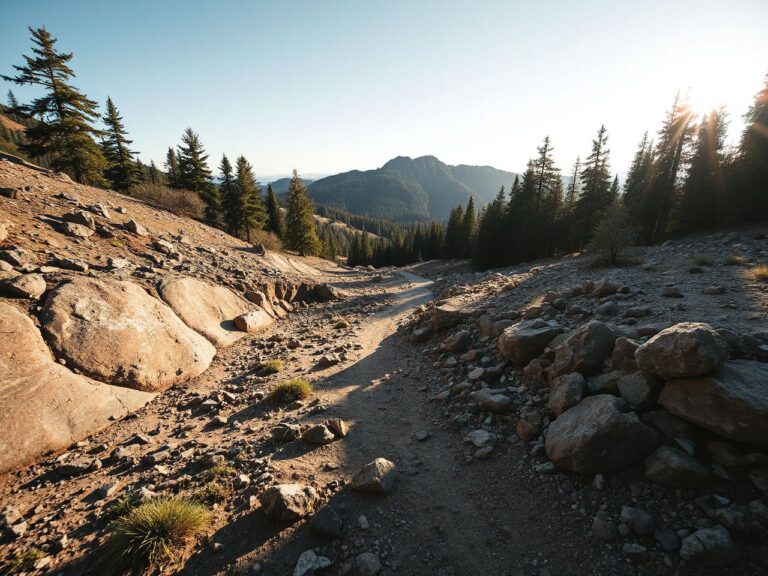
Granite Dells terrain deserves special care because large rock surfaces can look predictable while hiding changing angles and loose grit. A front wheel that tracks well on a clean slab may drift when decomposed granite collects across the same line. Granite rock changes braking and steering demands, so riders should reduce speed before the feature instead of relying on hard braking halfway across it.
The Prescott National Forest includes areas where trail access, permitted bicycle use, closures, and seasonal restrictions can vary. Check current information from the U.S. Forest Service before riding, and confirm the managing agency for recreation sites outside the forest.
Step 3: Read the surface before committing
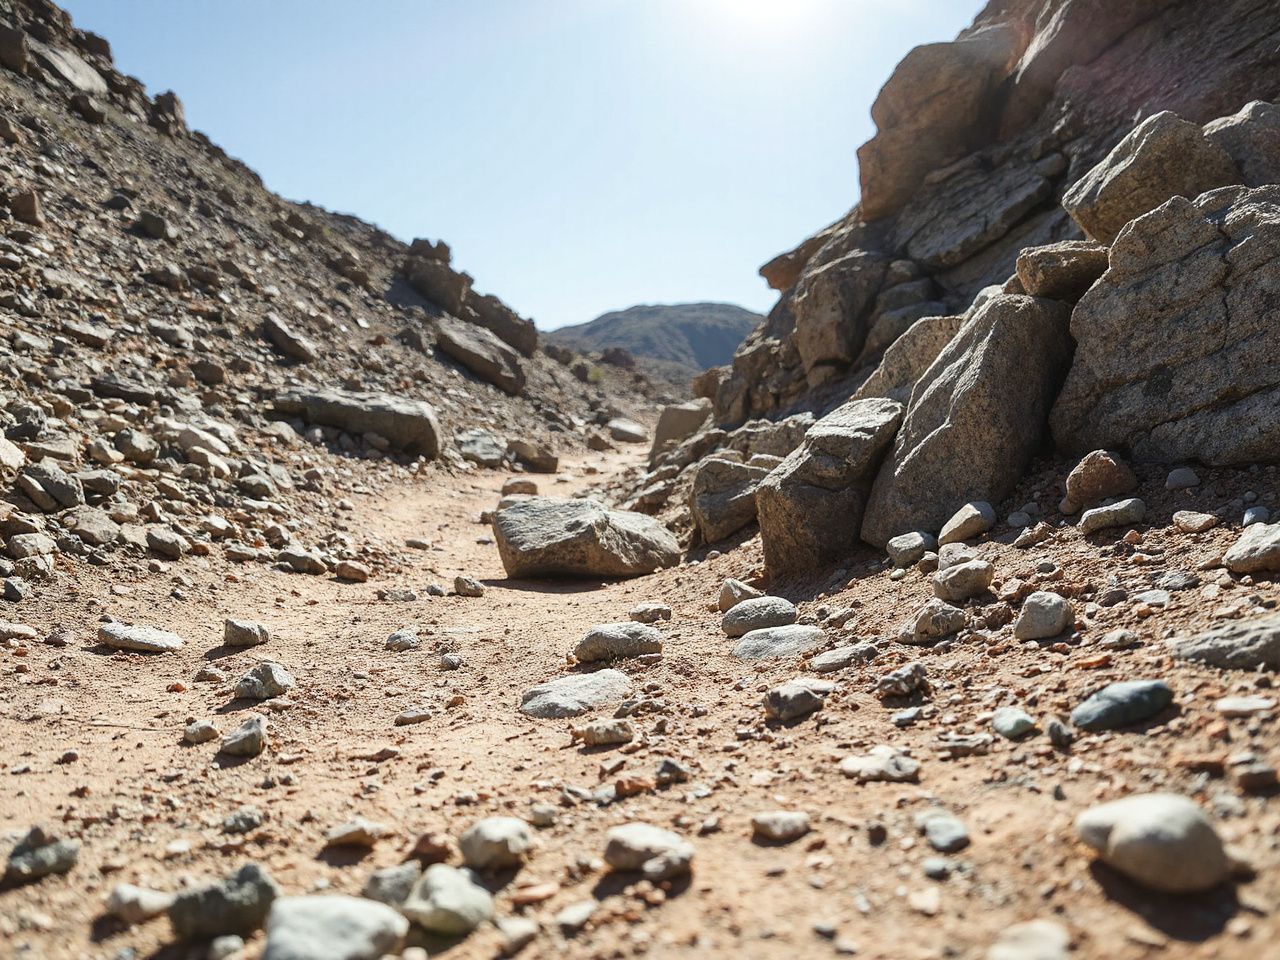
Decomposed granite often behaves differently from compact soil. Loose material can move under the tires, especially on turns and descents, so a rider should enter corners with controlled speed and keep steering inputs calm. Heavy braking while leaned over can cause the tires to slide rather than scrub speed predictably.
Exposed granite calls for a different approach. Keep the bike balanced, look through the feature, and use a light grip so the front wheel can track small changes in the surface. A rigid bicycle may feel harsh and unforgiving on repeated rock, while a hardtail has front suspension only. A full-suspension bicycle has suspension at both the front and rear, which may provide more control on rougher terrain, but suspension does not replace line choice or technical skill.
A cross-country mountain bike trail guide can help clarify the difference between sustained trail travel and short technical features, especially for riders comparing Prescott with destinations such as Sedona.
Prescott Terrain, Weather, and Trail Responsibility
Prescott’s riding conditions can change quickly across exposed rock, wooded singletrack, and open desert-like terrain. Heat affects how long a ride feels, while monsoon storms can alter traction and create hazards far from the trailhead. Snow and freeze-thaw conditions may also change the surface, so a route that was suitable on a dry morning may not be appropriate later.
Rain and soft trails
Riding after substantial rain can damage soft trails and create unsafe mud conditions. Mud packed into a frame, fork, or drivetrain also makes it harder to judge whether a mechanical problem has started. If the surface holds deep tire marks, sticks to the tread, or feels slick underfoot, choose a different activity and check for current closure information.
Trail damage is not fixed by simply riding around a wet patch. Bypasses widen the disturbed area and can create new erosion. The responsible choice is to wait, use a surface known to tolerate current conditions, or follow land-manager guidance.
Heat, storms, and exposure
Open routes such as Peavine can feel manageable near the start and become more demanding as shade disappears. Carry enough water for the planned outing, leave a route plan with someone else, and treat changing clouds, wind, or thunder as reasons to reassess rather than as scenery.
Mountain weather can change faster than a rider can comfortably return to the trailhead. Navigation should remain available even on familiar routes because fatigue, rerouting, or a closed segment can turn a simple ride into an unplanned detour.
Access, etiquette, and e-bikes
Trail access and permitted bicycle use can vary between Prescott National Forest areas, recreation sites, and individual trails. E-bike access is also not uniform across Prescott-area trails. Verify the rules for the specific route and managing agency before setting out, because a map label alone does not establish current permission.
Arizona mountain bike etiquette starts with predictable behavior. Yield according to posted signs and local guidance, announce your approach when appropriate, stay on the designated tread, and do not assume a fast descent has priority over every other trail user. The Prescott Mountain Bike Alliance can be a useful local starting point for current riding context, while official land-manager information controls access and closure decisions.
Skills and Bike Setup for Prescott Riding
Riding in Prescott rewards smooth inputs. The goal is to keep traction available rather than force the bicycle through every feature. Riders should practice before a remote outing, preferably on terrain where stopping and turning remain easy.
Braking on granite and loose rock
Use both brakes with gradual pressure and reduce speed before a corner, slab, or rock step. Heavy front-brake use while the front wheel is turned can make the bike feel unstable, while relying only on the rear brake can produce a skid on loose decomposed granite.
Look for the firmest line, but do not chase a perfectly clean strip if doing so sends the bike toward a drop or exposed edge. A conservative line with room to correct is often the safer choice. On one-way gravity terrain, riders should still control speed for the visible trail ahead; one-way travel does not remove the need to yield around blind areas or respond to obstacles.
Hardtail, full suspension, or rigid?
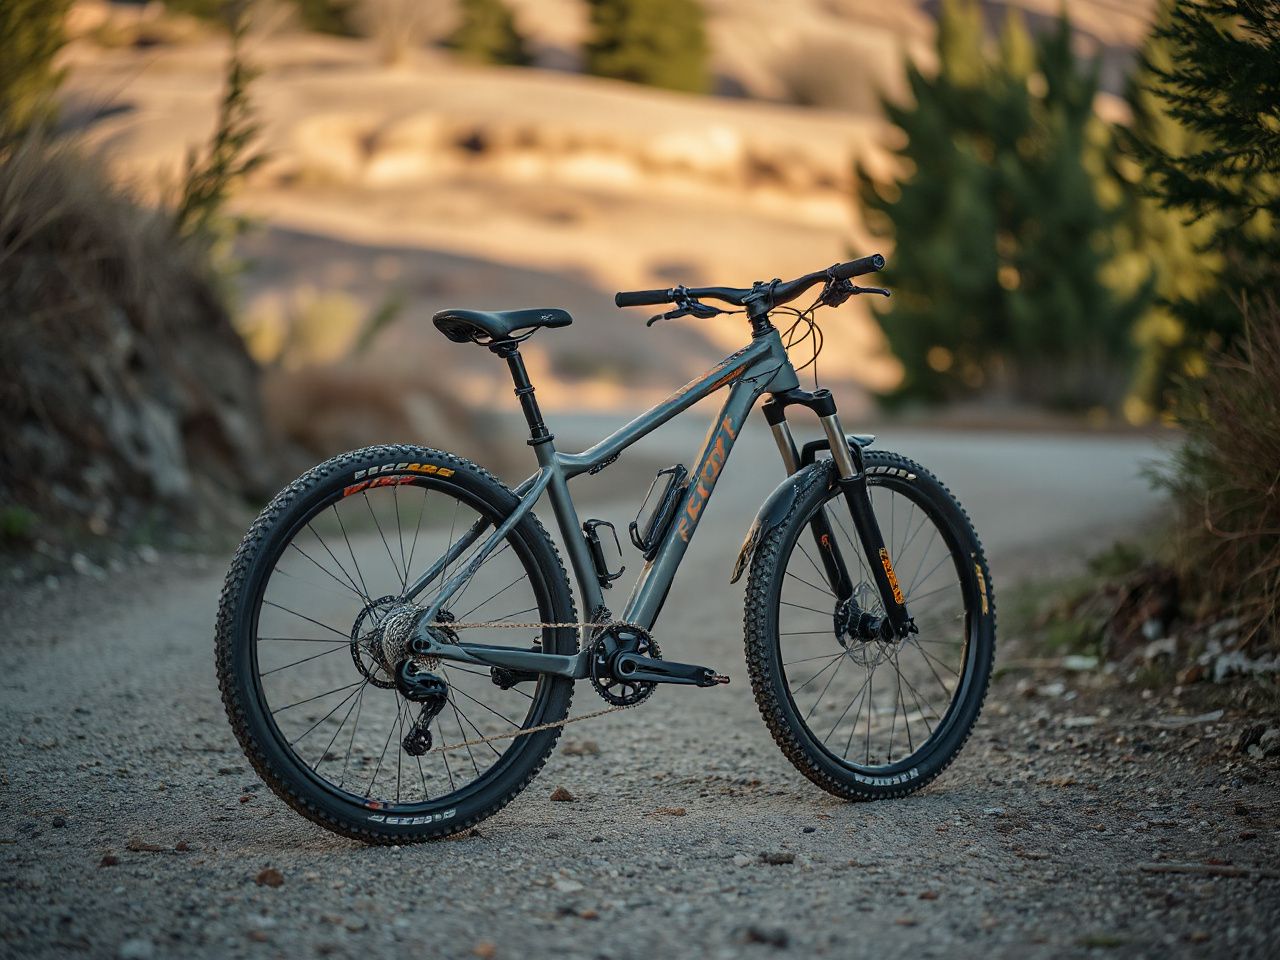
A hardtail bicycle has front suspension only, while a full-suspension bicycle has suspension components at the front and rear. A rigid bicycle has no suspension system. The useful question is not which category is universally superior, but which bicycle lets the rider maintain control on the intended surface without encouraging speeds beyond current skill.
A hardtail can be a straightforward choice for smoother cross-country routes and riders who want clear feedback from the rear wheel. Full suspension may make repeated rocky features less punishing, but setup, maintenance, and rider technique still matter. A rigid bicycle demands careful line selection and may be better suited to surfaces that do not require repeated impact management.
Frame geometry also affects handling. A 73-degree seat tube angle is common in mountain-bike geometry, while head-tube angles can range between 60 and 73 degrees. Those figures describe design categories, not a promise that a particular bicycle will suit every Prescott route. Confirm the actual geometry of a bicycle before treating a general description as a fit decision.
Tires, tubes, and sharp trail debris
A tubeless tire setup can reduce the chance of a ride-ending pinch flat because there is no inner tube to pinch between the rim and a sharp impact. It does not make a tire immune to cuts, rim damage, or air loss. Riders should still carry a spare tube, tire levers, a pump or inflator, and a way to deal with a damaged valve or tire sidewall.
Bead seat diameter is the terminology used by the ETRTO tire and rim sizing system. The tire and rim must match, and the tire must be seated correctly before riding. Do not assume that a tire marked for mountain biking will fit every rim.
What to carry on a remote ride
- Water and a plan for heat exposure.
- A navigation device or downloaded map, plus a charged phone where practical.
- A spare tube even when the tires are tubeless.
- A pump or inflator, tire levers, and a multitool suited to the bicycle.
- A chain tool, quick link, and basic method for addressing a loose component.
- Eye protection, gloves, a properly fitted helmet, and clothing suited to changing weather.
- Food, a small first-aid kit, and a way to communicate an emergency.
Remote or rocky routes require water, basic repair tools, a spare tube, navigation, and a plan for heat or changing weather. The kit should match the distance from help, not the apparent simplicity of the trailhead.
What Commonly Goes Wrong on Prescott Rides
Mechanical trouble is only one part of the risk picture. Riders also lose time by choosing a route that does not match their pace, missing a junction, underestimating exposure, or continuing after the surface changes.
Navigation errors
Download or carry route information before leaving service. Study junctions, bailout options, and the direction of travel on one-way systems. A trail map is most useful before fatigue arrives, not after a rider has missed a turn.
The complete guide to mountain bike repair is useful background for learning how to inspect a drivetrain, address a flat, and recognize a problem before it becomes a walk out. Practice repairs at home so the tools in the pack are familiar.
Flat tires and loose hardware
Sharp rocks and trail debris can damage tires even when pressure and line choice are sensible. If a tire loses air, move off the travel line, inspect the tread and sidewall, and check whether the valve or rim area is also damaged. A tube can provide a temporary way to continue, but a large cut may require a tire boot or a controlled return by another method.
After a rough section, check for loose accessories, a shifted saddle, damaged cables, and unusual brake or drivetrain sounds. Stop early if the bicycle no longer responds normally. Continuing with a problem can turn a repairable issue into a walk or transport problem.
Post-ride maintenance
Rocky Prescott routes justify a simple inspection after every ride. Rinse away dust without forcing water into bearings, wipe the chain and drivetrain, inspect the tire casing, and look for fresh cuts, embedded debris, loose spokes, or damage around the rims. Check the brake surfaces and suspension seals for contamination or obvious problems according to the bicycle maker’s service guidance.
Maintenance costs vary with bicycle type, riding frequency, damage, and the work a rider can perform independently. Regular riding may involve consumables such as chain lubricant, brake components, tires, sealant for tubeless systems, and replacement cables or drivetrain parts. Larger service costs can arise from suspension work, wheel damage, or neglected wear. A maintenance fund is more realistic than assuming every ride has the same expense.
Planning a guided ride
A guide can help visitors read local terrain, manage navigation, and choose a route that fits current ability. A guided ride does not remove the need for a helmet, water, repair kit, or honest disclosure about technical limits. Ask about the planned surface, exposure, e-bike rules, weather policy, and bailout options before agreeing to the route.
Planning a Better Prescott Riding Day
Start with the managing agency and current conditions, then choose the riding area. Next, check the surface and exposure against the group’s skills. Finally, prepare the bicycle and carry enough equipment to handle a flat, a navigation error, or a weather change.
- Check access: Review current closures, permitted bicycle use, e-bike rules, and trail conditions for the exact area.
- Choose by character: Select forested singletrack for a calmer skill-building day, open Peavine terrain for views and exposure, Granite Basin for rock-focused riding, Spence Basin for network variety, or Bean Peaks for signed one-way gravity riding.
- Assess the weather: Recent rain, snow, extreme heat, and monsoon activity should change route selection.
- Inspect the bicycle: Confirm tire condition, brake operation, drivetrain function, suspension settings, and the presence of repair supplies.
- Set a turnaround point: Decide in advance what conditions will end the ride, such as worsening weather, soft trail, fading daylight, or a mechanical problem.
Riders comparing Prescott with other destinations can use a guide to Colorado mountain bike rides by skill level to think in terms of terrain character rather than destination reputation. The same framework applies here: surface, exposure, technical demand, access rules, and weather should shape the plan.
Prescott National Forest trail conditions and closures deserve a fresh check before every outing. Land-manager notices can change the practical answer even when a route remains visible on a third-party map.
Frequently Asked Questions
Which Prescott mountain bike trails are suitable for a beginner?
Beginner riders should seek lower-exposure sections with space to stop, clear sightlines, and manageable technical features. Some White Spar Campground trails and carefully selected Granite Basin sections may fit that goal, depending on current conditions. Start with a short route, practice braking and dismounting, and avoid choosing a trail solely because its map description sounds easy.
How do Peavine, Granite Basin, Spence Basin, and White Spar differ?
Peavine emphasizes open terrain and exposure, Granite Basin brings more visible rock and technical line choices, Spence Basin offers a varied network, and White Spar can support shorter skill-building outings near campground access. None should be treated as uniform from start to finish. Check the exact loop, current weather, surface condition, and managing-agency rules before riding.
Is a hardtail or full-suspension bicycle better for Prescott?
A hardtail has front suspension only, while a full-suspension bicycle has suspension at both ends. A hardtail may suit smoother cross-country riding and riders who prefer simple feedback, while full suspension can be more comfortable on repeated rocky terrain. The better match depends on the route, rider skill, maintenance comfort, and ability to control speed on loose surfaces.
How should I prepare for sharp rocks and changing weather?
Carry water, navigation, repair tools, a spare tube, and protective equipment even on a familiar route. Tubeless tires can help avoid some tube-related punctures, but they can still lose air or suffer cuts. Check current conditions through the relevant land manager, and use the U.S. Consumer Product Safety Commission for general bicycle safety information rather than relying on an informal gear checklist.
Protective equipment should fit correctly and remain in usable condition. The ASTM International site provides information about voluntary consensus standards, but riders should still follow the safety instructions supplied with their own equipment.