Mountain Bike MD: The Complete Guide to Bike Repair
Contents
I’ve ridden long enough to know that the gear you skip buying to save money is almost always the gear you regret not having when you need it most. Invest once, invest right. That lesson hit home on a rocky descent in Moab when a snapped chain left me stranded miles from the trailhead. Since then, I’ve made it my mission to understand every bolt, cable, and bearing on my mountain bike. Whether you’re a weekend warrior or a seasoned racer, knowing how to keep your rig running is non-negotiable. This mountain bike MD guide breaks down the essential repairs every rider should master.
Key Takeaways
- Learn to diagnose drivetrain noise and shifting issues with a simple checklist.
- Master brake bleed procedures for both hydraulic and mechanical disc brakes.
- Understand suspension setup basics to improve trail performance and comfort.
- Get a step-by-step guide for fixing a flat tire on the trail without tools.
Why Every Rider Needs a Basic Repair Toolkit
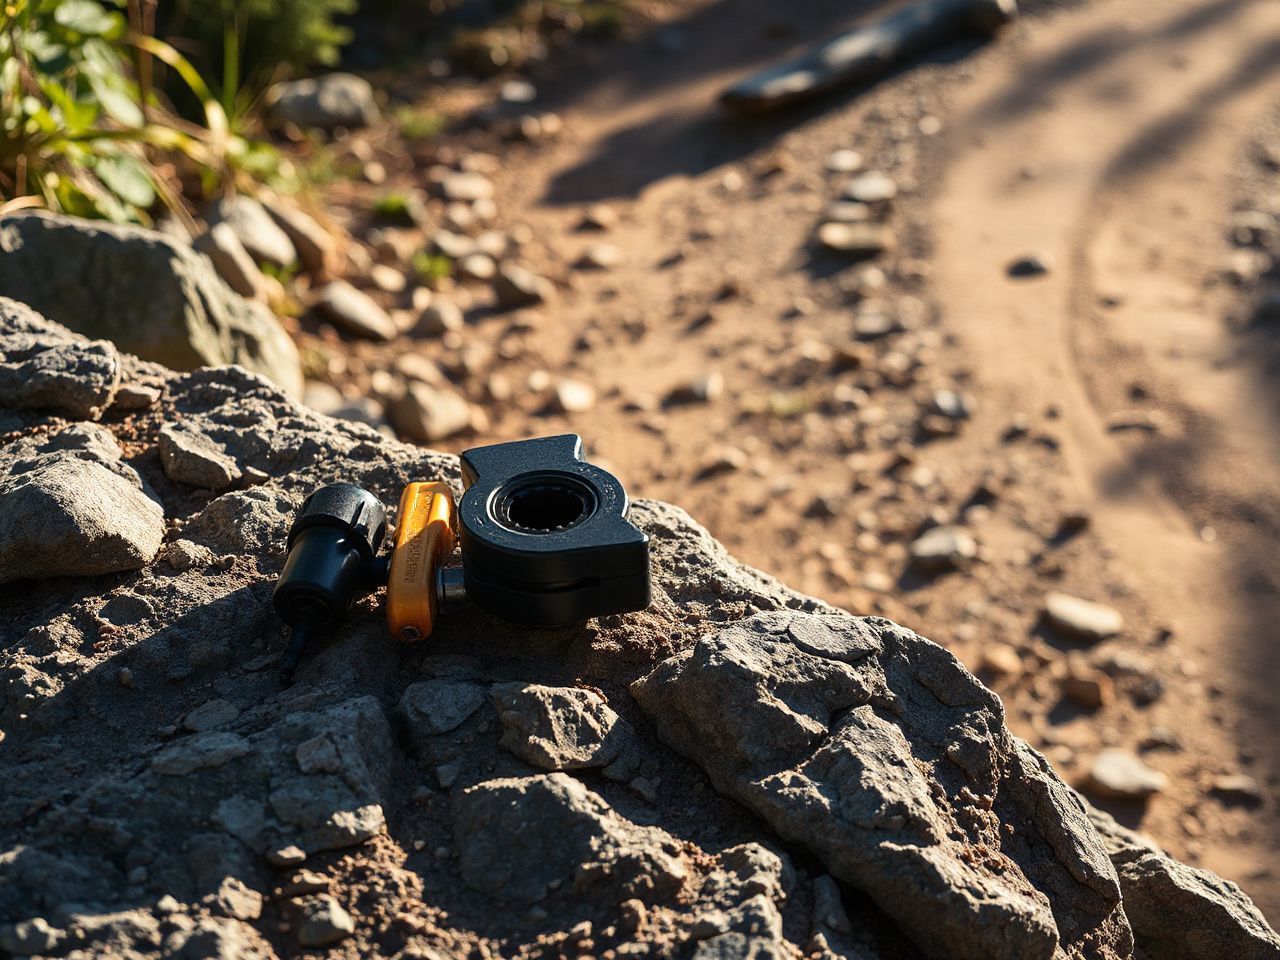
Trailside repairs can save your ride. A flat tire, a loose bolt, or a snapped cable doesn’t have to end your day. The key is carrying the right tools and knowing how to use them. A typical trail toolkit includes a multi-tool with hex keys (2-8mm), a tire lever set, a patch kit, a mini pump or CO2 inflator, and a chain breaker. For more serious trail fixes, add a derailleur hanger alignment tool and a spoke wrench. A simple bent hanger can often be fixed quickly with a $15 tool.
 mountain bike md – step by step” loading=”lazy”>
Diagnosing Common Mountain Bike Noises
Creaks, clicks, and pops are your bike’s way of asking for attention. Let’s break down the most common sounds and their fixes.
Clicking or Creaking from the Bottom Bracket
A rhythmic click with each pedal stroke often means a loose bottom bracket or dry bearings. Remove the crankset, inspect the bearings for play or roughness, and tighten the cup to 35-40 Nm of torque. If the noise persists, replace the bearings. A clean, well-greased bottom bracket should be silent.
Chain Slap or Rattle from the Rear
Chain slap is normal on rough terrain, but excessive rattle indicates a loose chain or worn drivetrain. Check chain wear with a chain checker tool — replace at 0.75% stretch. If the chain is new but still noisy, adjust the rear derailleur’s clutch tension or install a chainstay protector.
Brake Squeal
Squealing brakes usually mean contamination. Clean rotors with isopropyl alcohol and a clean rag. Sand the brake pads lightly with 150-grit sandpaper to remove glazing. Bed in new pads with 20-30 hard stops from 15 mph to 2 mph. If the noise continues, the pads may be worn past the wear line.
Drivetrain Adjustments: Shifting Smoothly
A properly adjusted drivetrain is the heart of a good ride. Here’s how to dial in your shifting.
Setting Cable Tension
Start with the barrel adjuster at the shifter. Turn it clockwise until it stops, then back it out 2 full turns. Shift to the smallest cog and loosen the cable anchor bolt. Pull the cable tight with pliers, then tighten the bolt to 5-6 Nm. Test shift through the gears — if it hesitates to shift up, turn the barrel adjuster counterclockwise 1/4 turn at a time. If it hesitates to shift down, turn clockwise.
Indexing the Derailleur
With the bike in a stand, shift to the middle of the cassette. Adjust the limit screws: the low-limit screw (marked ‘L’) prevents the chain from overshooting the largest cog; the high-limit screw (‘H’) prevents overshoot on the smallest. Turn each screw until the chain runs smoothly without rubbing. Fine-tune with the barrel adjuster.
Replacing a Broken Chain
A broken chain is the most common trailside failure. Use a chain breaker to push out the damaged pin. Install a quick link (make sure it matches your chain speed — 9, 10, 11, or 12-speed). Press the link together until it clicks. Spin the pedals backward to check for stiff links. If you’re looking for a reliable ride, consider a model like the Trek 800 Mountain Bike: Our Top Picks for 2026 for its durable drivetrain components.
Suspension Setup for Trail Performance
Proper suspension setup transforms how your bike handles. Here’s how to get it right.
Setting Sag
Sag is the amount your suspension compresses under your weight. For trail riding, aim for 25-30% sag on the fork and 30-35% on the rear shock. With the bike on level ground, put on your riding gear. Measure the distance from the fork seal to a zip tie on the stanchion. Sit on the bike in a riding position, then measure again. The difference divided by total travel gives your sag percentage. Adjust air pressure accordingly.
Adjusting Rebound
Rebound controls how fast the suspension returns after compression. Too fast, and the bike feels bouncy; too slow, and it packs down on consecutive bumps. Start with the rebound dial at the middle setting. Ride a bumpy trail section. If the bike feels like it’s kicking you forward, slow the rebound (turn the dial clockwise). If it feels sluggish and doesn’t return fast enough, speed it up (counterclockwise). A good rule: set rebound so the fork returns to full extension in about 1.5 seconds after compressing it by hand.
Compression Damping
Compression damping controls how fast the suspension compresses. For climbing, increase low-speed compression to reduce bob. For descending, open it up for better small-bump sensitivity. Most forks have separate low- and high-speed adjustments. Start with low-speed compression at 3-4 clicks from fully open, and high-speed at 2 clicks from fully open. Adjust based on feel.
Brake Maintenance: Stopping Power
Reliable brakes are non-negotiable on the trail. Here’s how to maintain them.
Bleeding Hydraulic Brakes
Spongy brakes mean air in the system. You’ll need a bleed kit specific to your brake brand (Shimano, SRAM, Magura). Remove the caliper and pads. Attach the bleed cup to the lever, and the syringe to the caliper. Push fluid from the caliper upward until no bubbles appear in the cup. Close the lever bleed port, then remove the syringe. Reinstall pads and pump the lever to restore pressure. Replace brake fluid every 12 months or if it looks dark or contaminated.
Adjusting Mechanical Disc Brakes
Cable-actuated brakes need periodic adjustment. Loosen the caliper mounting bolts. Spin the wheel and squeeze the lever firmly, then tighten the bolts to 8-10 Nm. This centers the caliper over the rotor. If the rotor rubs, adjust the inboard pad position using the pad adjuster knob (if equipped) or by bending the rotor gently with a rotor truing tool.
Wheel and Tire Repair
Flat tires are the most common trail issue. Here’s how to fix them fast.
Fixing a Tubeless Flat
If you run tubeless tires, a puncture smaller than 1/4 inch can be sealed with a plug. Use a tire plug tool and a rubber plug strip. Insert the plug into the puncture, then pull it out so the plug is flush with the tire surface. Inflate the tire to 35-40 psi to seat the bead. If the tire won’t hold air, you may need to remove the valve core and add sealant through the valve stem. For larger cuts, a tire boot (a folded energy bar wrapper works in a pinch) can hold until you get back to the trailhead.
Trueing a Bent Wheel
A wobbling wheel can rub the frame or brake. Use a spoke wrench to tighten or loosen spokes on the side opposite the wobble. For a wobble to the left, tighten the spokes on the right side of the rim by 1/4 turn each. Check after each adjustment. A truing stand is ideal, but you can also use the brake pads as a reference point. If you’re planning a trip, check out The Complete Guide to Bike Trips in Spain for routes that demand reliable wheels.
Preventive Maintenance Schedule
Regular maintenance prevents trailside failures. Here’s a simple schedule.
- After every ride: Wipe down the frame and drivetrain. Check tire pressure and brake function.
- Every 50 miles: Clean and lube the chain. Inspect brake pads for wear.
- Every 200 miles: Check spoke tension and true wheels. Grease pivot points on suspension.
- Every 500 miles: Bleed brakes. Replace chain if worn. Check bottom bracket and headset bearings.
- Annually: Full suspension service (fork and shock rebuild). Replace all cables and housing.
Frequently Asked Questions
What tools should I carry on every ride?
Carry a multi-tool with hex keys (2-8mm), a tire lever set, a patch kit, a mini pump or CO2 inflator, a chain breaker, and a quick link. For longer rides, add a derailleur hanger alignment tool and a spoke wrench. A small first-aid kit is also smart.
How often should I replace my mountain bike chain?
Replace your chain at 0.75% stretch measured with a chain checker. For most riders, this happens every 300-500 miles. Replacing the chain early prevents wear on the cassette and chainrings, saving you money in the long run.
Why do my disc brakes squeal after riding in the rain?
Wet conditions cause water and grit to contaminate the rotor and pads. The noise is usually temporary. Dry the rotors with a clean rag and apply the brakes lightly while riding to evaporate moisture. If the noise persists, clean the rotors with isopropyl alcohol and lightly sand the pads.
Can I fix a broken derailleur on the trail?
Yes, if you have a derailleur hanger alignment tool and a spare hanger. A bent hanger can often be straightened. If the derailleur body is broken, you can shorten the chain and run it as a single-speed to get home. Remove the derailleur, route the chain around the largest cog and chainring, and secure it with a quick link.
What’s the best way to store my mountain bike during winter?
Clean and dry the bike thoroughly. Lubricate the chain and all pivot points. Inflate tires to 50 psi to prevent flat spots. Store in a cool, dry place away from direct sunlight. If storing for more than 3 months, remove the battery (if e-bike) and store it at 50-60% charge in a temperature-controlled room.
For more trail inspiration and bike maintenance tips, read our Bike Trips In Spain: Your Complete Guide for routes that demand a well-tuned rig.