Cold Weather Gear: What to Know Before You Buy This Year
Contents
Warmth depends on the whole clothing system.
Cold weather gear works as an adjustable system rather than as a single warm garment. The base layer manages moisture, the insulating layer holds heat, and the outer layer limits wind and precipitation. Measure the opening first. Staying warm while dry and active depends on how these layers work together. Excess heat and sweat can make the same clothing system ineffective when activity slows or conditions worsen.
That distinction should guide every decision. Starting with safety evidence before appearance is wise: a garment that looks technical but lacks independent testing or certification info needs careful scrutiny. For footwear, the related guide to choosing boots for severe winter conditions can help connect the clothing system to the ground beneath you.
Key Takeaways
- Build layers around moisture control, trapped air, wind protection, and easy adjustment.
- Wet or compressed insulation loses useful warmth, so ventilation and timely clothing changes matter.
- Clothing cannot replace shelter, hydration, rest, or prompt action for frostbite and hypothermia signs.
Cold Weather Gear Starts With Causes, Not Features
Cold conditions challenge clothing through several paths at once. Wind strips away warm air near the body, precipitation adds moisture, and physical activity produces sweat that can collect inside layers. A garment can feel warm at the start of a walk but become a poor choice later if heat can’t escape or damp layers can’t dry out.
Insulation works by trapping air, but compression, sweat, and moisture reduce its effectiveness. That principle explains why a thick-looking item may underperform after it is packed tightly beneath a strap, soaked by rain, or worn next to damp skin.
Why trapped air matters
Insulating fibers and lofted materials create spaces that hold air, slowing heat loss. Down insulation, synthetic insulation, and fleece all use different structures, but their main role is similar: creating a layer between the body and the colder outside environment.
Compression reduces those air spaces. A tight shoulder strap, a crowded sleeve, or too many layers pressed together can make insulation less effective in that area. Fit has a practical purpose. A layer needs room to retain its insulating structure while still allowing the outer shell to move freely.
Down insulation is valued for its light, compressible structure, but dampness can reduce its loft. Synthetic insulation is often chosen for conditions where moisture is likely because it can remain useful when damp, though no wet insulation should be treated as a substitute for drying and shelter. The correct conclusion is not that one material works everywhere; the correct conclusion is that the weather, activity, and drying options determine the risk.
Why moisture changes the equation
Moisture comes from outside and inside. Rain, snow, slush, and wet vegetation can reach the outer layer, while sweat can saturate a base layer during climbing, shoveling, hiking, or motorcycle riding. Cotton can stay damp next to the skin and lose insulating value, making it a poor choice for prolonged wet and cold conditions.
Merino wool can manage moisture near the skin, while synthetic base layers can move moisture away from the body. Neither material makes overheating harmless. If the base layer becomes wet, the insulation above it must warm damp fabric before it can provide its intended comfort.
Signs of overheating include a clammy base layer, damp hair or skin, and moisture inside the shell. The urge to open every closure during exertion is also common. Treat those signs as instructions to adjust early. Removing a layer before a rest is easier than trying to warm damp insulation after activity stops.
Why wind and precipitation need different defenses
A windproof shell blocks moving air, but wind resistance alone doesn’t promise protection from rain or melting snow. A waterproof shell can block precipitation while also limiting the escape of body moisture. Ventilation and layer adjustment matter in those cases.
The difference is straightforward. A windproof outer layer may be enough in dry, exposed conditions where the main problem is moving air. A waterproof shell becomes more important when rain, wet snow, or slush can reach the insulation. In either case, the shell should allow practical movement and have closures that let the wearer manage heat.
A waterproof breathable membrane is designed to resist outside water while letting some body moisture escape. That doesn’t mean the shell will feel dry during hard exertion. Sweat can often produce more moisture than the shell can let out, especially when fully closed.
How to Build a Layering System for Activity
Layering should change with workload. Someone standing still at a trailhead needs a different setup from someone climbing steadily, riding a motorcycle, or carrying gear uphill. The best system can be opened, removed, and protected from weather without a long stop in exposed conditions.
Step 1: Choose the base layer for moisture control
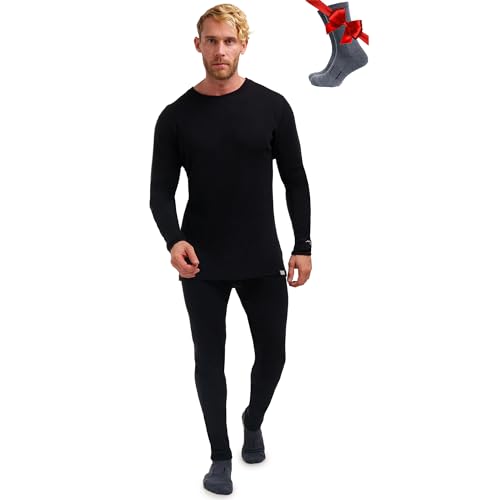
The base layer touches the skin, so its main job is managing moisture, not creating maximum bulk. Merino wool and synthetic fabrics are common choices. Cotton may feel comfortable when dry, but it can stay damp and lose insulating value during prolonged cold and wet conditions.
The base layer should fit close enough to move moisture away from the skin without restricting movement. Fabrics that bunch beneath a waistband or sleeve can create damp pressure points. Check the neck, wrists, lower back, and covered areas after activity begins.
Readers comparing moisture-management approaches can use this base-layer guide for cold conditions as a separate reference. The key check is simple: the layer shouldn’t leave the skin clammy when active.
Step 2: Add insulation according to activity
The insulating layer holds warm air near the body. Fleece, down insulation, and synthetic insulation can all serve that purpose, but their behavior changes with moisture, compression, and movement. Select enough insulation for slower periods, then plan how to vent or remove it during exertion.
Fleece can function as a flexible mid-layer because it is easy to combine with a shell and remove when the body heats up. Down insulation can provide substantial loft with little packed bulk, but moisture management becomes especially important. Synthetic insulation can be useful when damp conditions or limited drying opportunities are part of the trip.
Do not compress the insulating layer under a shell that is too tight. The wearer should be able to move the shoulders, bend the elbows, and operate closures without forcing the insulation flat.
Step 3: Finish with wind and precipitation protection
The shell is the system’s weather barrier. It can block wind, rain, wet snow, and spray, but its effectiveness depends on how well the wearer can regulate internal moisture. Pit zips, front openings, cuffs, and hem adjustments are practical because they let heat and damp air escape.
Keep the shell closed enough to protect insulation during exposed weather, then open vents during activity. A waterproof shell isn’t an excuse to ignore sweat. Managing moisture inside is still necessary even if precipitation can’t pass through the fabric.
Step 4: Adjust before rest stops
Activity level changes quickly when pausing. Someone climbing with just a base layer and shell may need insulation as soon as they stop moving. Keep that layer somewhere accessible instead of hiding it under other gear.
At the same time, avoid adding a lot of insulation over a wet base layer without fixing the moisture. Change damp layers if possible, find shelter, and shield dry clothing from rain. Rest periods can turn a small moisture issue into serious cooling.
Step 5: Protect hands, feet, and exposed gaps
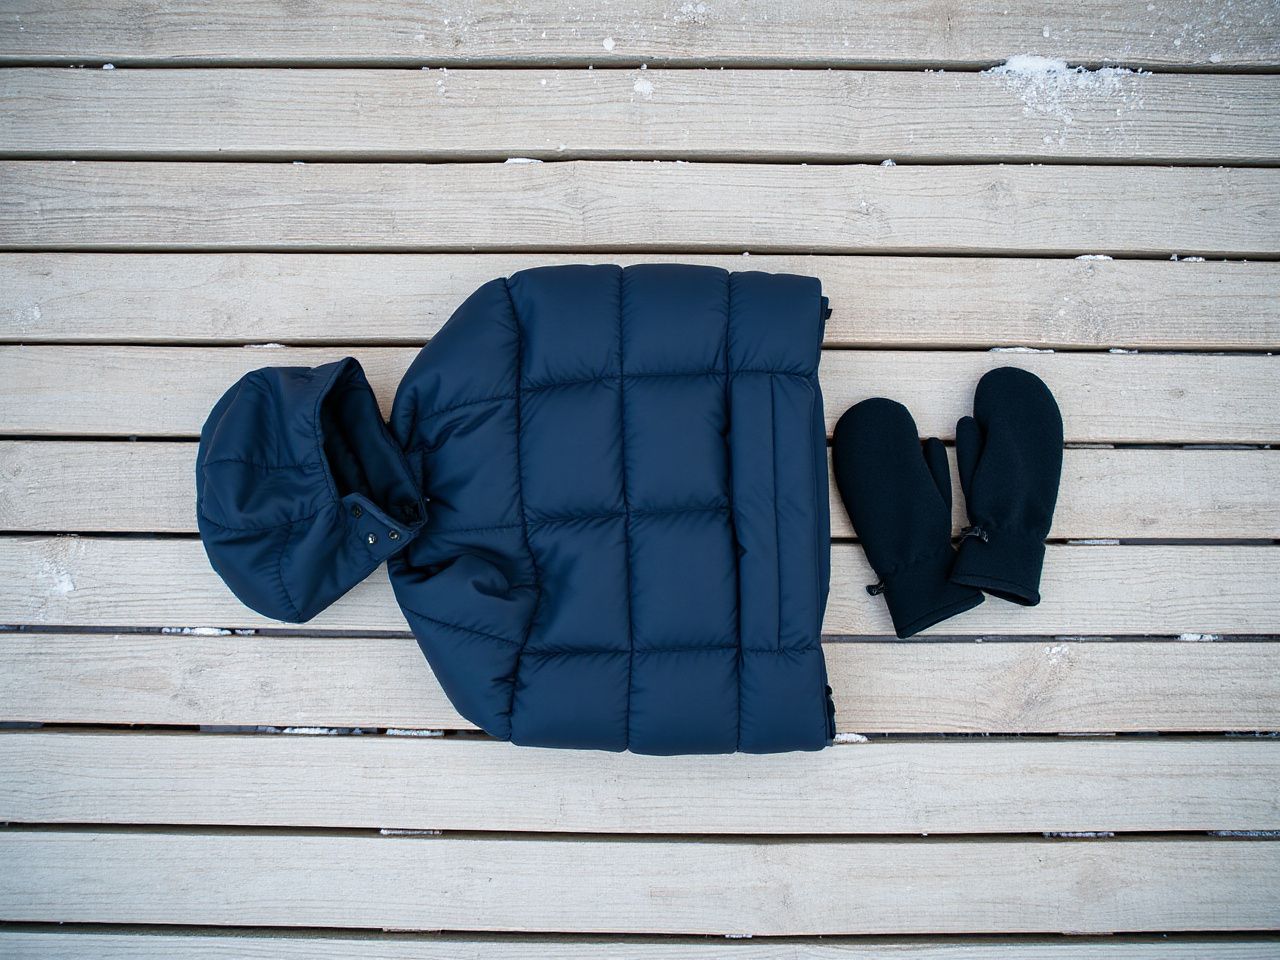
Mittens usually keep more warmth than gloves since the fingers share a warmer space. But, mittens often reduce dexterity. Gloves might be more practical for zippers, tools, controls, or motorcycle hand controls. A good system can include mittens for stationary times and gloves for tasks that need finger movement.
In snow or slush, socks, boots, and gaiters should work together. Socks sit next to the skin, boots separate the foot from cold and wet ground, and gaiters prevent snow or slush from entering around the lower leg. A wet sock can weaken the whole footwear system, so check the boot opening and gaiter seal after walking through wet terrain.
Vapor barrier liners can limit moisture moving into insulation in some cold-weather setups. They also change how moisture feels against the foot or hand. These liners need careful layering and regular inspection because trapped sweat still needs management.
How to Check Safety, Fit, and Environmental Cost
Appearance comes after evidence. For motorcycle clothing and protective gear, start by reading the actual label, test mark, declaration, or certification info that comes with the garment. References like ECE, DOT, or ASTM should be traceable to a clear document or marking, not just decorative language.
Read the label before trusting the claim
The ASTM International creates voluntary consensus standards. So, an ASTM reference should specify what was assessed and apply to the item you’re looking at. Vague phrases like “tested protection” don’t tell you which part was tested, under what standard, or if it’s about impact, abrasion, visibility, or another property.
The U.S. Consumer Product Safety Commission provides consumer safety information and recall notices, making its site a useful place to check safety concerns tied to consumer products. Certification marks still need to be read in context; a mark on one component does not automatically certify the complete clothing system.
When inspecting riding gear, check armor pockets, closures, seams, and how the protective insert fits with the garment. A removable insert might shift if the fit is loose or if the pocket doesn’t hold it in the right position. The label can’t replace a physical fit check.
Fit the system, not one garment
Try on the base layer, insulation, and shell together. Reach forward, bend, rotate your torso, close the cuffs, and see if the shell pulls upward. Motorcycle riders should also check their riding posture because sleeves, waist sections, and shoulders can shift during riding.
Look for pressure points where straps or pack belts cross the insulation. Too much compression can reduce trapped air, but excessive tightness can restrict movement and hinder ventilation. A loose shell might let in wind, but a tight one could flatten the mid-layer. The right fit balances these issues.
Consider durability and environmental impact
Cold weather clothing wears out faster if it gets soaked repeatedly. Careless drying, abrasion from straps, or storing it dirty can all cause damage. Oils and grit affect fabrics and closures, while torn insulation or damaged shell coatings create weak points. Small repairs early on can stop bigger problems from developing.
Synthetic fibers aren’t biodegradable and may take 200 years or more to break down. Laundry can release up to 700,000 microplastic fibers during a cycle with synthetic garments. Cleaning only when needed, following the care label, using the right wash method, and repairing instead of discarding can reduce wear and shedding. These steps give maintenance a broader purpose.
Care labels specify how to wash because insulation, membranes, coatings, and trims react differently to treatments. Avoid guessing about water temperature, detergent, tumble drying, or ironing when the manufacturer provides clear instructions. Following those details helps keep the garment in good shape.
Care, Storage, and Emergency Limits
Wash and dry insulated clothing carefully
Close fasteners before washing, clear pockets, and follow the care label. Down insulation needs thorough drying so the fill doesn’t clump, while synthetic insulation benefits from being completely dry before storage. A damp garment stored in a closet can develop odors and won’t be ready for the next use.
Never store an insulated jacket crushed inside a pack for a long time. Compression reduces loft during use, and long-term storage in a compressed state can make it harder to restore. Hang or store the item as per the care instructions, away from moisture and heat.
Repair the first visible failure
Check seams, cuffs, zippers, shell surfaces, and insulation after tough outings. A small tear can let fill escape or let water get in. A broken zipper might leave you unable to close the shell during wind or rain.
Use a repair method suited to the fabric and follow the manufacturer’s guidance. Improper adhesive, too much heat, or poorly placed patches can damage waterproof membranes. If impact inserts or structural areas in a motorcycle jacket are damaged, don’t assume a cosmetic fix will restore its tested condition.
Know when clothing is no longer enough
Cold weather clothing can’t replace shelter, hydration, rest, or timely action when signs of frostbite or hypothermia show. Numbness, confusion, weakness, uncontrolled shivering, or changes in coordination need immediate attention, not just another layer of clothing.
Move toward shelter, reduce exposure, and use dry clothing. Seek appropriate emergency help when needed. Don’t keep going just because the outer shell looks fine. Clothing is only part of a safety plan that also includes weather forecasts, route choices, communication, and a realistic turnaround point.
Frostbite and hypothermia prevention depend on early decisions. A dry spare layer, an accessible insulating garment, and a way to get out of wind or precipitation can matter more than carrying extra clothing that remains buried or becomes wet.
Use a simple pre-departure check
- Check the forecast for wind, precipitation, and changing conditions rather than air temperature alone.
- Confirm that the base layer is dry and that the insulation is not compressed beneath straps.
- Test shell closures, cuffs, vents, pockets, and hood adjustments before leaving shelter.
- Pack a dry layer where it can be reached during a rest stop.
- Check socks, boots, gaiters, gloves, and mittens for gaps that could admit snow or slush.
- Read safety labels and certification markings on protective riding equipment instead of relying on appearance.
A good cold-weather system is adjustable, inspectable, and maintainable. That standard is more useful than a promise that one garment can solve every condition.
Frequently Asked Questions
How should I layer cold weather gear for different activity levels?
Start with a moisture-wicking base layer, add insulation for warmth, and choose a windproof or waterproof shell based on conditions. During intense activity, open vents or remove insulation before sweat soaks the base layer. Before resting, change damp clothing if possible and add warmth early. The system should adapt with exertion, not stay fixed from start to finish.
Why does cold weather gear stop working after it gets wet?
Insulation depends on trapped air, but moisture can reduce that space and make fabric cold against the skin. A wet base layer can pull warmth away even if the outer layer stays dry. Down insulation needs to stay dry, while synthetic insulation might stay useful even when damp. Drying and shelter are important for both.
Are mittens warmer than gloves, and when should I use them?
Mittens usually keep more warmth because fingers share a space, but they limit dexterity. Use mittens during stationary periods, in exposed weather, or for tasks not requiring fine finger movements. Gloves are better for zippers, tools, controls, and motorcycle hand controls. An adjustable hand system helps match warmth and dexterity to the task.
What is the difference between a windproof shell and a waterproof shell?
A windproof shell is intended to reduce moving air reaching the insulation, while a waterproof shell is intended to block precipitation such as rain or wet snow. A waterproof breathable membrane can limit outside moisture while still allowing some body moisture to move outward, but heavy exertion can produce sweat faster than the shell can release it. Ventilation remains necessary.
When is clothing no longer enough in cold conditions?
Clothing is no longer an adequate response when a person develops concerning signs such as numbness, confusion, unusual weakness, uncontrolled shivering, or poor coordination. Seek shelter, use dry clothing, stop the exposure, and obtain appropriate emergency help. Cold weather clothing supports prevention, but it cannot replace hydration, rest, shelter, or timely action for frostbite and hypothermia.