Mountain Bike Trails Bay Area: What to Know Before You Start
Contents
A route can look open on a map and still prohibit bicycles at the gate, on a connector, or across one protected section. That is the common failure behind many poorly planned rides: the distance looks manageable, while loose fire roads, exposed ridges, redwood mud, steep hike-a-bike sections, or technical descents make a short route much harder than the profile suggests. A useful guide to mountain bike trails in the Bay Area separates legal access from apparent access and judges a ride by its surface, remoteness, and published grade rather than by cheerful marketing.
Key Takeaways
- Check the current land-manager notice and the bicycle rule for each trail, not only the preserve boundary.
- Choose by surface and technical demand as well as distance, elevation, and scenery.
- Carry navigation, water, basic repair supplies, and an emergency plan on remote or poorly covered routes.
- Rain, wildfire danger, erosion, construction, habitat protection, and electric-bike rules can change access quickly.
How to Choose Mountain Bike Trails in the Bay Area
The right route depends on the rider you are today, not the rider a trail description assumes. Start by separating fitness from handling skill. A rider may have the endurance for a long climb but lack confidence on loose switchbacks, while another may handle technical ground well but struggle with sustained elevation.
Step 1: Read the land-manager rule first
Bike access is controlled by the land manager, and a bike-legal preserve may still contain trails where bicycles are prohibited. East Bay Regional Park District, Marin County Parks, Marin Municipal Water District, Midpeninsula Regional Open Space District, California State Parks, and other agencies can apply different rules to nearby land.
Check the official notice for the exact park, preserve, road, and trail before leaving. A map line proves that a route exists; it does not prove that bicycles are allowed there today. Electric mountain bike access must be confirmed separately because an area that permits ordinary bicycles may apply a different rule to electric bicycles.
China Camp State Park illustrates why the details matter. Hikers and mountain bikers are permitted to access the state park, but the published route information also identifies a $3 Trail Use fee for trail access. The China Camp loop is 9 miles, follows Oak Ridge, Bayview Trail, and Shoreline Trail, and has 934 ft of total elevation gain and loss.
Step 2: Match the surface to your skill
Fire roads are generally wider routes where line choice is more obvious, but loose gravel can make climbing and braking demanding. Singletrack narrows the available line and can add roots, rocks, blind corners, and exposed edges. Paved park roads reduce surface roughness but may still include a serious climb or fast traffic interaction.
Distance alone does not describe mountain-bike difficulty. A short route with loose rock and a steep descent may demand more control than a longer route on a firm, gently graded road.
- Newer riders: Look for a legal route with clear junctions, modest exposure, and a surface you can brake on without panic. A shorter outing is useful if it leaves attention for navigation and trail etiquette.
- Developing riders: Seek a mix of climbing and manageable singletrack, then check whether the return includes a technical descent. The hardest section often arrives late, when fatigue reduces braking control.
- Experienced riders: Treat remoteness, route-finding, exposure, and repair logistics as part of the difficulty. A demanding ride is not defined only by its elevation figure.
Step 3: Use published route figures honestly
Published distance and elevation are useful starting points, not promises about how a ride will feel. Redwood Regional Park is listed at 8.77 mi and 1,357 ft, while El Corte de Madera Creek Open Space Preserve is listed at 13.25 mi and 3,028 ft. Those figures show a meaningful difference in climbing demand, but they do not reveal every loose corner, muddy section, or hike-a-bike pitch.
El Corte de Madera Creek Open Space Preserve sits in the Peninsula riding conversation because redwood scenery and a longer route can disguise the physical cost of the terrain. Riders should study the route profile, surface notes, junctions, and current notices before treating the mileage as a simple target.
For conditioning rather than route selection, the mountain bike training guide for building better rides can help organize climbing practice and handling work without pretending that fitness removes technical risk.
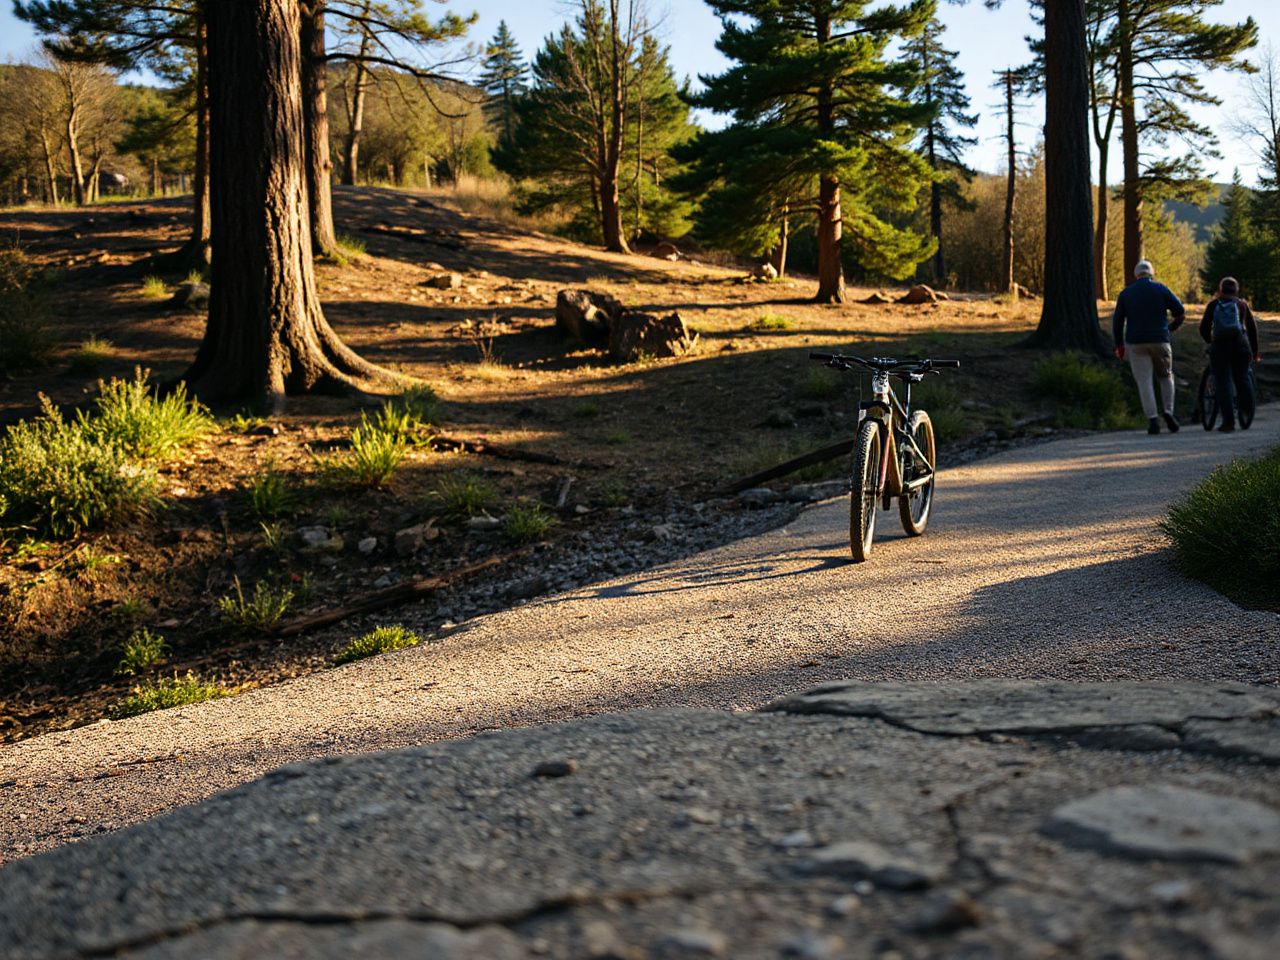
Beginner-Friendly, Scenic, and Demanding Areas
There is no single Bay Area riding character. Marin, the East Bay, and the South Bay present different combinations of surface, vegetation, exposure, climb length, and route density. Marketing often compresses these differences into a glowing label. A rider needs the less flattering version.
Marin: open views, mixed surfaces, and changing exposure
Marin County Parks, Mount Tamalpais State Park, and Marin Municipal Water District land can place fireroads, narrow trails, steep grades, and exposed viewpoints within the same wider riding region. The scenery can be rewarding, but open ridges make weather and wind more noticeable, while steep descents punish late braking.
China Camp offers a clearly identified loop with a shoreline element and a fee requirement. It may suit riders who want a defined route, but the legal-access check still comes first because adjacent trail systems can follow different rules.
Camp Tamarancho and Mount Tamalpais State Park are frequently discussed by riders seeking Marin terrain, yet a name on a route list is not a substitute for checking the current manager information. Trail status, bike permissions, and closures can change at the individual-trail level.
East Bay: fire roads, ridge exposure, and route-finding
East Bay Regional Park District areas can combine broad climbs with open ridges and networked junctions. Redwood Regional Park provides a useful contrast to the drier, more exposed feel associated with some Oakland Hills and Wildcat Canyon routes.
Oakland Hills and Wildcat Canyon have been sites of armed robberies involving bicycles. That fact belongs in route planning, not in sensational trail copy. Riders should consider whether they are traveling alone, how isolated the route becomes, where the exits are, and whether the ride plan leaves a reliable way to contact help.
Joaquin Miller Park, Crockett Hills, Shell Ridge, and Mount Diablo are names that appear often in East Bay route searches. Their presence in a search result does not establish a current bicycle rule, a safe parking condition, or a dry surface. Verify each area with its land manager before committing to a route.
Navigation deserves special attention here. Networked park roads can look interchangeable, and a wrong turn may send a rider onto a prohibited trail or add a steep return climb. Download or carry the official map where available, note major junctions before starting, and compare signs on the ground with the planned route rather than blindly following a colored line in an app.
South Bay and Peninsula: redwoods, sustained climbing, and technical sections
Midpeninsula Regional Open Space District preserves can change quickly from accessible park roads to narrow, shaded singletrack. El Corte de Madera Creek Open Space Preserve is listed at 13.25 mi and 3,028 ft, a combination that deserves respect even before surface and weather are considered.
The Demo Forest Flow Trail is listed at 11.17 mi with 1,904 ft of elevation change. The name may sound forgiving, but riders should judge the actual grade, turns, surface, and return route instead of assuming that a trail label removes technical work.
Soquel Demonstration Forest, Fremont Older Open Space Preserve, and Wilder Ranch are common South Bay or Peninsula search terms. Wilder Ranch Loop is listed at 11.13 mi and 1,505 ft. Those figures can help compare effort, but the current access notice still controls the decision.
Redwood shade can make a trail look inviting while concealing mud, roots, and slick braking zones. A damp surface needs a different pace from dry, firm ground, and a rider who leaves deep tire marks may be damaging the trail rather than merely having a difficult ride.
Trail Conditions, Weather, and Access Changes
Bay Area trail access can change because of rain, mud, wildfire danger, construction, erosion, or habitat protection. A route that was legal and rideable on one visit may be closed later, and a map application may lag behind the land manager’s notice.
Rain and mud
Riding a muddy trail can cut ruts, widen the route, and damage the surface. The visible sign is simple: if tires are leaving pronounced grooves or the tread is packing with wet soil, the route may be too soft for responsible riding. Turn around or use a firm, legal alternative.
Fire roads can remain slippery after rain even when they look broad and safe. Singletrack may hold water in shaded redwood areas, while exposed routes can dry sooner but develop loose, skidding sections. Surface condition matters more than a calendar label.
Wildfire and emergency closures
Wildfire restrictions may affect access, parking, or the entire preserve. Check the official agency notice immediately before departure, especially if the route crosses multiple managers. Do not assume that a clear sky means an open trail.
A rider on a remote route needs an emergency plan that works without a strong phone signal. Carry water, basic repair supplies, a navigation method that remains available offline, and a clear note of the intended route. Tell a trusted person where you are going and when to expect a return, without relying on a message sent from the trailhead to prove that the plan is safe.
Parking, transport, and real ride cost
The real cost of a ride can include a trail-use fee, parking, transit, transport for the bicycle, a repair after a damaged tire or chain, and time lost to a closed trailhead. China Camp’s $3 Trail Use fee is a confirmed example, but other charges vary by site and should be checked directly.
Free access is not the same as zero cost. A distant trailhead may require fuel or public transport, while a remote route may make a basic repair or replacement necessary. Put those practical costs beside the route’s distance before calling a ride inexpensive.
Navigation, Equipment Planning, and Trail Etiquette
Good preparation does not require a padded gear list. Carry what the route’s remoteness, surface, weather, and exit options require. More equipment is not automatically better if the rider cannot find the next junction or explain the emergency plan.
Build a simple route plan
- Confirm permission: Read the current notice for every agency and every trail in the planned route.
- Mark exits: Identify roads, gates, junctions, and trailheads that can shorten the ride if conditions change.
- Study surfaces: Separate paved roads, fire roads, and singletrack on the map. A route that looks continuous may change character sharply.
- Save navigation: Use an official map or navigation app, but keep a backup method and do not depend on live cell service.
- Set a turnaround rule: Turn back when the surface is damaging, the weather worsens, the route is closed, or the remaining technical demand exceeds the group’s ability.
Riders often get lost because several trails share similar names, signs appear only at major junctions, or a planned loop quietly becomes an out-and-back after one closure. Stop at every unclear junction, check the direction of travel, and compare the surroundings with the map. Continuing quickly in the wrong direction is rarely efficient.
Carry for the actual route
- Water suited to the planned distance and heat.
- Basic repair supplies for the problems your bike can reasonably develop.
- A navigation device or map that remains usable without cell coverage.
- A charged phone, emergency contact plan, and identification.
- A layer or weather protection appropriate to exposed ridges and shaded forest.
The mountain bike repair guide is useful for reviewing basic roadside fixes before a remote outing. The point is not to carry a workshop; the point is to know which faults you can address and when walking out is the sensible option.
Share narrow trails properly
Riders should yield appropriately on shared trails, control speed around blind corners, and give hikers and equestrians enough room to feel safe. Slow before the corner, announce your approach without shouting, and stop when the trail width or sightline makes passing uncertain.
Wildlife needs space too. Do not chase, crowd, or block an animal, and do not assume that speed gives you priority. A rider who can stop before a blind turn has more choices than a rider who enters it at maximum pace.
Comparing Fire Roads, Singletrack, and Paved Park Roads
Surface type changes how a rider spends attention. Fire roads offer room to choose a line but can conceal loose gravel and abrupt drainage cuts. Singletrack restricts the line and magnifies mistakes around roots, rocks, side slopes, and blind corners. Paved park roads reduce tire-related uncertainty but can still demand climbing fitness and careful interaction with other road users.
A fire road is not automatically easy. Loose material reduces traction during climbing and can cause the rear wheel to spin or the front wheel to wander. Descend with controlled braking and avoid locking a wheel, because a skidding tire removes steering control and can damage the surface.
Singletrack rewards looking ahead. Keep speed low enough to process the next turn, shift body position before a steep change, and avoid braking hard while already committed to a loose corner. Roots and wet rock deserve the same caution as visible mud because both can reduce grip.
Paved park roads can be appropriate for a lower-technicality outing, but route legality and traffic conditions still matter. A smooth surface does not guarantee a gentle grade, quiet road, or simple navigation.
Frequently Asked Questions
How do I find beginner-friendly mountain bike trails in the Bay Area without choosing an unsafe route?
Start with bicycle permission, current opening status, and a route whose surface you can control. Look for clear junctions and a manageable return rather than relying on distance alone. A shorter ride on firm ground may be more suitable than a longer route with loose descents, exposure, or hike-a-bike sections. Check the land manager immediately before leaving.
Can I ride an electric mountain bike on the same trails as a regular mountain bike?
Not automatically. Electric mountain bike access varies by park, preserve, road, and trail, so confirm the rule separately from ordinary bicycle access. A preserve may permit bicycles while restricting electric bicycles on particular routes. Read the current notice from the responsible land manager and do not treat an app symbol or a neighboring trail’s rule as permission.
What should I carry on remote Bay Area mountain bike routes?
Carry water, basic repair supplies, navigation that works without dependable cell service, a charged phone, and an emergency plan shared with someone who is not on the ride. Mark exits and turnaround points before starting. Oakland Hills and Wildcat Canyon have been sites of armed robberies involving bicycles, so route choice and group planning should also account for isolation and personal security.
The U.S. Consumer Product Safety Commission publishes consumer safety information relevant to bicycles, so riders should use government guidance alongside the land manager’s access rules. The ASTM International site explains its role in developing voluntary consensus standards; riders should not treat a product label or marketing statement as permission to use a particular trail.
For context beyond California, the complete guide to cross-country mountain bike trails explains how route length, climbing, surface, and navigation fit together. Those principles travel well, but Bay Area access still depends on the local agency and the current notice.
Reliable trail planning is deliberately plain: verify access, compare the surface with your skill, prepare for the least connected section, and leave when conditions are damaging or unsafe. That approach produces fewer dramatic route claims, but it gives riders a much better chance of finishing the intended ride without creating a problem for the trail or the people sharing it.