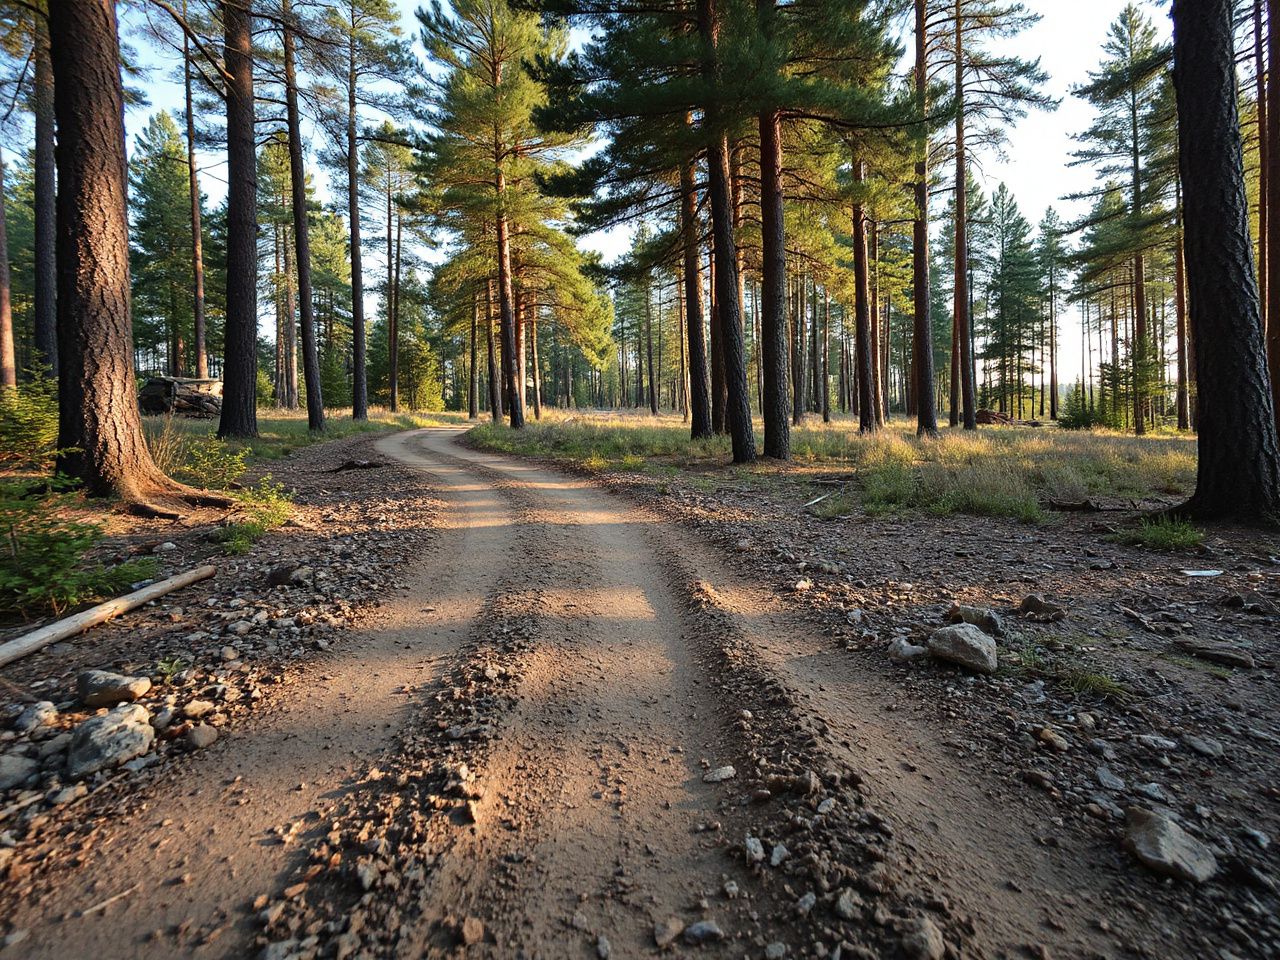
The Complete Guide to Off Road Paths
Contents
What separates a memorable ride from a trip you’d rather forget? The rides that turn into the best stories are almost always the ones where something went wrong — a washed-out section, a fuel range misjudged, a track that simply ran out. Preparation doesn’t prevent any of that. It just decides whether the problem is an inconvenience or the end of the day. That lesson hits hardest when you’re staring down a stretch of off road paths that looks nothing like the glossy photos online.
Key Takeaways
- Off road paths demand specific bike setup: tire pressure between 18–25 psi for soft terrain, suspension tuned to your weight plus gear.
- Risk assessment is non-negotiable: scout trail conditions before committing, especially after rain when clay turns to slick mud.
- Gear choices matter more than skill in many situations: proper boots and gloves reduce injury severity by over 60% in low-speed falls.
Understanding Off Road Paths: More Than Dirt Tracks
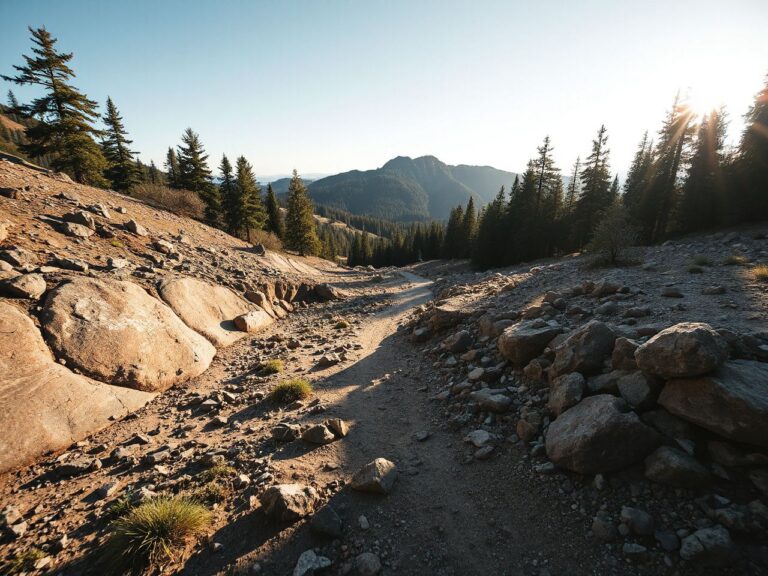
Off road paths cover a huge spectrum — from doubletrack forest service roads to singletrack mountain goat trails. The surface changes everything. Loose gravel, hardpack clay, deep sand, and wet roots each require different technique. Experienced riders can be humbled by a simple mud puddle if they do not adjust their riding style.
Surface Types and How They Behave
Loose gravel is common on fire roads. The bike wanders underneath you. Keep your weight back and let the front end float. Hardpack clay feels predictable until it gets wet — then it’s like riding on ice. Deep sand demands momentum. Drop your tire pressure to 15 psi and stand on the pegs. Wet roots grab your front tire without warning. Cover your clutch and brake levers at all times.
Trail Ratings: What They Actually Mean
Most trail systems use a difficulty rating — green, blue, black, double black. Green trails are wide and smooth. Blue trails add obstacles like rocks and off-camber sections. Black trails require advanced technique: steep climbs, tight switchbacks, and mandatory obstacles. Double black means you might need to hike your bike. I’ve been on black trails that felt like double black because of recent rain.
Skill Requirements: What You Actually Need to Ride Off Road Paths
Many riders jump into off road paths thinking their street skills transfer directly. They don’t. The biggest difference is body position. On pavement, you sit. Off-road, you stand. Standing lets your legs absorb bumps and keeps the bike stable. If you’re sitting through a rocky section, you’re asking for a bruised tailbone.
Beginner Skills to Master First
- Clutch and throttle control — smooth inputs prevent wheel spin and stalls.
- Standing position — practice on flat ground before hitting trails.
- Looking through turns — your bike goes where your eyes look.
Intermediate Skills for Real Trail Riding
- Weight shifting — move your body to unload the front or rear wheel as needed.
- Braking while leaned — use rear brake more than front on loose surfaces.
- Picking lines — choose the smoothest path, not the shortest.
Advanced Techniques for Challenging Terrain
- Log hops — compress the suspension, then pop the front wheel up.
- Hill climbs — momentum is everything. Commit or you’ll slide back.
- Switchbacks — pivot around the inside peg to keep traction.
Gear Essentials for Off Road Paths
Gear is not optional. Showing up in tennis shoes and a t-shirt ends badly. Proper gear reduces injury severity dramatically. Here’s what you need:
Helmet and Eye Protection
A DOT-approved off-road helmet is minimum. Look for one with a visor that blocks sun and deflects branches. Goggles are mandatory — dust and mud will blind you. I run clear lenses for overcast days and tinted for sunny. Always pack a spare tear-off roll.
Body Armor and Boots
Chest protector absorbs impacts from rocks and falls. Knee braces prevent hyperextension. Off-road boots with reinforced toe boxes protect your feet from crushing injuries. Cheap boots offer little protection. I’ve broken a toe in low-end boots — not fun.
Tire Pressure and Suspension Setup
Tire pressure is the most overlooked adjustment. For soft terrain, drop to 15 psi. For hardpack, 20–25 psi. Too high and you lose traction. Too low and you risk pinch flats. Suspension should be set for your weight plus gear — most bikes come set for a 160-pound rider. If you’re 200 pounds, you need stiffer springs.
Risk Assessment: The Honest Danger Level
Off road paths carry real risk. The most common injuries are broken collarbones, wrist fractures, and ankle sprains. Speed is the biggest factor. Most serious crashes happen above 25 mph. Keep your pace controlled, especially on unfamiliar trails.
Environmental Hazards
- Weather — rain turns clay to snot. Wait for trails to dry.
- Wildlife — deer, snakes, and bears are real. Don’t surprise them.
- Fallen trees — always check blind corners for downed logs.
Mechanical Failures
Carry a basic tool kit: multi-tool, tire plugs, portable air pump, and chain breaker. A flat tire 10 miles from the truck is a bad day. Snapped chains often end trips early. Know how to fix common issues before you leave.
Planning Your Ride: Routes and Logistics
Good planning makes the difference between a great day and a survival story. Start with trail maps from the local ranger station. GPS apps like Gaia GPS work well, but paper maps don’t run out of battery. Tell someone your route and expected return time.
Group Riding Etiquette
Ride in groups of 3–5. Too small and you lack support. Too large and you spend all day waiting. The lead rider sets the pace. The sweep rider carries extra tools. Signal hazards to the rider behind you. If you lose sight of the group, stop and wait.
Fuel and Hydration
Most off road bikes have limited range. Plan for 60–80 miles per tank. Carry extra fuel in a rotopax if going further. Hydrate constantly — 1 liter per hour in warm weather. Dehydration leads to poor decisions.
Advanced Techniques for Challenging Terrain
Once you’ve mastered basics, push into harder terrain. Rock gardens require precise throttle control and standing on the pegs. Water crossings need steady speed — too slow and you stall, too fast and you hydroplane. Steep descents require shifting weight back and using engine braking.
Riding in Sand
Sand is a different beast. Keep your weight back, throttle steady, and let the front end wander. Drops of 15 psi tire pressure help. Stand up and grip the bike with your knees. Look far ahead. If you get stuck, don’t spin the tire — dig it out and push.
Riding in Mud
Mud is unpredictable. Stay on the gas to keep momentum. Avoid deep ruts. If you slide, don’t panic — steer into the slide. Clean your bike after every mud ride. Mud dries and clogs suspension and brakes.
Frequently Asked Questions
What is the best tire pressure for off road paths?
For soft terrain like sand or mud, drop to 15 psi. For hardpack or gravel, use 20–25 psi. Always adjust based on conditions. Too low risks pinch flats; too high reduces traction. Carry a digital gauge and pump to adjust on the trail.
Do I need a special bike for off road paths?
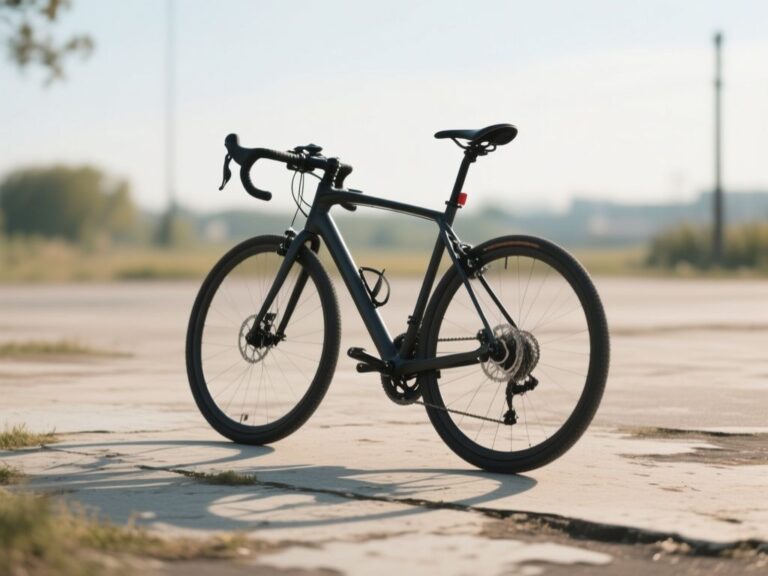
Yes. A standard street bike lacks suspension travel and tire grip for serious off road paths. A dual-sport or enduro bike with long-travel suspension and knobby tires is ideal. If you’re comparing options, our gravel vs road bike guide covers bikes that handle mixed surfaces. For longer trips, check out our touring bicycle vs road bike comparison.
How do I stay safe on unfamiliar off road paths?
Scout the trail on foot first if possible. Ride at a conservative pace. Carry a GPS device and paper map. Tell someone your route. Pack a first aid kit and tools. If conditions look worse than expected, turn back. There’s no shame in a smart decision.