Hiking Clothes for Ladies: Where Layering Goes Wrong
Contents
Layering decides whether a hike stays comfortable.
The key difference is between clothing that manages moisture during movement and clothing that protects against exposure when movement slows. A single heavy garment rarely does both well. For hiking clothes for ladies, fit must be judged while walking, bending, layering, and wearing a backpack. Pressure at the bust, thighs, waistband, and hip belt can create problems that are not obvious when standing still.
A practical clothing system starts with a moisture-managing base layer. Add insulation only when needed, and keep a waterproof-breathable rain shell available for changing weather. The right system also makes bathroom access, menstrual care, sun protection, and movement easier.
Key Takeaways
- Dress for activity and pauses separately: moisture control belongs close to the skin, while insulation and rain protection belong in removable layers.
- Judge women’s hiking clothing with a loaded backpack, bent knees, raised arms, and normal walking movement.
- Prevent chafing by checking thigh seams, bra bands, waistbands, hip-belt contact, and damp fabric before starting.
- Careful washing, drying, and repair can extend the useful life of merino wool, fleece, synthetic clothing, and rain shells.
How to Build Hiking Clothes for Ladies Around Changing Conditions
Weather can change during a hike, but clothing can be adjusted before the body becomes sweaty or chilled. Start with the activity level and expected exposure. Carry a removable layer for when movement slows. Clothing that feels comfortable at the trailhead may become clammy on an ascent and inadequate during a windy pause.
Step 1: Choose a moisture-managing base layer
The base layer sits against the skin. Its job is to move moisture away from areas that stay covered, including the back, underarms, breasts, and waist. Merino wool and synthetic fabrics such as polyester can both serve this role. They feel different against the skin and behave differently during washing and drying. Nylon may appear in blended hiking clothing, while elastane can provide stretch for bending and climbing.
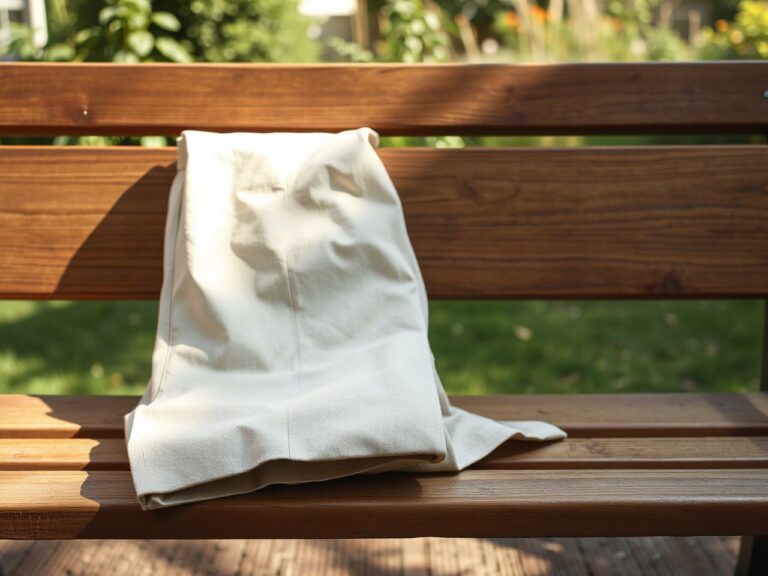
Cotton absorbs moisture and dries slowly, which can leave the wearer chilled during pauses or changing weather. It may feel pleasant at the start of a short, dry walk, but it’s a poor choice as the main layer for a demanding route. Wet fabric will remain against the body, and that’s often uncomfortable.
A cotton base layer dries slowly after absorbing sweat, so it can leave the wearer chilled during a pause.
A sports bra should provide stable support without creating a hard pressure line under a pack strap or hip belt. Check the band while reaching forward and lifting the arms. A bra that feels fine while standing may rub once shoulder straps pull the fabric across the chest.
Step 2: Add insulation that can come off easily
An insulating layer holds warmth when activity drops or air becomes colder. Fleece is useful here because it can be worn over a base layer. It can also be removed before climbing becomes sweaty. A fleece layer should not be treated as a substitute for rain protection. Insulation and weather resistance solve different problems.
Layers should be adjusted before the wearer becomes sweaty or chilled. Damp clothing loses insulating value and can cause discomfort. Open a front closure, push sleeves up, or remove the insulating layer before sweat builds at the back and underarms. Put the layer back on before a full chill sets in.
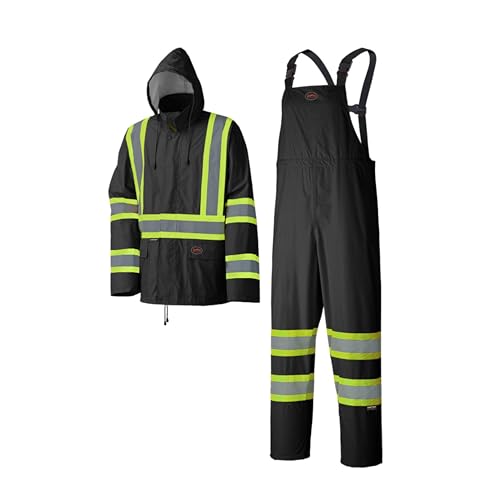
Fleece provides insulation, while a rain shell provides protection from precipitation; the two layers have separate jobs.
Step 3: Keep a rain shell ready for exposure
A waterproof-breathable rain shell only blocks rain when its hood, cuffs, hem, and closures are adjusted properly. Breathability doesn’t eliminate sweating, so a shell can still feel damp inside. Ventilation and changing layers at the right time still matter.
Adjust the hood so it moves with your head without blocking peripheral vision. Close the cuffs over or around the wrist to stop rain from running toward the hand. Check the hem while wearing a backpack because a pack can lift the back of a jacket and expose the waistband. Closures should be easy to operate with cold or wet hands.
Don’t rely on a shell as the only clothing layer. A shell stops wind and rain from reaching the insulation, but it doesn’t replace a dry base layer or warm mid-layer during slow sections.
Step 4: Pack for movement, not for a still photograph
Carry the shell where it can be reached without unpacking the whole bag. The same applies to a warm layer, menstrual supplies, and tissues. Clothing that can’t be accessed during weather changes is functionally unavailable.
Loose cords, dangling straps, and poorly placed pockets can snag on vegetation or interfere with pack straps, trekking poles, or movement. Secure unused cord ends, ensure pocket openings aren’t under the hip belt, and make sure a phone or small item won’t press into the hip while walking.
The guide to hiking layers can help map the relationship between base, insulating, and outer layers. But the final check should be on the body with the actual pack.
How Women’s Hiking Clothing Should Fit in Motion
Women’s hiking clothing needs to support bust, fit around hips and thighs, and prevent chafing. Waistbands need to work with backpack hip belts. A label size can’t reveal all those pressure points. Fit should be judged through movement.
Test the upper body under pack straps
Put on the sports bra, base layer, insulating layer, and backpack in the order used on the trail. Reach overhead, bend forward, rotate the torso, and swing the arms like using trekking poles. Watch for fabric pulling across the bust, a hem riding upward, or a shoulder seam sitting under a strap.
A shirt should let you move your arms without exposing the lower back when you lean forward. Sleeves should stay useful with your arms raised. If the neckline presses under a sternum strap, it can become distracting during long movement, even if the shirt otherwise fits.
Backpack straps can change how a shirt and sports bra press against the bust, shoulders, and upper back.
Check trousers and leggings at the hips and thighs
Hiking trousers usually offer a structured feel and can make sense when the route includes brush, rough ground, or frequent contact with vegetation. Hiking leggings provide close contact and freedom of movement. Their usefulness depends on fabric stability, seam placement, waistband comfort, and the amount of rubbing between the thighs.
Neither category is automatically right for every body or trail. Squat, step up, sit on a low surface, and raise one knee to test fit. The waistband should stay in place without cutting into the abdomen or sliding under the hip belt. The crotch should not pull tight, and the fabric shouldn’t twist behind the knees.
Shorts, skorts, and skirts can work in warm conditions when the inner thigh area remains protected from friction. The hem should not interfere with walking. A longer garment might be more comfortable around brush or insects, while a shorter one can simplify movement and cooling. Route conditions, personal comfort, and sun or insect protection should guide the choice.
Prevent chafing before the trail starts
Chafing happens where damp skin, fabric movement, and pressure meet. Common areas include inner thighs, bra bands, underarms, waistbands, and the edge of a hip belt. A smooth fit helps more than just choosing a looser garment because excess fabric can fold and rub.
- Run a hand along the inner-thigh seam and look for a ridge that sits directly where the legs contact.
- Check the bra band with the backpack on, especially where shoulder straps and the sternum strap alter the garment’s position.
- Walk with the waist belt fastened and observe whether the waistband rolls, slides, or presses into a seam.
- Replace damp underwear or a wet base layer during a longer stop if practical rather than continuing in fabric that is already rubbing.
- Keep pockets and zippers away from the areas compressed by hip belts and shoulder straps.
Consider bathroom access and menstruation
Bathroom access is part of clothing design, not an afterthought. A complicated mix of bib-style straps, tight outer layers, and a closed waist can make a private stop awkward. Test how layers can be opened and lowered while wearing the clothing you expect to use.
During menstruation, choose an arrangement that keeps supplies reachable and allows a clean change without spreading every layer on wet ground. Dark colours may reduce concern about visible marks, but access and comfort matter more than appearance. Pack used materials in a sealed waste bag and follow the area’s rules for carrying them out.
The complete guide to what to wear for hiking offers a broader clothing sequence. Always check that sequence against your bathroom needs and your pack’s actual pocket layout.
Materials, Moisture, and Care
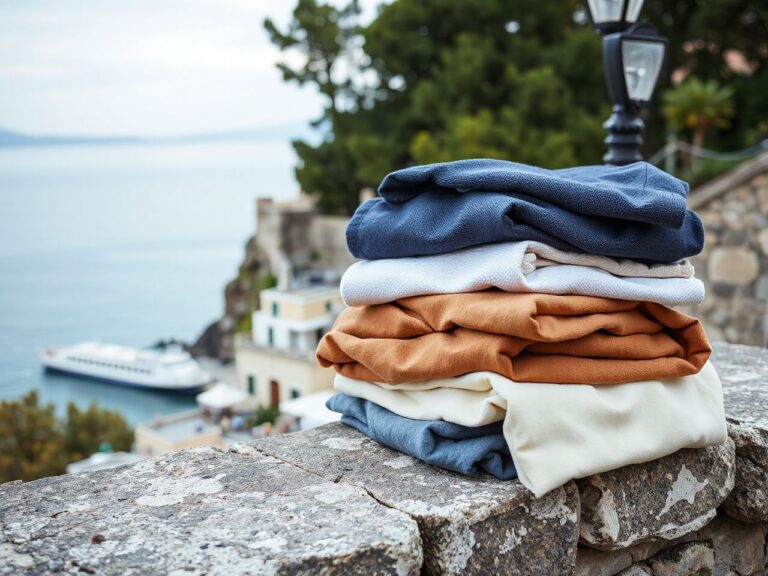
Fabric names matter less than the role each garment must perform. Merino wool can feel comfortable across changing activity levels. Polyester and nylon are common choices for moisture management and durability. Elastane adds stretch to some garments, but stretch doesn’t automatically mean a garment will stay comfortable under a hip belt.
Merino wool and synthetic fabric
Merino wool is often chosen for its soft hand feel and ability to remain useful across a range of activity levels. Synthetic fabric may dry more readily in some clothing systems. It can be practical when repeated washing or quick drying matters. The right choice depends on skin sensitivity, drying conditions, odour concerns, and how the garment fits under other layers.
No fabric removes the need to manage sweat. A merino shirt can become wet during hard effort, and a synthetic shirt can also feel clammy when moisture production exceeds drying. Vent the garment, remove an unnecessary layer, and change into a dry base layer when the conditions call for it.
Merino wool and synthetic fabric can both manage hiking moisture, but neither fabric prevents sweating during hard effort.
Why clothes feel wet when rain is absent
Wet-feeling hiking clothing usually points to sweat, trapped humidity, slow drying, or condensation inside an outer layer. A waterproof shell can keep rain out but still feel damp inside if the wearer is producing moisture faster than the clothing can move it.
Reduce the problem by lowering insulation before the body overheats. Open available ventilation, and keep the shell for actual exposure rather than wearing it continuously in mild, dry conditions. A damp base layer can also stay cold after effort ends, so change layers before a long rest.
Wash and dry garments according to their construction
Read each care label before washing. Separate heavily soiled clothing from delicate wool. Close fasteners that could catch fabric. Avoid treating every layer as if it were ordinary cotton. Merino wool benefits from gentle handling and should not be left damp in a closed bag. Fleece should be dried fully before storage.
Waterproof shells need particular care because dirt and residue can affect the surface treatment and reduce comfort. Do not assume that a shell’s water resistance will remain unchanged after careless washing. Follow the manufacturer’s instructions for detergent, washing, drying, and any later renewal treatment.
Dry clothing fully before packing it away. Store shells and insulation clean and dry. Repair small tears before they spread. Inspect elastic, closures, seams, and pocket edges during routine care. Extending garment life reduces replacement waste and keeps a familiar clothing system available for future trips.
Read claims with a safety-first filter
UPF, water repellence, waterproofing, and stretch describe garment features, not universal protection in every condition. A rain shell’s performance depends on adjusted hood, cuffs, hem, and closures. You still need to cover exposed skin or use other sun-protection measures, especially for the route.
The U.S. Consumer Product Safety Commission publishes consumer safety information and recall notices, so its site is a useful place to check a named clothing or equipment safety notice rather than relying on an unverified badge.
Clothing Mistakes That Make Hiking Harder
Many uncomfortable systems fail because layers were chosen separately. A shirt might fit fine without a pack, trousers may feel good without a base layer, and a shell can close until the hip belt covers its hem. The key is to test the whole system during movements the route requires.
Wearing one heavy garment instead of adjustable layers
A heavy garment may feel warm while resting but become too much during a climb. Once sweat builds up, removing it can leave you with too little protection for the next pause. Removable layers give more control because they let you respond to effort before dampness spreads.
Ignoring backpack compatibility
A hip belt can cover a trouser pocket, press against a waistband, or push a jacket hem upward. Shoulder straps might rub against a shirt seam and shift a sports bra. Always test every closure and pocket with the pack fitted as it will be worn.
Choosing fabric by appearance alone
A stylish shirt can still trap moisture, smooth leggings can cause thigh friction, and a jacket can leak around an unadjusted cuff. Appearance matters to confidence, but movement, moisture, and exposure decide if clothing supports the hike.
Leaving cords and straps unsecured
Loose cords and dangling straps can catch on vegetation, trekking poles, or pack hardware. Secure them before leaving and check again after adjusting the backpack. A pocket beneath a hip belt can be hard to access and might create pressure points.
Using hiking clothing without checking independent safety information
Certification language should be precise. Clothing may have a manufacturer claim or a performance description, but that doesn’t necessarily mean independent impact protection. ASTM International provides information about standards. The relevant government or standards body should be checked for the meaning of any certification mark on a garment or accessory.
A Simple Clothing Check Before Every Hike
Instead of relying on memory, do a quick system check. Lay out the clothing in the order you’ll wear it, then put it on with the pack. The check should match the route, expected exposure, and chances of long pauses.
- Skin layer: Confirm that the base layer and underwear are dry, comfortable, and free from rubbing seams.
- Support: Put on the sports bra and backpack, then check pressure around the bust, shoulders, and back.
- Leg movement: Walk, squat, step up, and lift each knee while checking the thighs, crotch, knees, and waistband.
- Layer control: Remove and replace the insulating layer without disturbing the base layer or pack.
- Rain protection: Put on the shell, adjust its hood, cuffs, hem, and closures, and check that the pack does not expose the lower back.
- Access: Reach the water, shell, warm layer, menstrual supplies, and waste bag without emptying the pack.
- Snag check: Secure cords and straps, then confirm that pockets do not interfere with the hip belt or trekking poles.
A clothing system that passes this check is more likely to stay comfortable because the test includes pressures and movements that standing still can hide. If one area pinches, rubs, twists, or traps heat before the hike, the trail won’t fix the problem. You want your clothes to move with you and not cause discomfort.
Frequently Asked Questions
How should I dress for a hike when the weather may change?
Use a moisture-managing base layer, carry a removable insulating layer, and keep a waterproof-breathable rain shell ready. Adjust your layers before you become sweaty or chilled. Make sure the shell’s hood, cuffs, hem, and closures are set properly because rain protection depends on those contact points. Keep layers where you can reach them without unpacking the backpack.
Are hiking leggings practical for women, or are trousers better?
Both leggings and hiking trousers can work when the fit stays stable during walking, squatting, and stepping up. Leggings might feel more convenient for close movement, but hiking trousers can offer more coverage around brush or rough ground. Check thigh friction, waistband pressure, pocket placement, and how the hip belt contacts your clothing. The route, weather, personal comfort, and bathroom access should guide your clothing choice.
What should I look for in hiking clothes for ladies during menstruation?
Prioritize supplies you can reach easily, straightforward bathroom access, and a waistband that doesn’t cause pain under the hip belt. Test your complete layer setup before the hike so you know which closures open first. Pack used materials securely and follow local waste rules. Clothing color can affect peace of mind, but access and comfort matter more than appearance.