Bicycle Travel: What Nobody Tells You Before Your First Trip
Contents
Loaded bicycles handle like cargo trucks. That is the first fact to accept before planning any bicycle travel trip, and it changes every decision that follows. The real distinction in bicycle travel is between self-supported touring and supported tours. This choice alone dictates gear weight, daily distance, and route flexibility. Beginners often confuse a commuter bike with a touring bike, ignoring the need for a low gear range and sturdy racks. The practical craft is balancing daily distance against terrain and wind, and learning to read the landscape for food, water, and repair points. This guide builds that craft step by step, like a mission brief.
Key Takeaways
- Self-supported touring demands carrying all gear, while supported tours carry it for you.
- A touring bike needs low gears, rack mounts, and a comfortable saddle far more than a commuter bike does.
- Daily distance should be planned at 60–80% of what you think you can ride, accounting for wind and climbs.
- Carry two spare tubes and a patch kit; pinch flats from low tire pressure are the most common roadside failure.
The First Fork: Self-Supported vs. Supported Tours
Self-supported touring means you carry everything—clothes, tools, food, shelter—on the bike. This gives total route freedom but limits daily distance because the loaded bike weighs 20–40 pounds more than an unloaded one. Supported tours, like those run by Adventure Cycling Association or commercial operators, carry your gear in a van and often provide meals. The trade is route flexibility: you follow the group’s itinerary.
Your first decision shapes everything. A self-supported rider on a Surly Long Haul Trucker with four panniers can change route mid-trip without penalty. A supported rider gets to ride a lighter bike and recover faster, but the schedule is fixed. Neither is better; the wrong choice is not deciding before you buy gear.
What Self-Supported Requires
You need a bike that can carry front and rear racks, a sleep system, cooking gear, and repair tools. Total gear weight often lands between 25 and 45 pounds excluding water and food. That weight changes braking distance, climbing speed, and steering response. A loaded touring bike needs more distance to stop than an unloaded commuter bike.
When a Supported Tour Fits
Supported tours work well for riders who want to cover 70+ miles per day, sleep in beds, and never cook. They cost more—typically $150 to $350 per day depending on region—but eliminate the learning curve of packing and bike maintenance. The European EuroVelo network has many guided options that include luggage transfer between hotels.
Route Planning: Read the Terrain Like a Topographic Map
Planning a multi-day bicycle travel route starts with daily distance targets that respect terrain and wind. Flat rail-trails allow 60–80 miles per day for a loaded rider. Mountain passes with 5,000 feet of climbing cut that to 30–40 miles. Headwinds above 15 mph can reduce speed by 30% even on flat ground.
Daily Mileage Formula
Take your comfortable unloaded ride distance and multiply by 0.6. That is your loaded daily target. Then subtract 10 miles for every 2,000 feet of net elevation gain. If the forecast calls for sustained headwinds, subtract another 10–15%. This gives a realistic number that lets you finish before dark.
Reading the Landscape for Services
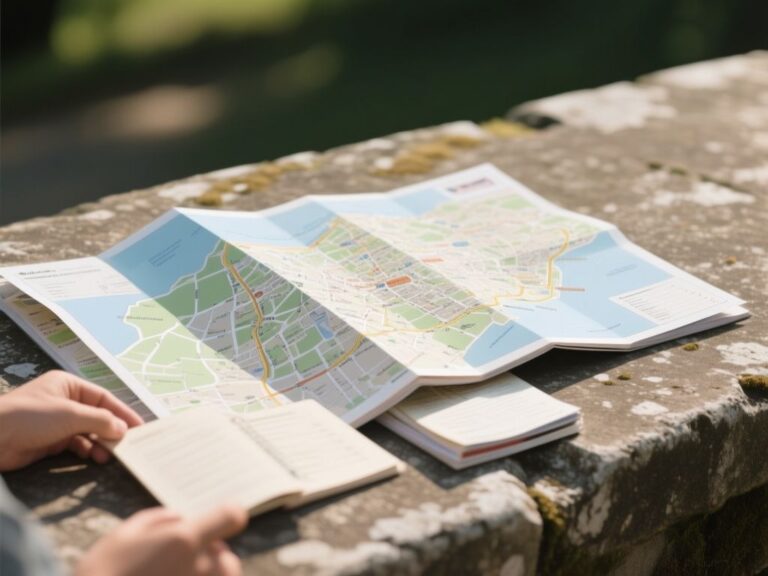
Food, water, and repair shops dictate where you stop. In rural areas, small towns are spaced 20–40 miles apart. Mark every town with a grocery store or bike shop on your map. Carry enough water to reach the next refill point plus one liter of reserve.
Contingencies and Bail-Out Points
Every route needs emergency exits: a train station, a bus stop, or a friend within a day’s ride. Before the trip, identify at least one bail-out point per 50 miles. If a mechanical failure or injury hits, you ride or walk to that point and get transport home. For example, if you’re starting near Chicago and heading north, the Chicago to Madison train route can serve as a bail-out corridor. Also check local bus lines that accept bikes.
The Bike and the Load: A Mechanical Reality Check
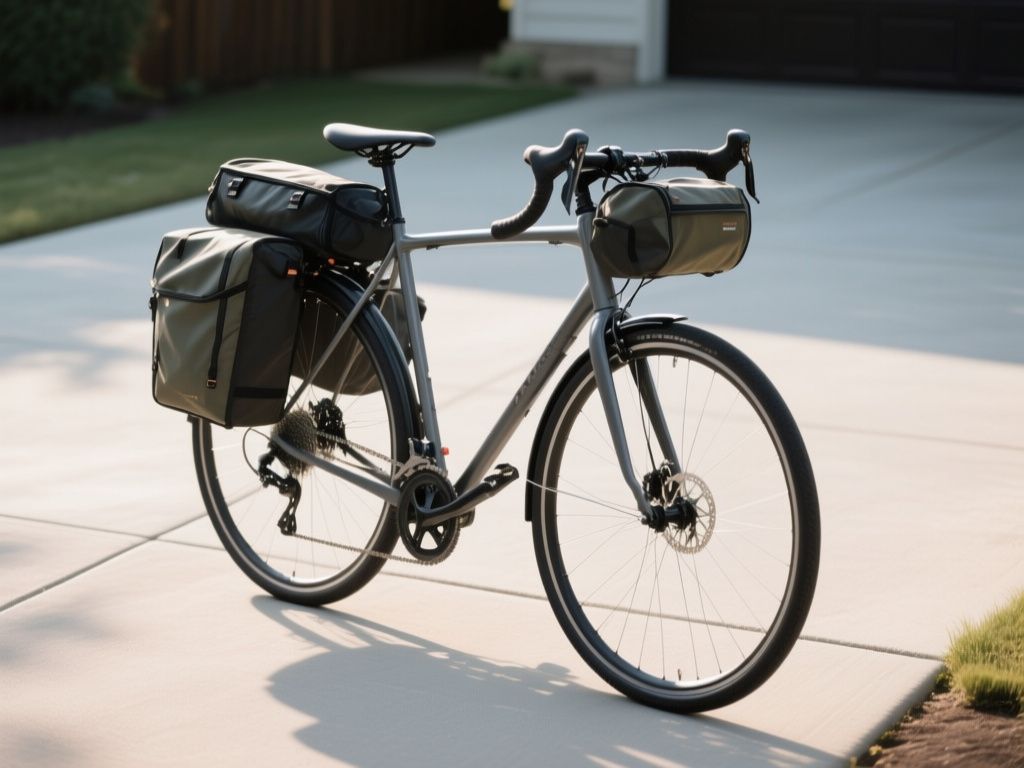
A dedicated touring bike has a longer wheelbase, lower bottom bracket, and rack mounts on the fork and rear dropouts. Steel frames like the Surly Long Haul Trucker absorb road vibration better than aluminum but add weight. The key spec is gear range: a touring triple crankset or a Rohloff Speedhub internally geared hub gives you a low gear around 20 gear-inches. A standard commuter bike rarely goes below 30 gear-inches, which is too tall for loaded climbs.
Weight Distribution Front vs. Rear
Most beginners load the rear rack heavily and ignore the front. That makes the front wheel light, causing speed wobble on descents. The ideal split is 60% rear, 40% front. Use low-rider front racks to keep the load low and improve steering. Ortlieb Back-Roller panniers are a common choice for the rear because their waterproof roll-top closure keeps gear dry without separate rain covers.
Tire Pressure for Added Load
A pinch flat happens when the tube is squeezed between the rim and a sharp edge because tire pressure is too low for the load. With a loaded bike, run 10–15 psi higher than your solo riding pressure, up to the tire’s max rating printed on the sidewall. Schwalbe Marathon Plus tires have a thick puncture protection belt that reduces flats but feels slower. Check pressure every morning with a gauge, not your thumb.
Saddle Choice and Body Preparation
A Brooks B17 leather saddle molds to your sit bones over hundreds of miles, but it requires a break-in period. Synthetic saddles with a cutout work immediately. The critical factor is width: your sit bones must be supported, not the soft tissue. A professional bike fit is non-negotiable for rides longer than three days. A poorly fitted bike causes knee pain, numb hands, and saddle sores that end trips early.
Packing for a Week: What Actually Goes in the Bags
A week-long self-supported tour fits into four panniers and a handlebar bag. Total weight including bags should stay under 45 pounds. Here is the checklist by category:
- Sleep system: tent, sleeping bag rated 10°F below expected low, sleeping pad.
- Clothing: two cycling kits, one off-bike outfit, rain jacket, arm and leg warmers, gloves.
- Cooking: small stove, fuel canister, one pot, spork, mug, lighter.
- Repair: two spare tubes, patch kit, tire levers, pump, multi-tool, chain lube, zip ties.
- Personal: sunscreen, lip balm, toiletries, first aid, medications.
Rain gear needs to be genuinely waterproof. A breathable rain jacket will wet out after two hours in steady rain. Pack a spare dry bag for electronics. For clothes, choose fabrics that dry fast and resist wrinkles. You can find options in our wrinkle-free travel clothes guide, which covers lightweight synthetics that pack small.
Bikepacking vs. Touring Setup
Bikepacking uses soft bags strapped to the frame and seatpost, suitable for off-road routes with singletrack. Classical bicycle travel with panniers works better on pavement and gravel roads. The choice depends on terrain: if your route follows EuroVelo 6 along rivers, panniers are fine. If it crosses the Continental Divide, bikepacking bags keep the bike narrow for pushing through rocks.
Cost Reality
A self-supported bicycle travel trip costs roughly half of a supported one. Budget $30–$50 per day for campsites and groceries, plus one cafe meal. Supported tours run $150–$350 per day. Initial gear investment for self-supported touring is $1,500–$3,000 on top of the bike, which itself should cost $1,200–$2,500 for a reliable touring rig. Used setups cut that by 40%.
On the Road: Flats, Failures, and Staying Visible
A flat tire is the most common roadside issue. The protocol is simple: shift to the smallest chainring, open the brake, remove the wheel, use tire levers to unseat one bead, pull out the tube, check the inside of the tire for the cause (glass, wire), insert a new tube, partially inflate, reseat the bead, inflate to pressure. With practice this takes 10 minutes. Carry two tubes because a single patch failure wastes half an hour.
Common Mechanical Problems and Spares
- Broken spoke: carry two spare spokes or a FiberFix emergency spoke.
- Chain failure: a chain tool and quick link solve it in five minutes.
- Derailleur hanger: carry one spare; if it bends, the bike won’t shift.
- Brake pads: check thickness daily; loaded descents wear pads quickly.
Service intervals: clean and lube the chain every 100 miles or after any rain. Check all bolts for torque every morning. A mid-trip service at a bike shop once every two weeks catches cable stretch and bearing wear before they strand you.
Safety in Foreign Countries and Helmet Laws
Cycling in foreign countries is safe if you follow local traffic laws and respect culture. Many European countries require helmets for children but not adults; however, the U.S. Consumer Product Safety Commission sets helmet standards that reduce head injury risk, and wearing one is non-negotiable regardless of law. Visibility gear—a bright rear light and reflective vest—is also mandatory for riding after dark in most countries. The National Highway Traffic Safety Administration publishes guidelines for sharing the road that apply wherever you ride.
Frequently Asked Questions
What type of bike is best for long-distance bicycle travel?
A steel-framed touring bike with low gears (below 25 gear-inches), rack mounts front and rear, and a comfortable saddle is ideal. Models like the Surly Long Haul Trucker are built for this. Avoid using a road bike or hybrid without rack mounts. The frame should have a longer wheelbase for stability with loads.
How do I handle flat tires on a loaded bike?
Shift to small chainring, open brake, remove wheel. Use levers to unseat one bead, remove tube, feel inside tire for debris. Insert new tube, partially inflate, seat bead, inflate to 10–15 psi above solo pressure. Carry two tubes and a patch kit.
What is the difference between bike touring and bikepacking?
Bike touring uses panniers on racks, works well on pavement and gravel, carries more gear for longer trips. Bikepacking uses frame bags and seat packs, keeps the bike narrow for singletrack, lighter but less comfortable for week-long tours.
How much should I budget per day for a self-supported bicycle travel trip?
Self-supported: $30–$50 per day for camping and groceries, plus occasional cafe meal. Supported: $150–$350 per day. Initial gear investment is $1,500–$3,000 beyond the bike. Budget for one bike shop visit every two weeks.