Berm Peak: The Complete Guide for Beginners
Contents
Most riders think mastering a berm peak is about speed. They’re wrong. The biggest danger isn’t the turn itself—it’s the overconfidence that comes before it. The gear you skip buying to save money is almost always the gear you regret not having when you need it most. Invest once, invest right. Before you point your front wheel at that high banked corner, you need to understand what a berm peak actually demands from your body and your bike.
Key Takeaways
- A berm peak is the highest point of a banked turn; proper line choice here determines exit speed and safety.
- Body positioning—not just speed—is the critical factor for maintaining traction through the apex.
- Gear selection (tires, suspension, and protection) directly affects your ability to hold a line at the peak.
- Common mistakes like late braking or looking down cause most crashes at the berm peak.
What Is a Berm Peak and Why It Matters for Trail Riding
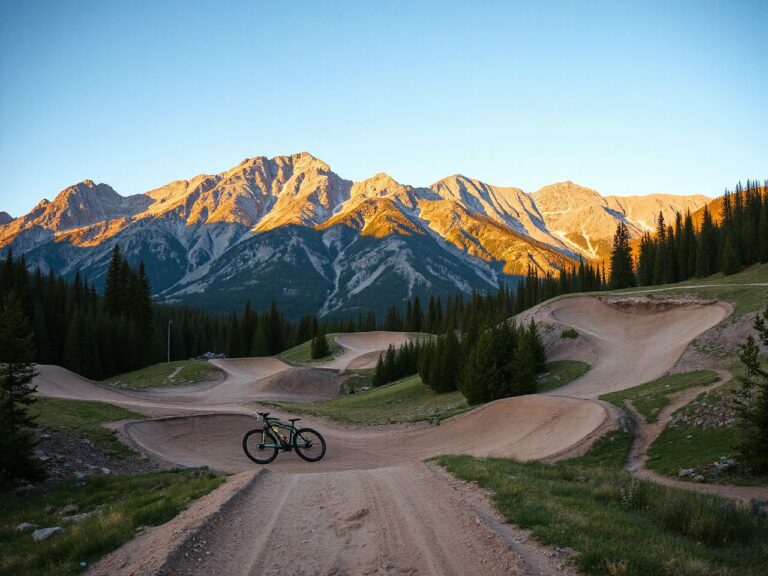
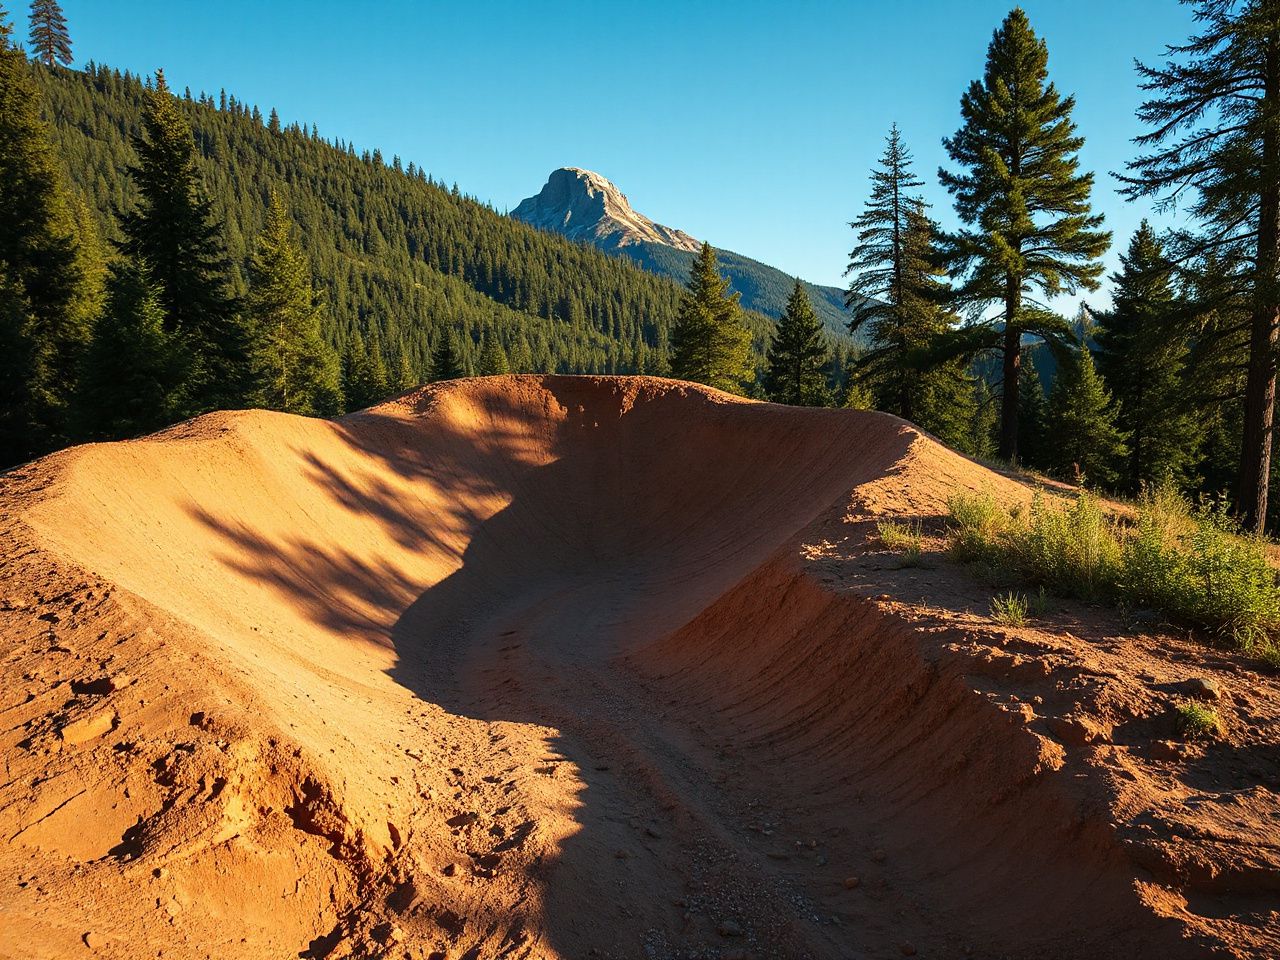
A berm peak refers to the topmost section of a banked corner on a trail. Unlike flat turns, a berm uses its angled surface to help redirect your momentum. The peak is the point where the bank angle is steepest, and it’s where you have the most potential to carry speed—or lose control.
On trail features across Colorado, Utah, and California, the berm peak is consistently where riders either flow smoothly or end up on the ground. The physics are simple: at the peak, your tires have maximum support from the bank, but your center of gravity is also highest. Shift wrong, and you’re over the edge.
How a Berm Peak Differs From a Standard Turn
A standard flat turn relies entirely on tire grip and rider lean. A berm peak uses the trail’s structure to assist the turn. This means you can enter faster, but the margin for error shrinks. The bank provides a wall of dirt that pushes your bike through the arc, but only if you hit the peak at the right angle and speed.
Riders often treat berm peaks like paved corners. They brake too late, drop their inside shoulder, and slide out. The bank doesn’t save you if your weight is wrong.
Essential Gear for Riding a Berm Peak Safely
You don’t need a $5,000 bike to ride a berm peak well, but you do need gear that works with the forces involved. Here’s what I consider non-negotiable after years of testing.
Tires: The Foundation of Grip
Your tires are the only contact point with the berm peak. For dry, hardpack trails, a tire with a firm center tread and aggressive side knobs is recommended. The side knobs dig into the bank when leaning. For loose or sandy berms, a wider tire with softer compound helps. Tire pressure matters too: drop to 25 psi for most trail conditions to let the knobs conform to the bank.
Suspension: Absorbing the Transition
The transition into a berm peak often features a small lip or rut. Your suspension needs to absorb that without bouncing you off line. Set your fork compression to medium—not too stiff, or you’ll deflect; not too soft, or you’ll wallow. Rear sag should be around 30% of total travel for most trail bikes.
Protection: Knee and Elbow Pads
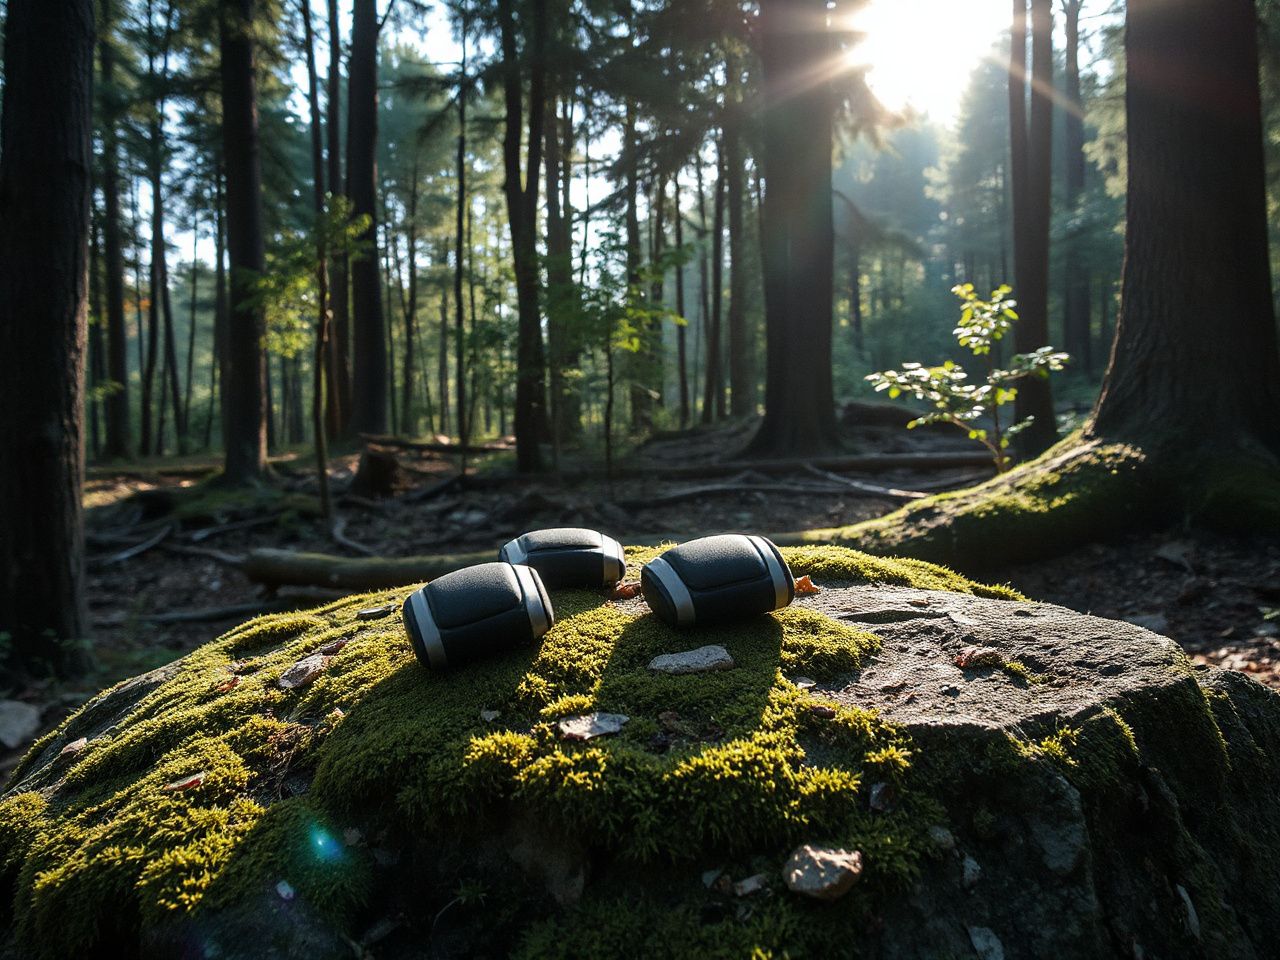
When you crash at a berm peak, you fall sideways and downhill. That means your knee and elbow take the impact first. Hard-shell knee pads are recommended on every trail ride. Elbow pads are less common but worth it on rocky terrain. A fall from the peak can easily result in a broken collarbone or wrist if you try to catch yourself.
How to Ride a Berm Peak: Step-by-Step Technique
This is the part most guides gloss over. They tell you to lean and trust the bank. I’m going to give you the actual mechanics.
Step 1: Approach and Line Choice
As you approach the berm peak, look ahead to the exit. Do not stare at your front wheel. Your line should start wide, then cut toward the peak. Aim to hit the peak at the midpoint of the turn. Entering too high forces you to scrub speed; entering too low means you miss the bank entirely.
Speed is relative to the berm’s radius. For a 90-degree berm with a radius of 10 feet, a good entry speed is around 8–10 mph. For a larger berm, you can carry more. I always tell riders to enter slower than they think and add speed on the next lap.
Step 2: Body Positioning at the Peak
As you reach the berm peak, shift your weight to the outside pedal. Keep your inside foot unclipped and hovering above the pedal. Your hips should be low and back, with your chest over the handlebar. The bike leans, but your body stays more upright relative to the bank. This is called counterbalancing, and it’s the key to not washing out.
Keep your eyes focused on the exit point. If you look down at the peak, your bike goes there. I’ve assessed crashes where riders looked at the dirt right in front of their tire—they all ended up sliding out.
Step 3: Exit and Weight Transfer
As you pass the peak and the bank begins to flatten, start transferring your weight forward. Push the handlebar toward the exit. This loads the front tire and gives you drive out of the turn. Do not coast through the berm peak—maintain a light pedal stroke to keep the suspension active.
If you feel the rear tire start to slide, don’t panic. Slight rear drift is manageable. Just keep your weight low and let the bank guide you. It’s only when you try to correct with a sharp steering input that you lose it.
Common Mistakes at the Berm Peak and How to Fix Them
Common errors repeat at trail parks. Here are the top three.
Braking Too Late
Most braking should happen before you enter the berm. Braking at the peak shifts weight forward, unloading the rear tire and causing it to slide. Set your speed before the turn, then coast or pedal lightly through the peak.
Looking Down
Your bike follows your eyes. If you look at the dirt at the peak, you’ll ride into it. Train yourself to spot the exit before you enter. I practice by picking a tree or rock at the exit and staring at it until I pass through.
Overleaning the Bike
New riders often lean the bike too much, thinking the bank will hold them. In reality, you need to lean your body less than the bike. The bank supports the bike; your body provides balance. If you lean both together, you’ll slide down the bank.
Advanced Berm Peak Techniques for Experienced Riders
Once you’ve mastered the basics, you can start pushing the limits. These techniques require practice and should only be attempted on berms you know well.
Pumping the Berm Peak
Pumping means using your body to generate speed without pedaling. As you approach the peak, compress your body down into the bike. At the apex, extend your arms and legs to push the bike through the turn. This preloads the suspension and gives you a boost out. It’s a skill that takes time to develop, but it’s the difference between a good rider and a great one.
Hitting the Berm Peak at Speed
To carry more speed, you need to commit fully. Enter wider, brake earlier, and trust the bank. At higher speeds, the G-forces push you into the berm, which actually increases grip. The danger is if your line is off—you’ll be launched out of the turn. I only recommend this on berms with a clear exit and no obstacles.
Frequently Asked Questions
What is the ideal tire pressure for riding a berm peak?
For most trail conditions, 25 psi is a good starting point. Lower pressure increases traction but risks pinch flats on rocky berms. Higher pressure reduces grip but protects the rim. Adjust based on terrain: drop to 22 psi for loose sand, raise to 28 psi for hardpack with rocks.
Can you ride a berm peak on a hardtail mountain bike?
Yes, but you need to be more precise. Hardtails have less rear suspension to absorb the transition into the berm peak. Focus on standing slightly more and using your legs as suspension. The technique is the same, but the margin for error is smaller. I’ve ridden hardtails on berm peaks for years—it’s doable, just less forgiving.
How do I know if a berm peak is safe to ride?
Inspect the berm before your first run. Look for loose dirt, rocks, or ruts that could catch your tire. Check the exit for obstacles like trees or drop-offs. If the bank is wet, approach at half speed—wet dirt loses grip quickly. Trust your instincts; if the berm feels unsafe, walk it first.