Backpacking Checklist: Straight Answers for a Lighter Pack
Contents
Ultralight thinking has quietly reshaped how people build their kit over the past few seasons, and it shows in a simple shift: fewer packs stuffed to the lid, more riders and hikers weighing every item on a kitchen scale before it goes in. That change matters because a good backpacking checklist is a system organized by function — sleep, shelter, layering, safety, water, food — not a flat inventory of stuff you own. The right question for each item is “what job does this do, and what already covers that job?” rather than “is this a good product?”
I come at gear the way I read a helmet spec sheet — certification data first, marketing copy last. The same discipline applies here. Beginners pack by adding things they might want; the sharper move is packing for the coldest, wettest condition the trip can realistically produce, then cutting anything redundant to that.
Key Takeaways
- Build the list by function, not by product — sleep, shelter, layers, safety, water, food — and cut anything a system already covers.
- Cotton loses nearly all its insulation when wet; merino wool and synthetics are the only fabrics that belong against your skin.
- The Ten Essentials are the non-negotiable safety baseline, even on a single overnight trip.
- Total weight and load placement beat any single item — the hip belt should carry roughly 80% of the load, not your shoulders.
Start With Function, Not With Stuff
A checklist made of product names ages badly and lies to you about coverage. A checklist made of jobs does not. Group everything into six buckets — sleep, shelter, layering, safety, water, food — and every item has to defend its place inside one of them.
Here is the deciding test. If two items do the same job, one leaves. A puffy jacket and a heavy fleece both insulate, so you rarely carry both; you carry the one that insulates best for its weight in the conditions you’ll actually see.
The coldest, wettest realistic condition sets the list. Pack for the forecast low plus a margin, not for the pleasant afternoon you’re hoping for. That single rule cuts more dead weight than any fabric trick, because it tells you exactly which insulation layers earn a spot and which are wishful thinking.
How to decide what to leave behind
- Does another item already do this job? If yes, drop the duplicate.
- Would its absence create a safety gap? If yes, it stays regardless of weight — this is the logic behind the Ten Essentials.
- Is it comfort or is it capability? Comfort items get cut first when weight climbs.
The Layering System: Where Fabric Beats Quantity
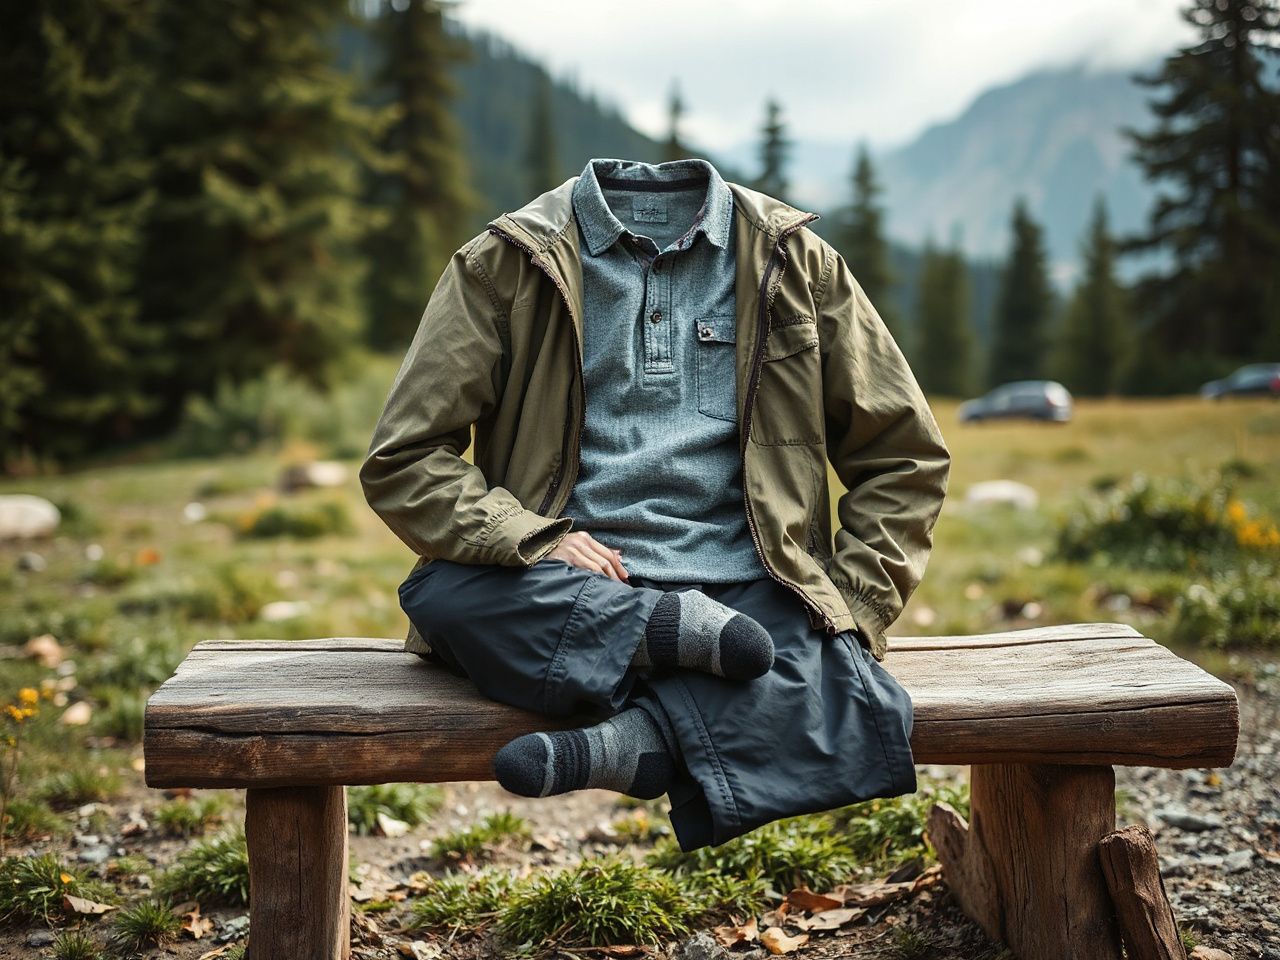
Clothing gets judged by one question: does it insulate when wet, and does it dry fast? That’s why fabric choice, not garment count, drives what goes on the list. The framework is the three-layer system — a moisture-wicking base, an insulating mid, and a protective shell — and each layer has a fabric that belongs and several that don’t.
Base layer: this is where “cotton kills” comes from
Cotton holds up to 27 times its weight in water and loses essentially all insulating value once soaked, then pulls heat off your body as it slowly dries. In cold or wet conditions that’s how hypothermia starts, which is exactly why hypothermia ranks among the outdoor injuries the CDC flags as a cold-weather risk even in above-freezing temperatures. The fix is merino wool — Icebreaker and Smartwool make the common baselayers — or a synthetic like polyester, both of which insulate while damp and dry quickly.
Merino earns its place for a second reason: it resists odor, so one baselayer can run several days without becoming unbearable. Synthetics dry faster and cost less but smell sooner. Pick your poison based on trip length.
Mid layer: trapping air
800-fill down gives the most warmth per gram and packs down tiny, but it collapses when wet and stops insulating. PrimaLoft and other synthetic fills weigh more and pack larger, yet keep loft when damp. For a wet shoulder-season trip, synthetic insulation is the safer call; for dry cold, down wins on weight.
Shell: your rain defense
A shell’s job is to block wind and rain while letting sweat escape. Gore-Tex and similar membranes manage that balance, but here’s the part most checklists skip: waterproof does not mean stays-dry-forever. The outer fabric relies on a DWR (durable water repellent) coating that wears off with use and washing, and once it fails, the face fabric “wets out” and breathability tanks.
Weekend vs. Shoulder-Season vs. Multi-Day
The same list cannot cover a summer overnighter and an alpine trip near freezing. A checklist is season- and trip-specific, adjusted for the expected low temperature and precipitation, and that adjustment happens mostly in the sleep and layering buckets.
Summer weekend
- One base layer, one light insulation piece, a shell for surprise storms.
- A warm-weather quilt or a 30–40°F bag is usually enough.
- Less water-carrying capacity if sources are reliable and mapped.
Shoulder season and multi-day
- A second insulation layer and warmer sleep system — this is where a rundown of 0-degree sleeping bags earns its keep, because a bag rated for the actual overnight low is the difference between rest and a miserable, sleepless night.
- Redundant dry storage, since multi-day rain is a real possibility.
- More fuel and a reliable stove; if you’re deciding on a cook system, a breakdown of backpacking stoves worth carrying covers the canister-versus-liquid-fuel tradeoff that matters most in cold.
Cold shifts the whole list toward redundancy in insulation and dryness. On a July overnighter, one wet layer is an inconvenience; near freezing, it’s the start of a genuine emergency.
The Ten Essentials: Your Safety Baseline
This is the section I refuse to compromise on, because it’s the equivalent of a safety rating — the stuff that keeps a bad day from becoming a rescue. The Ten Essentials, as codified by The Mountaineers, are the baseline safety layer no checklist should omit, short trip or not.
- Navigation — map and compass, plus a GPS or phone as backup.
- Sun protection — sunscreen, sunglasses, sun hat.
- Insulation — the extra layer beyond what you’re wearing.
- Illumination — headlamp with spare batteries.
- First aid — a kit sized to your group and trip length.
- Fire — lighter, matches, and a firestarter.
- Repair kit and tools — knife, duct tape, cordage.
- Nutrition — an extra day of food.
- Hydration — water plus a way to treat more.
- Emergency shelter — a bivy, tarp, or space blanket.
Do you need all ten on a two-mile overnight? Yes — scaled to the trip, but present. A day can turn on a twisted ankle at dusk, and “I was only going out for a night” is exactly the assumption that leaves people cold and lost.
Sun protection is easy to underweight. High-altitude UV exposure climbs sharply with elevation, and the EPA notes that UV intensity increases by roughly 10–12% for every 1,000 meters of elevation gain — a real reason sunscreen and sunglasses count as safety gear, not vanity.
Water Treatment and Food
Untreated backcountry water carries pathogens like Giardia and Cryptosporidium, so a treatment method belongs on every list — filter, chemical drops, or UV. If you rely on a filter, know its certification: look for treatment that meets the NSF standards for microbiological water purifiers rather than a vague “removes bacteria” claim on the box.
Food planning is a weight-and-calorie math problem. Aim for calorie density — nuts, dense bars, fats — and repackage out of bulky retail wrapping. Pack out every scrap; the Leave No Trace principles exist because trace amounts of food waste, multiplied across thousands of visitors, reshape wildlife behavior and damage sites, a concern echoed in guidance from the National Park Service.
Packing the Pack: Weight and Load Placement
Total pack weight and how it’s distributed matter more than any single item on your list. Get the load placement wrong and a perfectly chosen kit still wrecks your shoulders by mile three.
Base weight and the number that matters
Base weight is everything in your pack except food, water, and fuel — the consumables. A realistic three-season base weight for a comfortable, non-ultralight setup lands around 12–18 pounds; dedicated ultralighters push under 10. Watch that number, because it’s the only weight figure that stays constant trip to trip.
How to load it
- Heavy items ride close to your spine, centered between your shoulder blades. This keeps the load’s center of gravity over your hips.
- Medium-weight gear fills the space around the heavy core.
- Light, bulky items — sleeping bag, spare layers — go at the bottom.
- Frequently needed items (snacks, map, rain shell) live in the lid and hip-belt pockets.
An internal-frame pack — Osprey and Gregory both build well-regarded ones — transfers load through the hip belt to your pelvis, the strongest weight-bearing structure you’ve got. Cinch the hip belt first so it carries roughly 80% of the weight, then snug the shoulder straps to stabilize, not to hold.
Pack fabric durability shows up in denier ratings: a 210D nylon body saves weight, while a 420D ripstop nylon bottom resists abrasion where the pack meets rock and ground. Higher denier means tougher and heavier — the tradeoff you’re choosing every time you buy a pack.
Keeping Clothing Dry Through Two Days of Rain
A rain shell alone will not keep your gear dry through sustained rain, and betting on it is how people end up with a soaked sleeping bag. Internal protection matters as much as the shell.
- Line the inside of your pack with a heavy-duty trash-compactor bag or a dedicated pack liner. This is more reliable than a pack cover, which lets water run down your back and in through the top.
- Dry-bag your sleep system and spare insulation separately. If everything else fails, dry clothes and a dry bag save the night.
- Keep one baselayer strictly for sleeping. It never gets worn hiking, so it’s always dry when you crawl in.
The terrain you’re crossing shapes this too. Routes graded on the Yosemite Decimal System as Class 3 and up put you in exposed, weather-hammered positions where a wet-out shell has real consequences, so match your dryness planning to the difficulty rating, not just the forecast.
Gear Care: Making Merino and Down Last
The fabrics that earn a place on the list also demand specific care, and neglecting it is how a second-season merino base or down bag quietly loses its performance.
- Merino wool: wash cold or warm on a gentle cycle with a wool-safe detergent, skip the fabric softener, and lay flat or hang to dry. Heat and harsh detergent break down the fibers and shrink the garment.
- Down: store it uncompressed in a large mesh sack, never crammed in its stuff sack between trips. Compressed down loses loft permanently, and loft is the entire point.
- DWR: re-treat shells once beading stops, using a wash-in or spray product and a low-heat tumble or iron (through a cloth) to reactivate the coating.
Sharing gear with a partner is the fastest way to cut per-person weight. One tent, one stove, one water filter, one repair kit split between two people can drop several pounds each — just divide the shared items so neither pack ends up lopsided.
What People Forget Until They’re On the Trail
Certain items vanish from lists because they’re boring, and their absence is felt the moment you need them:
- Spare headlamp batteries.
- A trowel for catholes, per Leave No Trace guidance.
- Sun protection for the back of the neck and ears.
- A small repair kit — a torn shell or broken buckle at hour four is common.
- Extra food beyond the exact plan.
None of these are glamorous. All of them show up on the list when you build it by function, because each one covers a job — repair, illumination, sun protection, safety margin — that nothing else in your pack handles.
Frequently Asked Questions
How do I build a backpacking checklist without overpacking?
Organize by function — sleep, shelter, layers, safety, water, food — instead of listing products. For each item ask what job it does and whether another item already covers that job; if two things overlap, one leaves. Pack for the coldest, wettest realistic condition of the trip, then cut anything redundant to that scenario. Building this way trims weight without leaving safety gaps.
Why do people say “cotton kills”?
Cotton absorbs many times its weight in water, loses nearly all insulating value when wet, and dries very slowly, actively pulling heat off your body as it does. In cold or wet conditions that combination can trigger hypothermia even above freezing. Wear merino wool or synthetic fabrics against your skin instead — both keep insulating while damp and dry fast.
How much should my pack weigh?
Track base weight — everything except food, water, and fuel. A comfortable three-season base weight sits around 12 to 18 pounds, while ultralight setups drop under 10. Total weight matters less than placement: cinch the hip belt so it carries roughly 80% of the load, keep heavy items centered near your spine, and use shoulder straps only to stabilize.
Do I really need all Ten Essentials on a one-night trip?
Yes, scaled to the trip. Navigation, sun protection, insulation, illumination, first aid, fire, a repair kit, extra nutrition, hydration and treatment, and emergency shelter are the baseline that keeps a minor problem from becoming a rescue. A twisted ankle at dusk turns a short overnight into an emergency fast, and the Ten Essentials are what buy you time and safety.
How do I know if my rain shell still works?
Splash water on the shoulders and forearms. If it beads and rolls off, the DWR coating is functioning; if it soaks in and darkens the fabric, the coating has worn off and the shell will “wet out” in real rain. Wash the jacket in a technical cleaner, then apply a wash-in or spray DWR and reactivate it with low heat before your next trip.