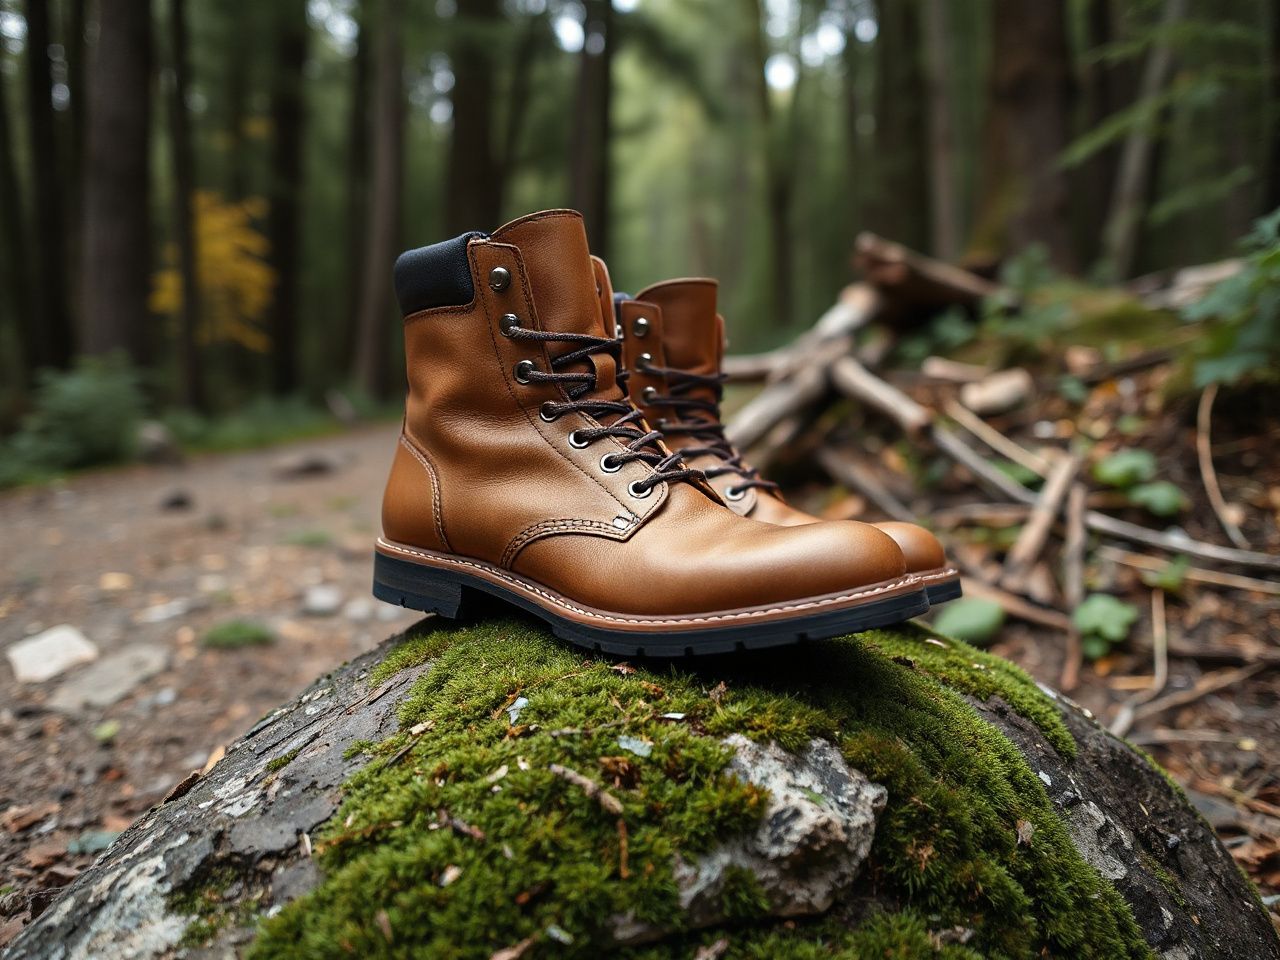
How Should Hiking Boots Fit? Common Mistakes to Avoid
Contents
Two days into a multi-state ride, it became clear that labels don’t always mean what they say. A “waterproof” jacket can soak through completely in a downpour after about 45 minutes. The difference between water-resistant and genuinely waterproof membranes is critical for performance across 500+ miles of gravel, rain, and desert heat. The same merciless approach applies to understanding how your hiking boots should fit. If the fit isn’t dialed in from the start, no membrane, lug pattern, or lacing trick will save your feet when the miles pile up.
Key Takeaways
- Your feet swell by up to half a size during long hikes or rides; fit must be checked at the end of the day with the exact socks you’ll wear.
- Boot length, width, and heel hold are three separate fit zones—missing one leads to blisters, black toenails, or bruised arches 50 miles in.
- Break-in happens in the first 20–30 miles, not in the living room; if the fit feels off after two days of light use, it will only get worse on rocky terrain.
Step 1: Measure What You Actually Have, Not What You Think You Wear
Most people buy hiking boots the way they buy sneakers—by grabbing their usual size and hoping for the best. That’s a fast track to losing toenails. Treat every new pair of boots the way you’d treat motorcycle gear: check the fit cold, warm, and after hard use.
1.1 Trace Both Feet at End of Day
Stand on a piece of paper in bare feet after at least four hours of walking or riding. Trace the outline with a pencil held perpendicular to the floor. Measure the longest distance from heel to toe in centimeters, not inches—most boot manufacturers use Mondopoint or EU sizing that converts more precisely from centimeters. Measure both feet. If one is larger by even 2–3 mm, size for the larger foot.
1.2 Measure Ball Girth for Width
Wrap a fabric measuring tape around the widest part of your forefoot—the ball, just behind the toes—while standing. This circumference directly translates to width fittings: D for standard, 2E for wide, 4E for extra wide. Don’t rely on the boot’s letter stamp; different brands have dramatically different lasts. A 2E in one brand can feel narrower than a D in another if the toe box taper is aggressive. Leather can shrink asymmetrically across the forefoot after washing, which may affect the fit if the original width was borderline.
1.3 Account for Volume, Not Just Length
Boot volume—the space inside the boot overall—often gets ignored. Low-volume feet slide forward on descents, jamming toes. High-volume feet get pinched under the laces, cutting circulation. A quick test: loosen all laces, push your foot forward until toes lightly touch the front, then check how many fingers fit behind your heel. One finger should slide in snugly. If you can fit two, the boot is too high-volume; if you can’t fit one, it’s too shallow, and you’ll feel lace pressure across the instep within an hour.
Step 2: Understand How Boot Sizing Actually Works (Last, Heel Cup, and Tongue Design)
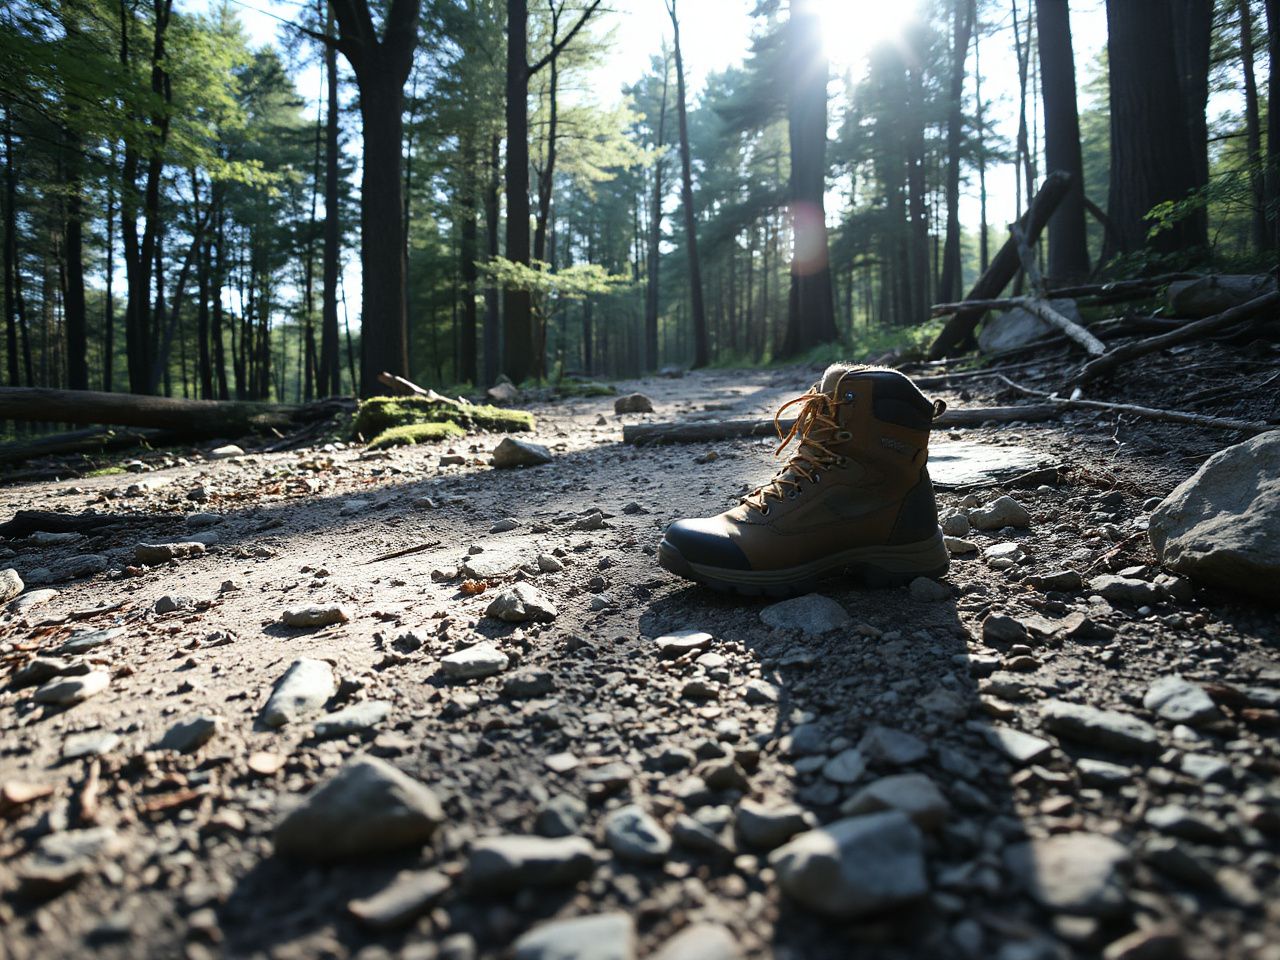
Boots aren’t just linear inches. The last—the foot-shaped mold the boot is built around—determines everything. Some lasts have a narrow heel and wide forefoot; others are straight with a roomy midfoot. If you misinterpret the last, you’ll chase fit problems with lacing. A good hiking boot size chart can help you translate measurements to specific brands and lasts, but you still need to understand what the numbers hide.
2.1 Heel Hold and the Heel Cup Depth
A secure heel cup matters more than toe room on steep descents. With the boots fully laced, stand on an angled surface if possible—a sloped driveway works. Rise onto your toes, then rock back onto your heels. Your heel should not lift more than 3–4 mm inside the boot. Any more and you’ll get hot spots around the Achilles. After washing boots, a plastic heel counter won’t deform, but foam padding can compress and reduce hold. Heel hold can change after the first wash cycle, as foam takes its set.
2.2 Toe Spring and Rocker Geometry
Toe spring—the upward curve at the front—affects how your toes sit. Too much spring and your toes are pushed upward, causing metatarsal fatigue. Too little and you catch on rocks. Look for a gentle rocker that matches your foot’s natural flex point. Bend the boot in your hands; it should flex where your foot bends, just behind the ball. If the flex point is too far forward, your arch will fight the boot on every step, leading to plantar fasciitis-like pain by mile 12.
Step 3: The Try-On Protocol That Reveals Real Fit
A 5-minute carpet walk isn’t enough. You need to know what a boot feels like after an hour of heat, sweat, and uneven ground. A good try-on process mimics a short hike or a ride to the trailhead, and it’s built around variables that matter long-term.
3.1 Socks First—Wear Your Trail Socks
Bring the exact sock system you’ll use hiking. A good choice is a midweight merino wool crew with a thin liner if it’s wet. Don’t try boots with cotton athletic socks. Merino and synthetic blends change the internal volume by 1–2 mm compared to thin cotton. If you plan to wear waterproof socks in winter, account for that thickness now.
3.2 Lace Lock and Heel Slam
Lace the boot fully, then kick your heel firmly backward into the heel cup—this is the “heel slam.” Tighten the ankle collar and use the heel lock lacing method (cross the laces above the ankle hook to create a friction hold). On a slight incline, push your weight forward. Your toes should barely graze the front, but not jam. In a properly fitted boot, you’ll have about 1–1.5 cm (roughly a thumb’s width) between your longest toe and the front of the boot.
3.3 Walk, Ramble, and Sidehill
Find an uneven surface—gravel, a curb, even a flight of stairs. Walk up and down for at least 15–20 minutes. Sidehill with one foot higher than the other; this reveals whether your foot slides laterally. If the footbed feels like it’s shifting, your width is too generous or the lacing isn’t locking the midfoot. After 15 minutes, loosen the boots and check for hotspots. Redness on the heel, pinky toe, or top of the instep signals a shape mismatch, not a size problem.
Step 4: Break-In and the First 50 Miles—Where Fit Problems Surface
Break-in shouldn’t be painful. A boot that fits right will feel stiff, not abrasive. The first week of wear—whether on a trail or a gravel ride to a trailhead—exposes everything the living room missed.
4.1 Mileage Before Judgment
A good guideline is to consider at least 20–30 miles on boots before forming an opinion. That’s roughly two day hikes or a long weekend of mixed use. During that time, the midsole will compress about 1–2 mm under the weight-bearing areas, which can slightly lower the foot inside the boot, changing how the heel locks. The upper materials relax, especially around the forefoot, but they won’t stretch like old-school leather without a lining. If by mile 30 your toes still feel cramped, the boot is too short. If your heel lifts more than 5 mm, the heel cup is too wide or the lacing system isn’t doing its job.
4.2 Water Exposure and Fit Stability
Hiking boots encounter creek crossings, rain, and sweat. Fit changes when materials get wet. Leather absorbs water, swells, then shrinks slightly as it dries. Synthetics hold shape better but can stretch when saturated. It is a key point in whether hiking boots actually perform well in water: a boot that fits perfectly dry can become too tight after getting soaked and drying three or four times. If you hike in wet conditions, size up by 3–4 mm in length to leave room for swelling—both of the boot materials and your own feet, which expand in humidity.
4.3 Post-Wash Evaluation
Boots washed with a gentle detergent and air-dried away from direct heat reveal their true durability. If the insole delaminates, stitching unravels, or the heel counter collapses, the fit degrades. Linings can pill up after one wash, altering the interior volume enough to create blisters. That’s a fit failure, not a cosmetic one. A boot that can’t survive a wash and retain its shape likely won’t survive a multi-day trek where you might rinse out mud every evening.
Step 5: Dialing Fit for Different Terrains and Packs Weights
Fit isn’t static; the terrain and your pack change what “right” feels like. A boot that’s perfect for day hikes can become a liability with a 40-pound pack on scree. The load is what changes it: 40 pounds on your back presses the foot forward on every descent and spreads it wider under the arch, so a boot that fits cleanly empty-handed in a shop runs short at the toe and tight across the ball once the pack goes on.
5.1 Loaded vs. Unloaded Fit
With a heavy pack, your foot flattens and lengthens by up to 3–4 mm. If you’re sizing for backpacking trips, add that margin to your measurement. Stand with a loaded pack on a Brannock device or flat surface and note the difference. A boot that’s snug without a pack can cause hammer toes when weight is added. If you’re undecided about whether to use trail runners or boots, the debate between hiking boots and trail runners shifts entirely based on load and ankle support needs; but for heavy loads, a boot with a rigid midsole and precise fit prevents the foot from fatiguing inside the shoe.
5.2 Downhill Descents and Toe Splays
During descents, your foot slides forward. The toebox must allow full toe splay without jamming the tips against the front. A test: walk down a steep slope or climb down a set of stairs while deliberately not gripping with your toes. If you feel any contact, the boot is too short or the volume is too low. Lacing techniques like the “surgeon’s knot” at the ankle can hold the heel back, but only up to a point if the internal space is wrong.
5.3 Heat and Swelling Over Distance
In heat, feet can swell up to half a US size after hours on hot pegs. The same happens on a 15-mile day in 85°F weather. Checking fit in the morning is a classic mistake. Always check boots in the late afternoon or after a long walk, when your feet are at their maximum volume. If the boots feel borderline at 4 p.m., they’re too small at 2 p.m. on a summit push.
Step 6: How Fit Determines Longevity (Not Just Materials)
Durable materials mean nothing if the fit concentrates stress on a single seam or panel. Otherwise well-made boots tear at the flex point or blow out stitching if the foot is sliding and abrading the interior.
6.1 Flex Point Alignment
The boot should bend at the same spot your foot bends. Mark the inside of the boot with chalk where the toe box meets the midfoot, then walk. If the crease is behind your foot’s natural flex, the boot’s break is fighting your arch, which creates deep creases that can crack leather. After washing, that crease can become permanent if the boot didn’t fit correctly in the first place. A boot that fits your foot’s flex point will show smooth, even creasing across the metatarsal area after 100 miles, not sharp angled folds.
6.2 Abrasion from Internal Movement
Excess volume causes micro-movements that sandpaper the lining. Footbeds can wear through where the ball of the foot rubs. That’s a volume problem, not a durability problem. A boot that fits precisely distributes pressure evenly, so linings and seams survive longer. Post-wash, check the heel collar and toe box lining for pilling—it’s the first sign of internal friction.
6.3 Waterproof Membrane Integrity
A membrane like Gore-Tex is a thin layer bonded to the inside of the upper. If the boot is too loose, friction between the footbed and membrane can delaminate it within a season. If too tight, sharp toe pressure can puncture the membrane. Proper fit keeps the foot stable, allowing the waterproof barrier to do its job without mechanical abuse. Membranes can fail in boots that are half a size too big, because a slipping heel pumps water in like a bellows.
Frequently Asked Questions
How much toe room should hiking boots have?
You need roughly a thumb’s width—about 1 to 1.5 centimeters—between your longest toe and the front of the boot when standing with laces fully tightened and your heel kicked back. This gap prevents black toenails on downhills, accommodates foot swelling, and allows toes to splay naturally. Too little room and you’ll feel contact on every descent; too much and you’ll slide forward, causing blistered toes.
Should hiking boots feel tight at first?
They should feel snug, not tight. A new boot needs to hold the midfoot and heel securely, but the toebox should allow wiggle room for all five toes. A “break-in” process softens the materials and conforms to your foot shape, but it won’t add length or significantly increase width. If you’re feeling painful pressure points, numbness, or toes scrunched after 15 minutes of walking, the boot is too small, not just “needing break-in.”
How do I know if my hiking boots are too big or too small?
Too big: your heel lifts more than 5 mm even with a heel-lock lacing, your foot slides forward on descents causing toe jamming, and you can fit more than one finger behind your heel with your foot pushed forward. Too small: toes curl or press against the front immediately, the ball of your foot hangs over the midsole, or you feel pinching across the instep after 10 minutes. Both cause blisters and black nails over distance.
Do hiking boots stretch over time?
Minimally. Full-grain leather uppers may relax 2–3 mm in width after 100+ miles, but synthetic and waterproof-lined boots resist stretching. The footbed and midsole compress a millimeter or two, which can make the boot feel slightly roomier, but not enough to fix a length issue. Never buy boots expecting significant stretch; the fit must be correct from day one, with only a minor conforming to foot contours over many weeks.