MTB Berm: The Short Version For Riding Banked Turns
Contents
Why does the same corner send one rider through at full speed while another grabs a fistful of brake before the apex? The answer is rarely the bike, and almost always the trail surface — and the rider’s read of it.
What separates a corner that carries speed from one that throws you is how the ground gets shaped. A lasting berm is one whose soil is formed around the transition so water sheds off the trail instead of channeling down the banking. A berm that erodes after a few rides fails exactly there: it traps water, the water cuts ruts, and the bank collapses. The riding side follows the same logic. The bike must lean more than the rider’s body. Counterbalancing with the outside pedal weighted is what keeps traction on a banked turn, not leaning your shoulders into the hill.
This article is a straight risk assessment of the mountain bike berm — the skill it genuinely demands, the trail-building details that decide whether the feature survives a wet season, and the honest danger level most destination guides skate past.
Key Takeaways
- A berm is a banked trail feature that threads a corner, letting riders carry speed by leaning the bike into the slope instead of scrubbing momentum on flat ground.
- A lasting berm is a drainage structure first and a corner second — the soil must shed water off the trail surface, or the bank washes out in the first heavy rain.
- Riding a berm safely means braking before the entrance, aiming the bike at the exit, and weighting the outside pedal while leaning the bike more than your body.
What an MTB Berm Actually Is, and Why Trails Need It
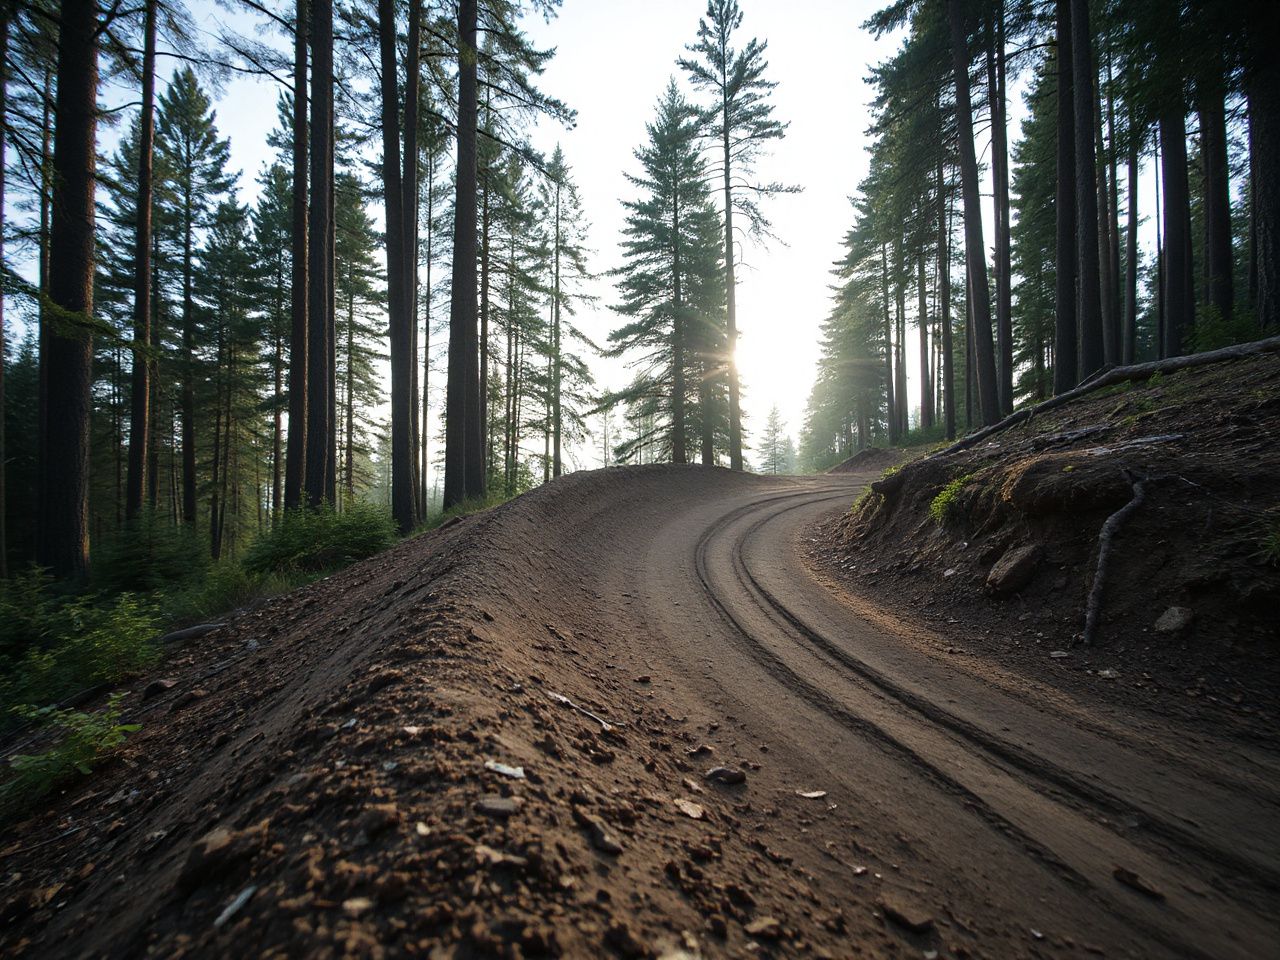
A berm in mountain biking is a banked corner. Soil, rock, or wood is stacked and shaped into a raised outer edge so the trail surface tilts into the turn. A rider can then lean a bicycle into the slope and hold a line at speed. The physics matters: on flat ground, tire friction alone resists the lateral force that wants to throw you outward. On a banked surface, the slope itself supplies part of that resisting force. Speed that slides you out of a flat corner becomes rideable.
The International Mountain Bicycling Association publishes trail building guidelines that treat a berm primarily as a drainage feature, and that framing is the one worth adopting. The IMBA trail standards put water management ahead of aesthetics, because a banked corner that collects runoff stops being a corner after one storm. The shape has to push water off the riding surface or the structure destroys itself. Every other consideration — height, steepness, surface — follows from that rule.
Purpose-built bike parks show the concept at scale. Whistler Bike Park and its famous A-line trail run machine-built berms that measure multiple bike lengths across, but the same principles apply to a hand-dug feature in a backyard or on a local trail. Crankworx downhill races live on those corners, and the riders still lean the bike into the bank the same way a beginner does on a modest pump track. A pump track, in fact, is a useful reference point: its berms exist purely to convert downward momentum into forward speed, and they survive because their builders obsess over the transition.
The real skill requirement for riding a maintained berm is modest. What catches people out is a berm that is badly shaped, poorly drained, or rutted — because that feature invites speed and then stops supporting the tire mid-corner. A flat corner simply throws you out predictably. A failing berm does it suddenly.
What Makes a Berm Last: Soil, Shape, and the Drainage Rule
The critical distinction between a lasting berm and one that erodes after a few rides is how the soil is shaped around the transition. A proper transition lets water follow the natural contour of the hill and exit off the low side of the trail, rather than running straight down the banked face. Think of the transition as the ramp at the entry and exit of the corner — its job is to guide both tires and water.
The Drainage Rule
A berm must shed water via a transition or it will wash out in the first storm. That sentence is the entire subject in miniature. When water channels down a banked face, it cuts vertical ruts. Each subsequent tire rips the ruts deeper. Within a single wet season the bank loses its smooth arc and becomes a series of grooves that grab handlebars. The U.S. Natural Resources Conservation Service frames erosion control in exactly these terms, and trail builders borrow the same vocabulary: keep water dispersed, keep it moving off the surface. NRCS erosion guidance applies directly to trail drainage, even though its manual was written for dirt roads and construction sites.
The practical fix is an outsloped exit and a shallow entry that feed water off the trail rather than down the face. A water bar — a diagonal hump across the trail surface — does the same job uphill of a berm. Not every feature needs one, but any berm sitting at the bottom of a slope should have water diverted away before the entry.
Soil Selection
- Clay compacts into a hard, shape-holding bank. It is the best structural material for a berm face. The downside is that clay traps water, so a clay berm absolutely requires a designed drainage path or it turns to soup.
- Decomposed granite drains beautifully and resists rutting in wet conditions. The trade-off is its surface stays loose and gritty, which can slide under a tire at high lean angles until it gets tamped and ridden in.
- Topsoil and organic matter are the wrong choice in almost every case. The organics decompose over a season, leaving voids, and the loose material never compacts into a structural bank.
On paper, the best practical material is a mineral soil mix with enough clay binder to pack hard, capped with a thin layer of decomposed granite for a grippy, fast-draining riding surface. The exact ratio depends on what the site naturally provides, but the principle holds: structure underneath, drainage on top.
Bank Angle and Height
Bank angle is the first number a builder should decide, because the consequences of getting it wrong show up as pedal strikes. A berm banked at 30 to 45 degrees from level covers most riding speeds. Any steeper and the inside pedal drags on the high side of the corner while the rider leans the bike into the turn. Pedal clipping the ground at speed is a crash, not a wobble — the sudden stop unweights the rear wheel and pitches the rider over the bars.
Height follows speed. A slow, tight corner needs a berm 0.3 to 0.5 meters tall at the high edge. A fast, sweeping corner at a bike park can run over a meter. The berm’s height should at least cover the outside tire’s lean angle at the speed the trail expects. Too little bank for the speed, and the tire slides out over the top. That is the single most common failure on hand-built trail berms.
Building a Berm That Survives a Storm
Step 1: Pick the Site
Choose a corner that already collects speed, not one that sits in a low spot. A natural hollow gathers water, and everything you build there becomes a pond liner. The ideal location is a shoulder of the hillside where the terrain already rolls gently, and where runoff has a visible path away from the trail. If the site sits at the bottom of a slope, install a water bar uphill of the entry first.
Step 2: Excavate the Inside
Dig out the inside of the turn to a depth of roughly 15 to 20 centimeters. The material you remove becomes the bank. Excavating the inside also opens the corner’s radius, which lets the line flow through rather than pinching. A square shovel cuts clean faces in packed soil, which is why it outperforms a pointed digging shovel when shaping a berm face.
Step 3: Build the Bank
Stack the excavated material into the raised outer edge, keeping the face at the planned angle. Work in thin lifts and tamp each one. The finished berm should be wider at the base than it is tall — roughly twice as wide as high — so the weight of a rider does not crush the unsupported outer edge.
Step 4: Shape the Transition and Exit
The transition is where most hand-built berms fail. The bank must blend gradually into the flat trail surface at both ends. A transition length of one to two bike lengths gives the tire a smooth path from flat ground into and out of the lean. The exit should outslope by a few degrees so water leaves the trail surface immediately after the apex, rather than continuing down the banked face.
Step 5: Tamp and Test
A hand tamper is the tool that separates a berm that lasts from one that crumbles. Run it over the entire surface after shaping, then test the drainage by pouring a bucket of water at the entry and watching where it goes. If it channels down the banking, adjust the transition until it sheds to the side. This test takes five minutes and predicts the entire lifespan of the feature.
Riding an MTB Berm: Speed, Line, and What Sends Riders Down
The technique for riding a berm safely and fast is learnable in an afternoon, but three mistakes account for nearly every crash on a banked corner. The first is braking inside the berm, the second is leaning the body instead of the bike, and the third is carrying entry speed the feature does not support.
Brake Before, Not Inside
Brake before entering the berm, not inside it. That rule is absolute. A rider who brakes mid-corner shifts weight onto the front tire while the wheels are already leaned into the bank. The rear tire loses its load, the available grip drops exactly when the cornering force peaks, and the rear slides out. The correct sequence is scrub speed on the approach, release the brakes at the entry, and carry momentum through the arc.
If the entry speed is too high, the correct move is to straighten the bike, brake hard on the flat approach, and accept that this corner gets taken slower. Trying to recover inside the berm is how the front wheel washes out and the rider goes over the high side.
Lean the Bike, Not the Body
The bike must lean more than the rider’s body. This is the counterbalancing rule, and it is the difference between a planted corner and a wash-out. When the bank leans the bike over, the rider keeps the torso relatively upright and drives weight through the outside pedal. That split between bike angle and body angle keeps the center of mass over the tire contact patch, which is where grip lives on a banked corner.
If the rider leans the body as far as the bike, the center of mass moves toward the inside of the turn, the side load on the tires climbs, and the available traction runs out sooner. Leaning less than the bike feels wrong at first, then it feels like the corner suddenly got bigger. The outside pedal goes down and takes the rider’s full weight through the foot, not the saddle, because keeping a light saddle leaves the bike free to track the ruts.
Look at the Exit
Eyes go to the exit as soon as the front tire clears the entry. Target fixation is a real problem on banked corners because the raised outer edge can look like a wall. A rider staring at the high edge will steer into it. The fix is simple and unglamorous: pick the exit line before the corner begins, and do not look away from it.
Entry Speed and the Real Danger Level
Here is the honest risk assessment that most ride guides downplay. A properly built berm is safer than a flat corner at the same speed, but only if the rider treats the entry as the decision point. The bank cannot rescue a bad entry. Coming in too hot does not just mean running wide — it means the bike is already at its traction limit when the lean angle increases in the middle of the arc. The front tire lets go without warning because there was no reserve left.
For riders building those skills, a progressive venue beats a random trail every time. Berm Peak’s beginner-friendly layout offers exactly that: banked corners that scale with the rider’s comfort, which is the right environment for learning counterbalance without a blind exit.
One more gear note worth making plainly: the bike matters less than line choice on a berm, but a frame with slacker geometry and a shorter stem generally tracks through a banked corner with less twitch. For riders shopping a first mountain-style bike, our hybrid MTB roundup for 2026 covers the geometry differences that actually change cornering behavior.
Why Berms Fail, and How to Keep Them Alive
Berms wash out and rut for three predictable reasons, and all three are visible in the first months after a feature is built. Water channeling down the bank cuts vertical grooves. Riders braking inside the corner shave material off the surface and pile it into bumps at the apex. And loose granitic surfaces, if they were never tamped and ridden in, stay loose under load and grind away with every tire pass.
Maintenance is mostly shovel work and patience. The procedure is unglamorous: re-tamp any soft spots, reshape the transition so water sheds, and clear debris from whatever drainage path exists. A berm on private property needs this twice a season in most climates — once after the wet season exposes the damage, and once in mid-summer when the surface has dried and loosened. Skipping the post-rain inspection is how a minor rut becomes an unrideable corner.
If a berm develops a loose surface, treat the entry as the problem point, not just the apex. Loose material builds at the bottom of the transition and slides under the tire on the first hard lean. The fix is to sweep the loose layer off, tamp the compacted surface underneath, and if the soil is decomposed granite, accept that a thin loose layer will always return and ride it with slightly less entry speed and a more progressive lean. For an uphill approach against a bermed switchback, the same rules apply in reverse, though most downhill-focused banked corners are not built to be climbed — the steep bank makes an uphill line awkward, and the drainage shape works against a rider climbing the face.
Frequently Asked Questions
What is an MTB berm, in practical terms?
A berm is a banked corner built into a trail. Soil, rock, or wood creates a raised outer edge so the riding surface tilts into the turn. The rider leans the bike into the slope and carries speed through the corner instead of braking for it. The feature is a drainage structure as much as a corner — its shape must shed water or it collapses.
How do I ride a berm safely if I’m not fast?
Brake before the entry and release both brakes before the corner begins. Lean the bike into the bank while keeping the torso more upright, and push weight through the outside pedal rather than the saddle. Look at the exit, not the wall of the bank. Speed matters less than a stable line once the entry is under control.
What soil is best for building a berm that lasts?
Clay compacts into a hard, shape-holding bank but traps water and needs a designed drainage path. Decomposed granite drains well and resists rutting, but its surface stays loose until tamped and ridden in. The strongest practical choice is mineral soil with enough clay to pack hard, capped with a thin layer of granite for grip and drainage.