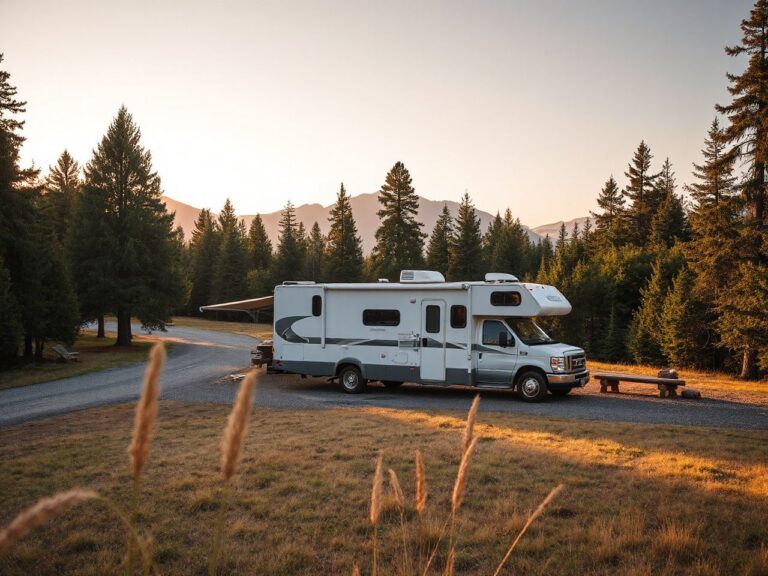
Motorhome Maintenance: What Actually Changes the Results
Contents
A motorhome is really two machines, and they fail in different ways. The base vehicle wears with mileage. The living area wears with time, moisture and disuse. That’s why low-mileage, rarely used motorhomes aren’t low-maintenance, since sealants, tyres, batteries and water systems degrade with age and standing. Good motorhome maintenance puts water ingress prevention first. Checks are scheduled by date, not just by distance driven.
Key Takeaways
- Calendar beats odometer: sealant, tyres, leisure batteries and water systems age whether or not the wheels turn, so schedule checks by date.
- Water ingress is the biggest silent cost: regular damp checks and sealant inspections protect both the structure and any warranty that depends on a documented habitation service history.
- Gas work belongs to a qualified engineer: owners can do visual checks, hose inspections and alarm tests, but not appliance or pipework repairs.
Why Is Motorhome Maintenance Really Two Separate Jobs?
Motorhome maintenance splits into two halves: the base vehicle and the habitation area. Each side has its own wear pattern, its own specialists and its own schedule. Treat them as one list and you end up with a van that has a fresh oil change and a soaked wall panel.
The base vehicle: wear from distance
The chassis, engine, brakes, gearbox and suspension follow the same logic as any heavy road vehicle. Engine oil, coolant, brake condition and the manufacturer’s service schedule all apply. And the handbook for the specific chassis is the authority on intervals.
Larger vehicles carry extra demands. Air brakes are typically provided on Super C motorhomes to manage their increased mass. The biggest ones sit on Class 8 semi-truck tractor unit chassis with tandem drive axles to support the load. Owners of that class of vehicle should expect heavy-truck servicing, including air system checks, rather than car-style routines.
The living area: wear from time
Everything behind the cab door ages through moisture, temperature swings and standing. Roof seams, rooflight surrounds, window frames, water pipework, the pump, the boiler, the fridge and the leisure battery all decay on a calendar, not a mileage count.
A motorhome that covers very few miles each year can have a perfectly healthy engine and a failing habitation side. The reverse is also true. That’s why the two checklists need separate dates in the diary.
How Often Should a Motorhome Be Serviced?
A motorhome needs a base-vehicle service on the manufacturer’s schedule. It also needs a separate habitation service, normally once a year, covering damp, gas appliances and the electrical and water systems. The two are different inspections, usually done by different people, and one doesn’t replace the other.
What the habitation service covers
A habitation service typically brings together a damp check with a damp meter. It also includes an inspection of gas appliances and connections, an electrical safety check, and a look at the water system and alarms. The exact scope varies by workshop, so ask for a written list of what’s included before booking.
Paperwork counts as much as the work. Warranty cover on water ingress may depend on a documented habitation service history. A full stamped record also helps at resale, and when an insurer asks about condition.
Dealer, mobile engineer or self-servicing
Each route suits a different situation, and none is universally better. A dealer or approved workshop keeps warranty records tidy. They’ve also got the gear for damp testing and gas work. A mobile engineer saves the trip to a workshop. That helps owners who keep the vehicle somewhere secure and awkward to move.
Self-servicing suits the owner who’s comfortable with routine tasks, such as fluid levels, tyre checks, sealant inspection and alarm tests. It doesn’t suit gas appliance repairs or anything that would void a warranty requiring a stamped service book.
How Do You Catch Damp and Water Ingress Before It Becomes Expensive?
Damp is caught early by checking on a fixed calendar with a damp meter and by inspecting every seal and seam by eye. Water entering a motorhome often travels a long way from the leak before it shows. By the time a stain, a soft panel or a musty smell appears, the damage behind the wall is usually well advanced.
Where water gets in
Most ingress starts at a small number of places. Check these first:
- Roof seams and edges where panels meet and where sealant has been applied.
- Rooflights and vents, including the seal around the frame and the condition of the rubber gasket.
- Window frames, particularly the lower corners where water collects.
- Roof-mounted fittings such as aerials, solar panel brackets and cable entry points.
- Locker and habitation door seals, which can compress and harden with age.
Signs a damp check should be booked
Some warning signs can be checked by sight, touch and smell without any equipment. Look for these:
- A musty smell that returns after airing the vehicle.
- Staining, bubbling or lifting wallpaper-style lining near windows, rooflights or the roof edge.
- Panels or floor areas that feel soft or flex under light pressure.
- Condensation that keeps returning in the same corner despite ventilation.
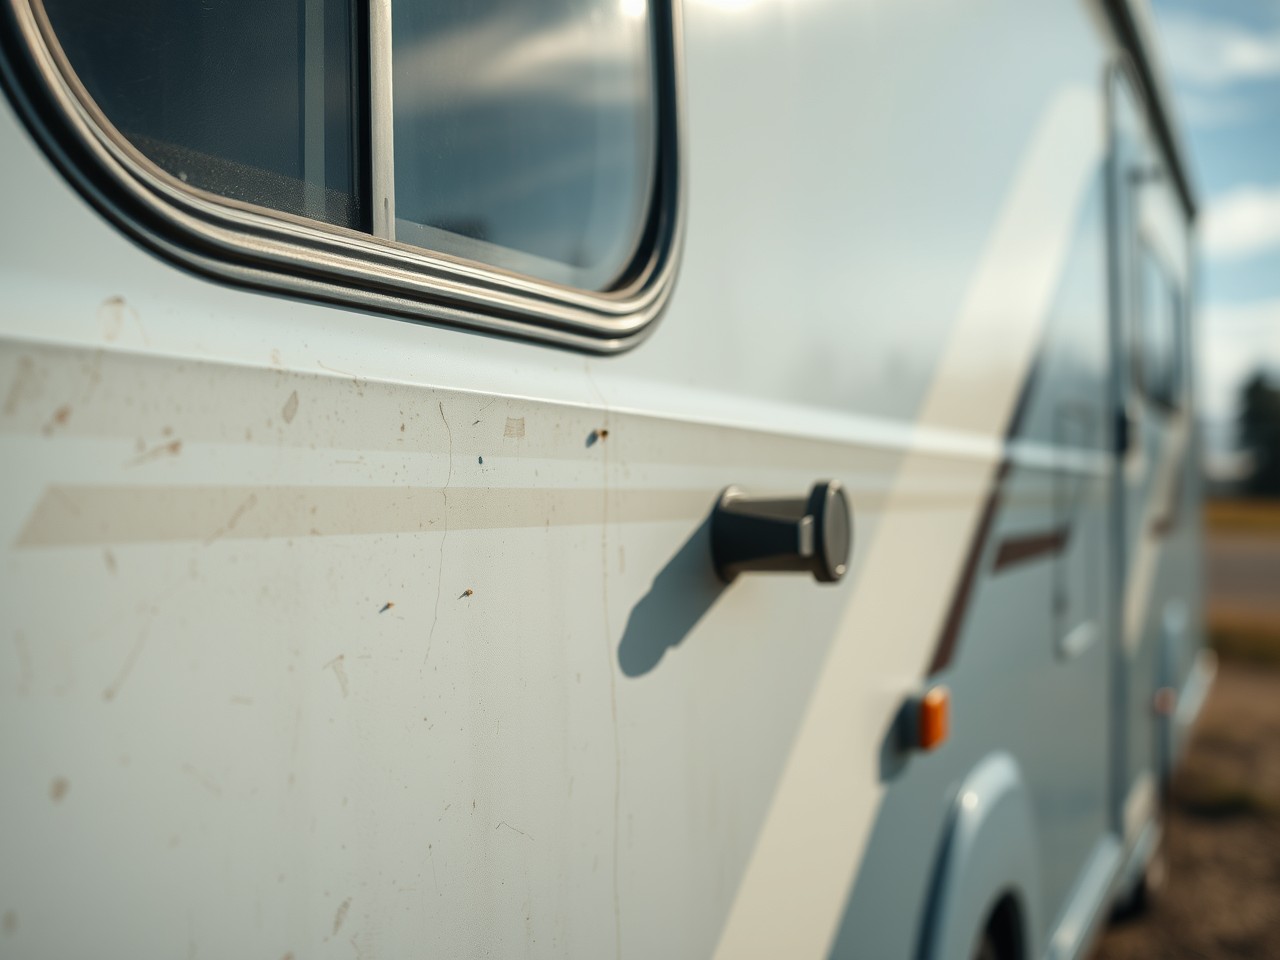
- Cracked, shrunken or peeling sealant lines on the exterior.
The damp meter gives a reading from the surface of the panel. But a reading that rises over successive checks is more useful than a single number. Recording the same spots on the same dates each year shows a trend before it becomes a repair.
How often to reseal
There’s no honest universal interval for resealing. Sealant life depends on the product, the preparation, the weather and how the vehicle is stored. The reliable rule is to inspect every seam and frame at least once a year, and again after a hard winter or long storage. Then reseal any line that’s cracked, lifting or pulling away.
Sealant should be matched to the substrate and the manufacturer’s guidance. A thick layer of the wrong product over a dirty or damp seam can trap water rather than keep it out. Cleaning and drying the joint come first.
Ventilation as prevention
Damp prevention isn’t only about sealant. Cooking, breathing, wet clothes and showers all put moisture into the air, and a closed motorhome holds it. Keep vents clear, run extraction where fitted, and leave interior lockers and cushions slightly open during storage so air can circulate.
Why Do Motorhome Tyres Crack When Tread Looks Fine?
Motorhome tyres crack with age. That’s because rubber hardens and dries out from sunlight, ozone, temperature changes and long spells standing in one spot, regardless of how much tread remains. A tyre with deep tread and a cracked sidewall can still be unsafe.
What to inspect
Tread depth is only one of several checks. Look at the tyre in this order:
- Sidewall cracking, including fine lines running in the rubber, particularly around the rim edge and the shoulder.
- Bulges or deformation on either sidewall, which suggest internal damage.
- Flat spots from long standing, which may cause vibration when driving resumes.
- Date code on the sidewall, which shows when the tyre was made. Compare it with the tyre maker’s and vehicle maker’s guidance on age.
- Inflation pressure, checked cold against the figure in the vehicle handbook or on the placard.
Motorhomes need tyres with the correct load rating for the vehicle. That rating is often a different specification from a passenger car tyre of the same size. Check the rating against the vehicle’s plated weights and the manufacturer’s tyre recommendations, and have a tyre specialist confirm anything uncertain.
A motorhome is heavy, so a blowout is serious. The UK government, through its DVSA guidance, treats damaged and unsuitable tyres as a roadworthiness matter. So a cracked or bulging tyre should be replaced rather than monitored.
How Do You Look After the Leisure Battery and Electrics?
A habitation battery, also called a leisure battery, lasts longest when it’s kept charged. Keep it clear of deep discharge and extreme cold, since a battery left flat for long periods can be permanently damaged. Standing is as harmful as heavy use.
Routine care
- Check terminals for corrosion and make sure connections are tight and clean.
- Confirm the charger is working and suited to the battery type, since charging profiles differ between battery chemistries.
- Use a voltage reading, taken after the battery has rested, as a quick health indicator.
- Keep the habitation electrics off or isolated when parked, unless a fridge or alarm needs power.
Over winter
Over winter, either keep it on a suitable maintenance charger or disconnect it and store it fully charged somewhere secure and frost-protected. Check the voltage periodically. Even a disconnected battery slowly loses charge. Follow the battery maker’s guidance for the specific type, as lead-acid and lithium batteries have different storage needs.
What Is the Right Way to Sanitise the Fresh Water System?
To sanitise the fresh water system, drain it and clean the tank. Then fill it with a sterilising solution at the strength the product label gives. Leave it for the stated contact time. Flush thoroughly until no taste or smell remains. Milton-style sterilising solutions are the typical choice, and the label governs the dose and contact time.
A practical sequence
- Drain the tank, pump, pipework and boiler completely, opening all taps.
- Clean the tank interior where access allows and rinse out any debris or film.
- Mix the sterilising solution to the label’s instructions and fill the tank.
- Run the pump until the solution reaches every tap and outlet, hot and cold.
- Leave it for the contact time on the label.
- Drain, then flush repeatedly with fresh water until all trace of smell and taste is gone.
Do this at the start of the season and after any long spell standing. Water left in a tank for weeks can develop a film and a stale taste. Emptying it between trips is a better habit than topping it up.
Waste water and toilet
The waste water tank and toilet cassette or black tank need regular emptying, rinsing and cleaning, or odours and blockages follow. Use products suited to the toilet system, and avoid anything that attacks seals. Check valve blades and seals for wear, and keep the cassette empty and clean during storage.
How Do You Check the Gas System Is Safe?
The gas system is checked in two ways. Owners do visual inspections, and a qualified engineer does a periodic check. Anything involving appliances, pipework or repairs must be done by someone qualified. In Great Britain, the Gas Safe Register lists the engineers legally allowed to work on gas appliances. So check an engineer’s credentials before work starts.
What owners can do
- Inspect flexible hoses for cracking, hardening, kinks or scuffing, and check the date marking if present.
- Check the regulator and connections for corrosion, damage and secure fitting.
- Look for signs of heat discolouration around appliances and flues.
- Use an approved leak-detection method, such as a purpose-made leak detection fluid, rather than a flame or improvised method.
- Confirm the gas locker is clear, ventilated and drains properly.
What to leave to a specialist
Repairs, appliance servicing, regulator replacement, pipework changes and fault diagnosis on heaters, cookers, fridges and boilers need a qualified engineer. A gas safety check should form part of the annual habitation service. Any smell of gas means you shut off the supply. Open doors and windows, and keep flames and switches well away. Then get professional help.
Why Do Carbon Monoxide and Smoke Alarms Matter So Much?
Carbon monoxide and smoke alarms matter, because heaters, fridges and cookers in a motorhome all burn gas. Carbon monoxide is invisible and has no smell. The Health and Safety Executive publishes guidance on carbon monoxide risks. An alarm is the only reliable way to detect it inside a small, enclosed space.
Test each alarm with its test button before every trip and on a regular schedule while parked. Replace batteries as needed. Check the alarm’s expiry marking, and replace any unit past its stated life. Fit alarms according to the manufacturer’s instructions and the vehicle’s layout, not simply wherever there is space.
How Do You Winterise a Motorhome?
A motorhome is winterised by draining the entire water system, protecting the battery, ventilating the interior and checking the sealing and tyres before storage. Frost damage to the water pump, pipework, boiler and taps is a common failure. It happens when the system isn’t fully drained.
Water system drain-down
- Empty the fresh water tank and open all taps, including mixers, to let air in.
- Open the drain valves and boiler drain, and confirm nothing is holding water.
- Run the pump briefly to clear it, then leave taps open, following the vehicle handbook.
- Empty and clean the waste tank and toilet cassette or black tank.
- Remove or secure the shower head and hose so they drain.
Trapped water expands as it freezes and can split fittings, pump housings and boiler components. The damage often shows only when the system is refilled in spring. Check the manual for any additional drain points that vary by model.
Interior and battery
Clear all food, empty the fridge and prop the door open slightly. Leave cushions and locker doors positioned so air moves, and consider moisture absorbers if recommended for the storage location. Handle the battery as described earlier. Make sure gas is turned off at the cylinder unless a specific appliance needs it.
How Do You Stop a Motorhome Deteriorating While Stored?
A motorhome stops deteriorating in storage when it’s dry, ventilated, protected from sun and checked on a regular schedule. Standing is the main enemy of tyres, batteries, seals and water systems. A stored vehicle that is never visited is a vehicle that is quietly ageing.
Storage security comes first
Judge a storage site on security before anything else. A vehicle left for months is an obvious target for theft and break-ins. Covered or enclosed parking, perimeter alarms, gated access and staffed or monitored sites all reduce risk. Physical deterrents add a further layer. On any site, such deterrents include wheel clamps, hitch locks and ground anchors.
Check what the insurer requires, since policies often attach conditions to security measures and to the storage location. Keep the service history and key documents separate from the vehicle.
Regular visits
During long storage, visit on a fixed schedule and run through a short routine:
- Check for signs of water entry, mould or musty air inside.
- Check battery voltage and the maintenance charger, if fitted.
- Look at tyre condition and pressure, and move the vehicle slightly if the site and insurer allow, to change the contact patch.
- Inspect for pest entry, including gaps around pipes and vents.
- Start the engine only if it can be run properly to temperature, since short runs can add moisture without clearing it.
What Jobs Can Owners Do Themselves?
Owners can safely handle visual checks, fluid level checks, tyre inspection, water system sanitising, alarm tests, cleaning and routine sealant inspection. Gas work, electrical faults, brake system repair and structural repairs need a specialist. The line is drawn at anything where an error creates a safety risk or voids a warranty.
Suitable for owners
- Checking engine oil, coolant and screen wash levels between services.
- Inspecting tyres, including sidewalls, pressure and date codes.
- Cleaning roof, gutters and drains so water runs away.
- Sanitising the fresh water system and cleaning waste tanks.
- Testing carbon monoxide and smoke alarms.
- Inspecting seals and sealant and recording damp meter readings.
Best left to specialists
- Gas appliance servicing, repairs and regulator or hose replacement.
- Mains electrical work and habitation electrical faults.
- Air brake system servicing on larger chassis.
- Structural repairs to damp-damaged panels and floors.
- Warranty-linked servicing that needs a stamped record.
What Does Motorhome Maintenance Typically Cost Each Year?
The yearly cost of motorhome maintenance varies too much to give one honest figure. It depends on vehicle size, age, chassis type and workshop. A reasonable approach is to budget separately for the base-vehicle service, the habitation service, tyres and the battery. Add a contingency for sealant and small repairs.
Larger vehicles on heavy chassis, such as those with air brakes and tandem axles, cost more to service than van-based models. Getting written quotes that itemise each part of the service helps compare workshops like for like. Preventive work is almost always cheaper than repairing water damage.
What Mistakes Do New Owners Make Most Often?
New owners most often make mistakes by assuming a low-mileage vehicle is in good condition. They skip the habitation service and ignore small leaks. Each of these comes from treating the motorhome like a car, when most of its decay is driven by time and moisture.
- Servicing by mileage only, which misses sealants, tyres and batteries that age on the calendar.
- Skipping damp checks, which lets hidden leaks become structural repairs.
- Doing gas work without qualification, which is a safety hazard and may breach insurance and warranty terms.
- Leaving water in the system over winter, which risks frost damage to the pump, pipework and boiler.
- Ignoring tyre age, trusting tread depth alone.
- Overloading, without checking payload and plated weight limits.
- Insecure storage, with no thought given to alarms, anchors or insurer conditions.
- Losing service records, which can undermine warranty claims and resale value.
The Bottom Line
Keeping a motorhome healthy means running two calendars. One is for the engine and chassis. The other covers the habitation side, where moisture and standing do the damage. Regular damp checks, dated tyre and battery inspections, qualified gas work and a properly drained, securely stored vehicle keep small faults from turning into large bills. Documented servicing protects both safety and the vehicle’s value.