How to Use Shoe Inserts: 10 Common Mistakes to Avoid
Contents
Most people ruin their inserts before they ever take a step.
Inserts are often fitted for travelers who live out of a saddlebag and a rucksack. A rider rolls into camp after six hours on the pegs, limps into town the next morning, and often blames his boots. Many purchase squishy gel insoles expecting them to solve all discomfort. Beginners think a cushy gel insole fixes everything, but the real issue is alignment: the insert must match where your arch actually collapses. Also, the insole board of a shoe plays a huge role—a stiff moto boot handles a firmer insert, while a lightweight, packable walking shoe needs something softer that flexes with every step. That single insight changes everything about how you approach using shoe inserts, whether you’re walking a footpath in Oaxaca or climbing stairs in a medieval hill town after a long ride.
Key Takeaways
- Remove the factory insole before placing a new one; stacking inserts shifts your foot inside the shoe and creates pressure points that can worsen arch fatigue.
- Always trim along the provided guide lines using the original insole as a template—an insert that bunches at the toe can cause blisters on a downhill walk back to your motorbike.
- Break them in gradually. Wearing a new, structured insert for a full day of riding and walking can strain tissue that has adapted to flat, unsupportive footwear over tens of thousands of steps.
Why Alignment Beats Cushion Every Time
Travelers obsess over softness. It’s an honest instinct—after weeks on hard pack, a bit of plush feels like mercy. But the foot is a load-bearing structure, and the plantar fascia is a tough band of tissue that runs from the heel to the toes. When that band overstretches with each step, a soft gel pad does nothing to stop the stretch; it just masks the impact for a few kilometres.
The real goal of any insert is to control the rate and direction of your arch collapse, a movement called pronation. A study of foot mechanics published by the Cleveland Clinic notes that a properly supporting insert can reduce strain on the plantar fascia by up to 34% during weight-bearing activity. That number matters. It’s the difference between walking through a Moroccan medina for three hours and limping back to your bike with a hot poker in your heel.
Match the insert to your foot shape, not your comfort fantasy. Three broad categories cover most feet: low arches that overpronate, neutral arches, and high arches that supinate. A soft, unstructured insert under a low arch offers no support; the foot flattens out further. A rigid arch support on a high arch pushes upward into a foot that doesn’t need it, creating a bruise deep in the arch after a single afternoon of sightseeing.
The Six-Step Process to Using Inserts Like a Pro
I’ve guided riders through this routine in hostels from Patagonia to the Alps. Follow the sequence—skip a step and you set yourself up for a slow-motion injury that blooms three days later.
Step 1: Remove the Original Insole
Always take out the removable sockliner that came with the shoe. I watch travelers try to stuff a thick orthotic on top of the existing insert every season, and the result is a heel that rides too high, pinching the Achilles tendon against the collar. That extra height also shifts the foot out of the shoe’s natural flex point, so the arch of the shoe no longer lines up with the arch of your foot. If the factory insole is glued down, peel it gently starting at the heel; a hairdryer on low heat softens the adhesive without damaging the shoe. Some mountaineering boots and riding boots have stitched-in insoles—in that case a half-length insert becomes the only option.
Step 2: Trace and Trim
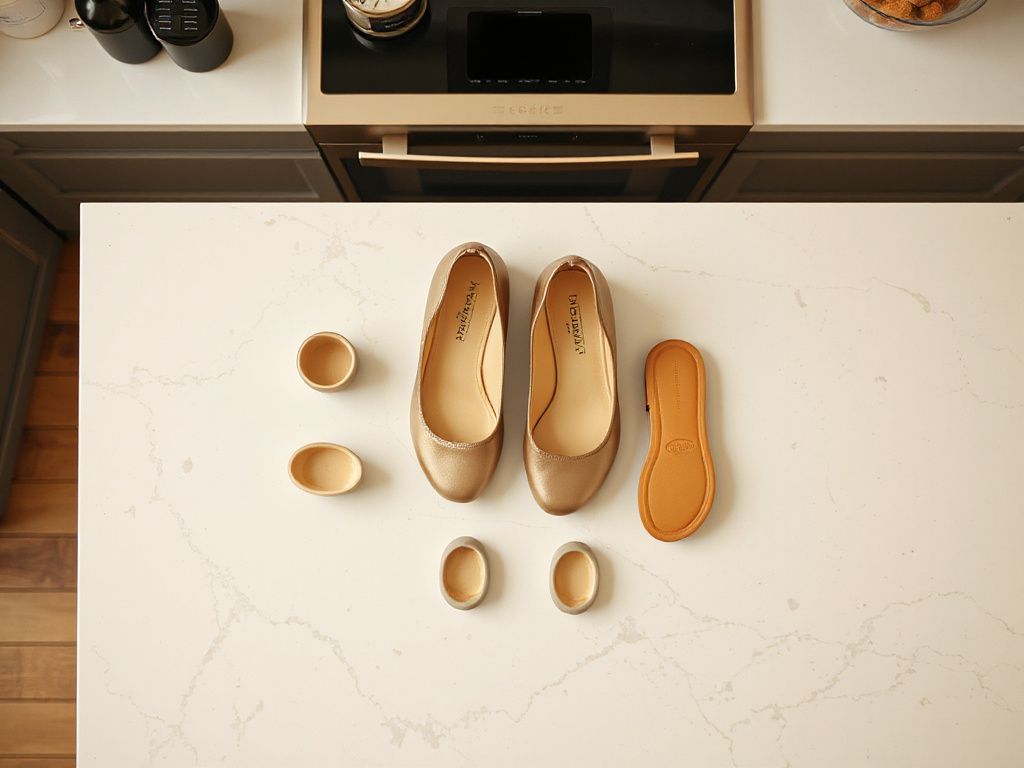
Most inserts arrive with a series of size lines printed on the bottom. Don’t guess. Place the original insole on top of the new one, align the heels, and mark the cut line at the toe with a felt-tip pen. Use heavy kitchen shears or a utility knife on a cutting board—scissors work on foam but can leave ragged edges that wear holes in the shoe’s lining over time. Trim a little at a time; you can always cut more, but you can’t add material back. A clean, rounded toe shape prevents the insert from folding under itself when you slide your foot in.
For a shoe with a wide toe box, such as a trail runner, I trim just inside the lines to leave a millimeter of wiggle room. A narrower dress shoe or a technical moto boot that you might wear to a border-crossing meeting demands an exact fit. If you’re swapping inserts between different shoes, base the trim on the smallest shoe in your rotation.
Step 3: Place the Insert Correctly
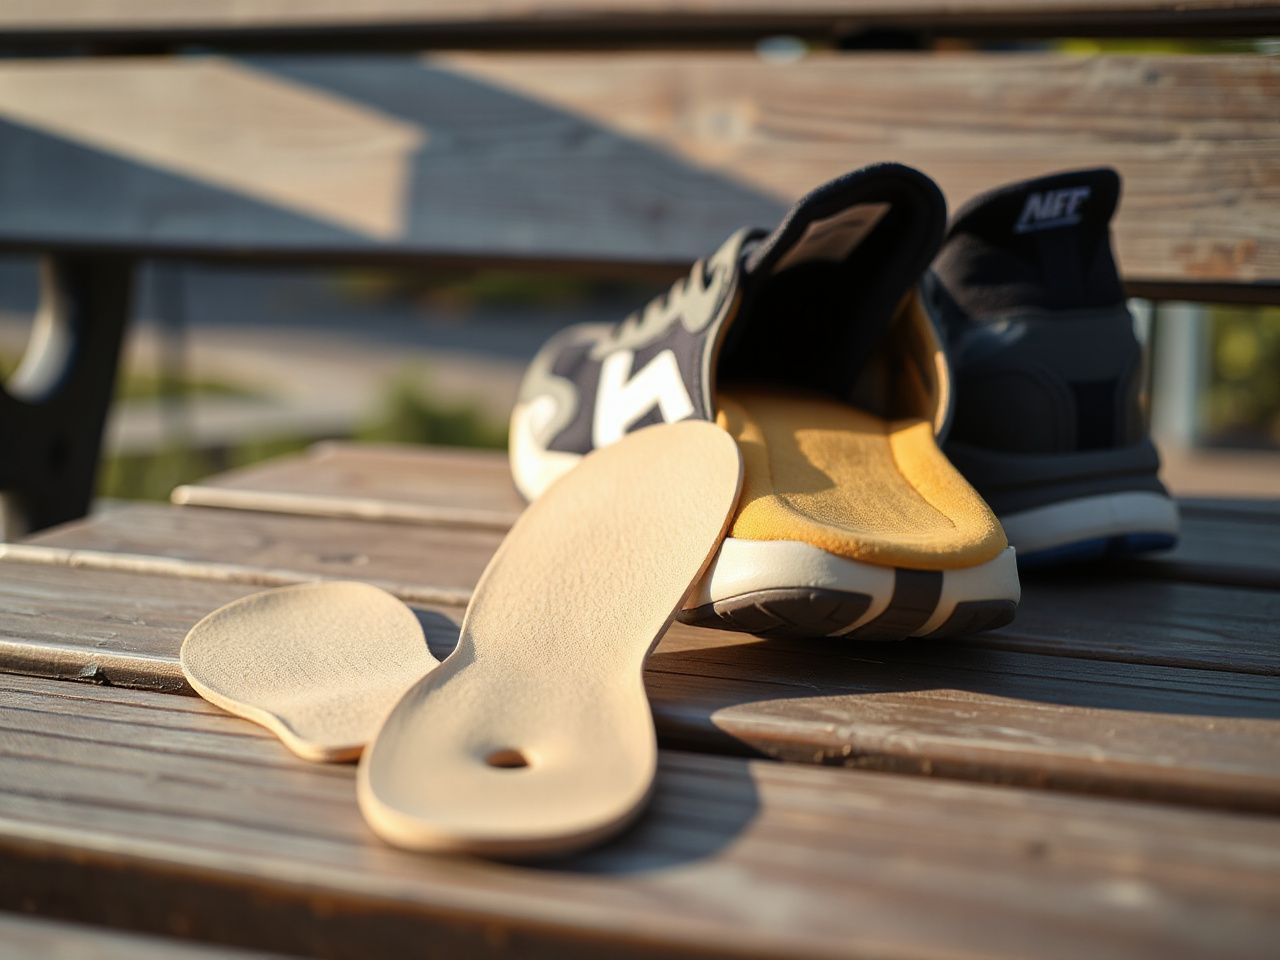
Slide the trimmed insert into the shoe and press the heel cup firmly into the back until it sits flush against the counter. Run your finger along the edge to ensure no part of the foam is curling up the sidewall—that curl creates a pressure ridge that you’ll feel within the first mile. The arch of the insert should sit directly under the arch of your foot; if you feel the bump under your metatarsal heads instead, you may have it in upside down. Many newer designs have a slight upward curve at the toes; that raised toe cradle goes upward, not downward.
Flex the shoe gently in your hands. A properly placed insert won’t slide forward when the shoe bends at the forefoot. If it does, a couple of double-sided fashion tape strips under the arch keep it anchored without permanent damage. On long motorcycle tours, I carry a small roll for this very reason.
Step 4: Adjust the Lacing
Any insert thicker than the original changes the internal volume. You’ll need to re-lace the shoe. Start by opening the laces completely, slide your foot in, and tighten from the bottom up. The heel should lock into the deepened heel cup of the insert; if you feel any heel slip, use the runner’s loop lacing technique—passing the lace through the top eyelet back toward the ankle creates a mechanical lock. For a stiffer insert like a cork orthotic, you may need to go up half a shoe size. That’s not a failure; it’s physics. A thick rigid shell occupies 3–5 mm of vertical space, and your toes need room to splay.
Step 5: Break In Gradually
A new insert reshapes how your foot interacts with the ground. Your intrinsic foot muscles, which have been lazing around in soft, flat footwear, suddenly have to work. I have riders wear a new pair for two hours on the first day, four hours the next, and only then attempt a full day’s walk. That goes double for a firmer orthotic. The tissue along the plantar fascia can become inflamed if you go from zero support to maximum arch correction overnight. I learned this the hard way outside a temple complex in Laos, hobbling back to my bike while a monk watched sympathetically.
The break-in routine also teaches you something valuable. Is the pain sharp and localized under a specific metatarsal head? The insert might need a metatarsal pad added or repositioned. Dull, aching soreness across the whole arch after 30 minutes usually means the arch height is too aggressive, and you need a lower-profile version.
Step 6: Maintain and Monitor
Inserts wear out. Polyurethane foam typically loses its support after 300–500 miles of walking—roughly six months for an active traveler. EVA foam compresses sooner. Gel inserts may last longer structurally but don’t retain shock absorption indefinitely. Pick up an insert and press your thumb into the arch area; if it collapses with little resistance or shows permanent compression marks, it’s time to replace it. I mark the installation date on the underside with a permanent marker so I never guess.
Clean them weekly if you’re in a humid climate. A mix of warm water and mild soap scrubbed with an old toothbrush removes sweat salts that break down the foam. Air-dry out of direct sunlight—a motorcycle pannier in the Andean sun can warp an insert in an afternoon. Store them flat, not curled inside a shoe that presses them out of shape.
Riding Culture and Foot Health: Leave No Trace on Your Feet
I slow down through every region not only to understand the people but to preserve the paths we walk. A traveler with ruined feet buys a cheap pair of disposable sandals from a roadside stall and leaves them behind in a hostel bin three days later. That’s not just wasteful—it ignores the fact that durable, well-chosen inserts can keep a single pair of shoes in service for years. An EVA foam or cork insert, when cared for, outlasts several pairs of outsoles. In this small way, we leave a lighter footprint.
To my fellow riders: before every trip, I assess my footwear like I assess my chain and sprockets. If you’re planning to hike up to a viewpoint after parking the bike, your shoes need to be as dialed in as your suspension. The right insert transforms a mediocre pair of boots into a piece of gear you can rely on across borders. A stop at a specialty running store where staff analyze your gait can be the single most important pre-trip errand you make, aside from renewing your travel insurance. And if you’re running mountain trails from the campsite, check out our trail running shoe reviews for 2026 to find a shoe with the right foundation for your insert.
Don’t ignore sizing differences that affect half the riding community. Women’s feet typically have a narrower heel and a wider forefoot relative to length, so an insert designed for a standard men’s last often shifts. If you’re a female rider coaxing miles out of your gear, our guide to shoe brands for women can point you toward lasts that pair more naturally with off-the-shelf inserts.
Matching the Insert to Your Activity
Standing all day at a market and running a coastal path are two different loads. A gel insert, often made of thermoplastic elastomer, disperses impact vertically and feels immediately soothing for a few hours of standing. For all-day posture, however, gel alone lacks the structural rebound that polyurethane foam provides. A firmer cork footbed conforms to heat and pressure over time, molding like a custom orthotic—this is why many long-distance hikers swear by cork, despite the initial firmness.
The same insert cannot serve optimally in a flexible ballet flat and a rigid motocross boot. The shoe’s insole board dictates how much support the insert can deliver. A running shoe with a flexible forefoot needs an insert that bends with it; a thick, rigid plastic arch plate under a flexible shoe creates a hinge point that can collapse over time and cause a fatigue fracture in the midsole material. Conversely, a soft insert inside a board-lasted boot, like a logger boot, offers little benefit because the boot itself already resists twisting. Match the stiffness of the insert to the stiffness of the shoe, and the combination works as a single system.
For travel, I pack one pair of medium-support EVA foam inserts with a moderate metatarsal pad. That covers everything from flip-flop-replacement sandals to approach shoes. If the trip will involve any running, a slightly more structured insert like the polyurethane-based Superfeet style helps keep my gait aligned over uneven cobblestones. I never rely on a Dr. Scholl’s gel pad for anything beyond a quick city walk—the arch support is minimal and the material flattens rapidly under sustained load.
When to See a Professional
Over-the-counter inserts solve a lot, but they’re not a substitute for a diagnosis. Persistent heel pain that stabs with the first step out of your sleeping bag, numbness under the ball of the foot after a long ride, or a burning sensation that doesn’t resolve with a lace adjustment all warrant a visit to a podiatrist. The American Podiatric Medical Association recommends a professional evaluation when discomfort limits daily activity despite properly fitted supportive inserts. A podiatrist can scan your foot dynamically and prescribe a custom orthotic that accounts for factors no off-the-shelf insert can address—tibial rotation, leg length discrepancy, or a subtle forefoot valgus. Riders frequently spend hundreds on inserts that don’t work simply because the discomfort comes from a sciatic nerve referral, not a foot issue.
If you’ve been fitted for orthotics, follow the break-in protocol religiously and wear them initially only in the shoes they were designed for. Moving a custom rigid orthotic from a hiking boot to a soft sneaker can change the effective arch height enough to provoke a flare-up. And always replace inserts before the shoe’s midsole is crushed; an insert on a collapsed midsole tilts unpredictably, creating a leverage that can strain the ankle. A simple field check: stand the shoe on a table and look at it from behind. If the heel counter leans inward or outward noticeably, the shoe is done, no matter how fresh the insert looks.
Remember that foot health is a cultural practice in many places. In Japan, removing shoes at the door is partly about hygiene, but it also gives the intrinsic foot muscles a chance to work barefoot, strengthening the arch naturally. I’ve adopted a habit of spending 15 minutes barefoot on grass or sand whenever I stop for the night. That small ritual, combined with well-fitted inserts during the day, keeps my feet ready for whatever backroad calls next.
Frequently Asked Questions
How do I know which type of insert I need for my foot?
Stand on a flat surface and look at your arch profile in a mirror. A low arch that nearly touches the ground benefits from a firm polyurethane insert with a defined arch height. A high arch that shows a large gap feels most comfortable with a softer EVA foam insert that won’t push too aggressively into the midfoot. Neutral feet do well with a medium-density option. Gait analysis at a running store can add motion data to your decision.
Can I trim shoe inserts to fit my shoes?
Yes, and it’s expected. Almost every aftermarket insert includes trim guide lines. Remove the original sockliner, place it over the new insert, trace, and cut just inside the line for a snug fit. Use sharp shears and smooth the edge with a nail file if the material feels rough. Trim gradually—a slightly short insert is far better than one that bunches up at the toe and creates a hot spot.
How often should I replace my shoe inserts?
Replace foam inserts every 4–6 months of regular use, or sooner if you notice the arch flattening under thumb pressure. Polyurethane often lasts closer to 500 miles. Gel inserts can last longer structurally but degrade in cushioning. Write the date on the underside so you’re not guessing. If foot fatigue returns despite a broken-in insert, the material has likely packed out and needs to go.
Do shoe inserts cause my shoes to feel tighter?
A thicker insert will consume internal volume, especially in the toe box and instep. You may need to go up half a shoe size for a rigid orthotic or a deep-heel-cup design. Loosen the laces completely, insert your foot, and relace from the bottom up to redistribute pressure. If the shoe still feels tight after a week of gradual break-in, the insert is probably too thick for that particular shoe last.