Hiking Equipment for Beginners: Essential Gear Explained
Contents
Most first-time hikers step onto the trail weighed down by a single heavy fleece or a thick puffy jacket and wind up sweating, shivering, and miserable within the first hour. That exact frustration—being cold and wet while carrying too much—is the primary issue addressed when evaluating hiking equipment for beginners. There are rigorous standards for outdoor gear—such as moisture vapor transmission rates and thermal resistance ratings—that separate high-performance equipment from fashion. When looking at outdoor clothing, these standards provide the necessary lens. The biggest mistake beginners make is buying a single heavy jacket instead of building a layering system. The space between layers is what traps heat, so it is necessary to think in terms of active management, not just covering up. Also, the choice of base layer material is non-negotiable: you either go merino or high-quality synthetic, because cotton can kill you in the backcountry.
Key Takeaways
- A dynamic layering system—base, mid, and shell—manages body heat far more effectively than any single thick garment because it uses trapped air between layers as the primary insulator.
- Base layers must be merino wool or high-quality synthetic; cotton absorbs sweat, stays wet, and accelerates conductive heat loss by up to 25 times compared to dry fabric.
- Correct fit prevents chafing and preserves insulation, while regularly reapplying a DWR treatment like Nikwax TX.Direct keeps your shell performing long after the original water repellency fades.
Why Your Clothing Is a Survival Tool, Not Just a Cover-Up
Hiking clothing isn’t a fashion decision. It’s a mobile microclimate you build around your body. In motorcycle safety, a helmet’s energy management liner matters more than its graphics. On the trail, the fabric’s thermal resistance, moisture transport rate, and air permeability matter more than the brand stitched on the chest.
Hypothermia doesn’t only strike in winter. The National Park Service documents cases yearly where hikers in 50°F rain grew disoriented because wet clothing pulled heat from their core. A properly layered outfit lets you dump heat climbing a steep pitch and seal it in when you stop to filter water. That’s active temperature regulation—and it’s exactly what the best hiking equipment for beginners should deliver.
Independent testing matters as much here as it does for a DOT helmet. While apparel rarely carries the same government-mandated certification, the industry offers measurable benchmarks: the ISO 11092 breathability test (RET value), ASTM F1868 for evaporative resistance, and the UPF 50 rating verified by AATCC 183 for ultraviolet protection. A fabric with a RET under 6 m²Pa/W is highly breathable. One rated UPF 50 blocks at least 98% of UV radiation. These numbers aren’t marketing—they’re repeatable lab results. When I evaluate a piece, I dig for that data just as I would for a CE Level 2 back protector.
The Layering System: How to Build an Active Insulation Setup
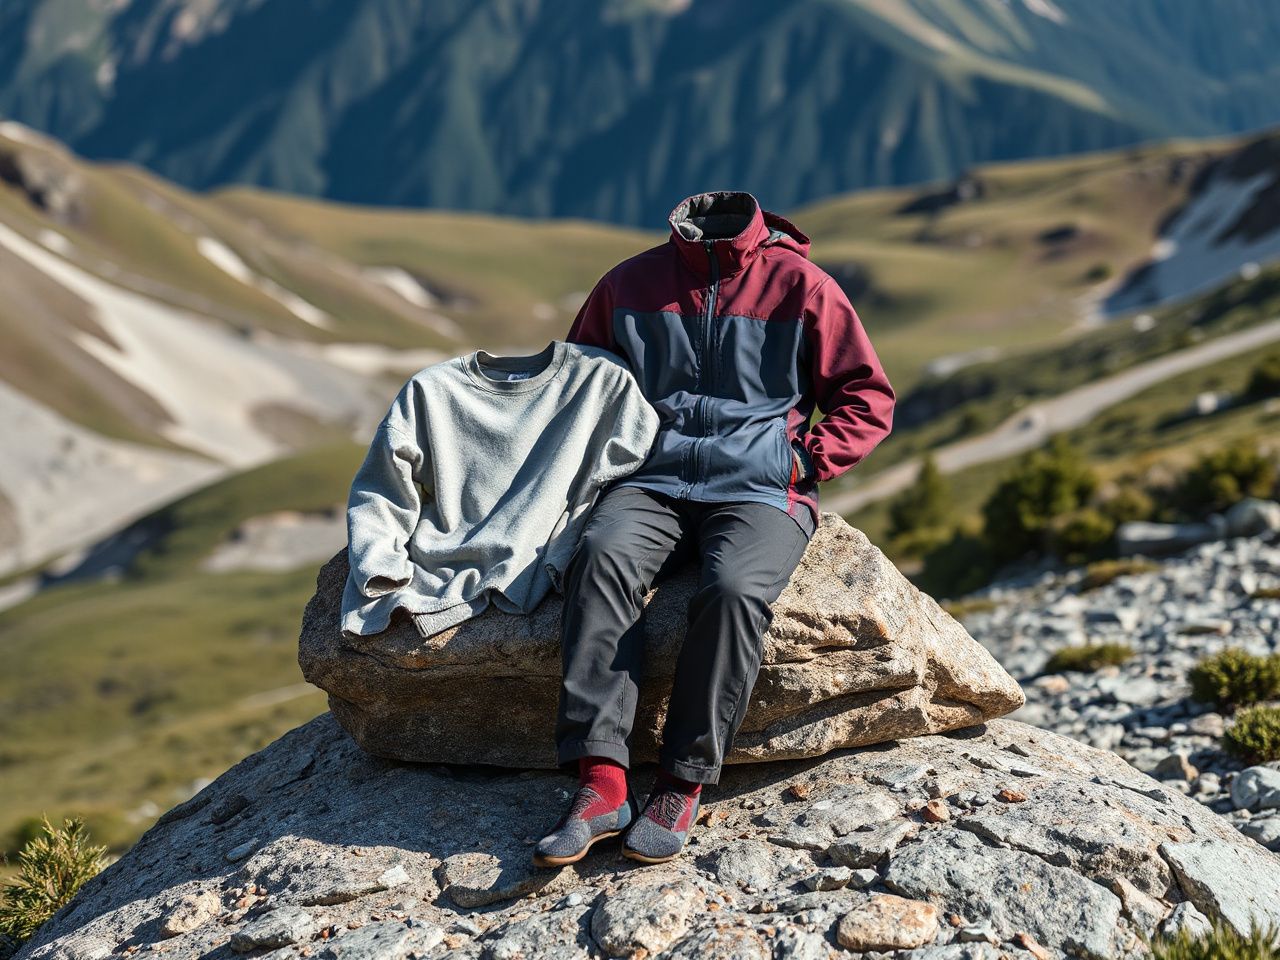
Layering isn’t about piling on clothes. It’s about creating defined air gaps that you can open or close on the move. The three-part system—base, mid, shell—works because each layer has a distinct job and they don’t interfere with one another if chosen correctly. An air gap of just 4 to 8 millimeters between your mid layer and shell can increase the thermal insulation value by roughly 0.3 clo, which is enough to feel a noticeable difference when the wind picks up.
Base Layer: The Skin-Contact Shield
A base layer has one job: pull sweat off your skin and push it outward. If it fails, you get the clammy chill that saps energy fast. The two materials that actually accomplish this are merino wool and high-quality polyester or polypropylene synthetics engineered with a moisture transport finish. Merino fibers possess a hydrophilic core and a hydrophobic outer surface, which creates a push-pull effect that moves liquid water vapor away from the body. A 200 g/m² merino top can absorb about 35% of its dry weight in moisture before the fabric feels wet to the touch.
Synthetics like Polartec Power Stretch dry even faster than merino, often in under 30 minutes compared to 45–60 minutes for a lightweight wool layer. They’re a solid choice in consistently wet environments like the Pacific Northwest, though they can hold odor if worn multiple days without washing.
Mid Layer: Trapping the Warmth You’ve Generated
The mid layer’s role is to hold body heat in the air spaces of its structure—loft, not thickness, does the work. Fleece, down, or synthetic insulation like Primaloft all create that loft. Down provides the highest warmth-to-weight ratio, with 800-fill down earning a clo value around 4.0, but it collapses and loses 90% of its insulating ability when wet. Primaloft Gold insulation, a continuous-filament synthetic, retains about 98% of its thermal performance when saturated. That’s a critical distinction for anyone hiking in humid or rain-prone terrain.
Grid fleece—Patagonia’s R1 fabric being the archetype—adds ventilation channels that let you dump body heat through the mid layer without stripping it off entirely. That kind of active moisture management prevents the soaking-wet-back scenario that turns a quick lunch break into a shivering ordeal.
Shell Layer: Defending Against Wind and Rain
The shell is your first line of defense, but it comes with a physics trade-off that manufacturers rarely explain. Waterproof-breathable membranes like Gore-Tex (ePTFE) work by having pores roughly 20,000 times smaller than a water droplet but 700 times larger than a water vapor molecule. That lets sweat vapor escape while keeping rain out. In lab tests using the ISO 15496 method, a typical Gore-Tex membrane can achieve a hydrostatic head of over 28,000 mm—enough to stay dry in monsoon conditions—but its breathability, measured as moisture vapor transmission rate (MVTR), typically falls between 15,000 and 20,000 g/m²/24h. High-output climbing can easily generate 25,000 g/m²/24h of sweat vapor, which means even the best shell won’t keep you fully dry during hard uphill pushes. The solution: mechanical ventilation. Pit zips that open 12 inches or more dump heat instantly, and front zippers allow the same. I treat shell zippers the same way I treat helmet vents—open them before you overheat, not after.
Softshell fabrics like Pertex Equilibrium take a different approach: they prioritize breathability (often MVTR over 30,000 g/m²/24h) and stretch, using a tight weave and a durable water repellent (DWR) finish rather than a waterproof membrane. They’ll wet out in sustained heavy rain, but for dry, windy hikes above treeline, they let you move without the steam-room effect.
Fabrics That Pass the Safety Check—and One That Fails Automatically
Material choices are the foundation of the whole system. I test motorcycle gear liners with an infrared camera to see heat mapping. While you don’t need a thermal camera for hiking clothes, you can judge fabrics by their documented thermal conductivity and moisture regain metrics.
Merino wool (especially grades with a fiber diameter below 19.5 microns) has a moisture regain of roughly 16%, meaning it can absorb a significant amount of water vapor before it feels clammy. It also resists odor naturally thanks to the lanolin coating and the fiber’s ability to trap bacteria-killing fatty acids. High-void polyester yarns in performance synthetics use capillary action to spread moisture over a huge surface area for rapid evaporation. Nylon 6,6 adds abrasion resistance to shell fabrics and has a melting point around 500°F, which matters if you ever need to retreat near a campfire.
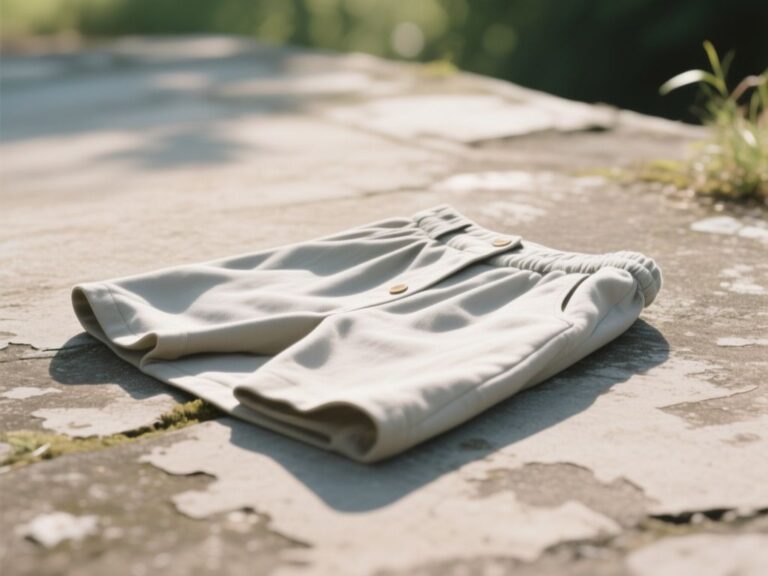
Nylon-spandex blends in hiking pants offer four-way stretch and quick-dry properties, often drying in under 20 minutes in direct sun. Look for pants rated UPF 50, meaning the fabric blocks 98% of UVB and UVA radiation. A standard cotton t-shirt often rates only UPF 5 when wet, which is almost no protection at all. For sun-exposed sections like a full-day ridge walk, that number matters.
Fit and Function: The Difference Between Protection and a Liability
Even the most advanced fabric fails if the fit is wrong. A base layer that’s too tight compresses loft in the mid layer and restricts blood flow to your skin, lowering surface temperature. Too loose, and cold air circulates continuously, flushing out the warm pocket you’re working to maintain. A mid layer should allow a full range of shoulder and arm motion without pulling the base layer away from your wrists. A shell that’s overly baggy will flap in wind, tearing the thermal boundary layer and making you work harder just to stay warm.
Chafing is not a minor detail; it’s a biomechanical injury caused when salty sweat evaporates, leaving salt crystals that act like sandpaper against skin. Seams in base layers are the primary culprits. Flatlock seams reduce friction depth by more than 50% compared to overlock seams, and seamless construction on merino tops eliminates the ridge entirely. Our complete hiking clothes guide for 2026 walks through how seam placement affects comfort over 10-mile days, but the short version: run your fingers along every seam before buying. If it catches, it will chafe.
Leg length and cuff adjustments matter too. Pants that are too short leave your ankles exposed to ticks and trail debris; pants that drag collect moisture and mud. A gusseted crotch adds roughly 15% more range of motion without changing the pant’s cut, which makes scrambling over downed trees feel far more stable.
External pockets on shells should close with water-resistant zippers (YKK AquaGuard or similar) that pass a hydrostatic head test of at least 10,000 mm. If the zipper isn’t sealed, your phone or map might as well be in a paper bag.
Keeping Your Gear Alive: DWR, Washing, and Repair
Outdoor clothing performance degrades predictably. The outer DWR finish on a shell is chemically a fluoropolymer or hydrocarbon coating that causes water to bead up; it doesn’t wash out, but it abrades off over time and loses effectiveness from dirt and body oils. When water stops beading and wets out the face fabric, the breathable membrane stops breathing, because vapor can’t push through a saturated outer layer. That’s why a shell that worked brilliantly in April feels like a sauna by October. Reapplying a spray-on or wash-in DWR treatment—Grangers Performance Repel or Nikwax TX.Direct—every 15 to 20 days of use restores breathability instantly.
Washing base layers after every trip isn’t optional if you want the fabric to maintain its moisture-wicking structure. Sweat salts and skin lipids coat fibers and plug the capillary channels that move moisture. A gentle cycle with cold water and a tech-specific detergent (Nikwax BaseWash or similar) prevents fabric pilling and keeps the wicking functionality intact. Never use fabric softener—it leaves a hydrophobic film that traps moisture against your skin.
Small tears in shell fabrics can be repaired with adhesive-backed patches like Gear Aid Tenacious Tape. A 2-inch tear repaired within a day of it happening has almost zero impact on waterproof integrity. Delaying the fix lets the tear propagate, much like a small chip in a motorcycle face shield turning into a crack.
When you’re ready to step onto a more demanding trail like Berm Peak, our beginner’s guide covers navigation, pacing, and what else to pack. Pairing proper clothing with the right footwear prevents the blister-and-chill cascade that derails even the best-planned trip.
Frequently Asked Questions
Do I need waterproof pants or just a jacket for hiking as a beginner?
For day hikes in mild weather, a waterproof jacket is sufficient, because heat loss from your core is the primary danger. But if you’ll be hiking through wet brush or expected rainfall above 0.1 inches per hour, waterproof pants prevent your lower body from becoming sodden and draining core heat. A pair weighing under 10 ounces and packing into its own pocket adds no real burden and turns a miserable afternoon into a comfortable ramble.
How do I know if a fabric is truly breathable?
Look for a published RET (Resistance to Evaporative Heat Transfer) value under 6, or an MVTR above 15,000 g/m²/24h, tested to ISO 11092 or ASTM F1868. If the manufacturer doesn’t share lab data, rely on field-test observations: wear the garment indoors at 70°F while climbing stairs for ten minutes. If the inside feels wet and sticky while the outside is dry, the fabric isn’t moving moisture effectively.
What should I wear for hot sun versus cold wind on the same hike?
Start with a lightweight merino or synthetic base layer, add a thin grid fleece mid layer, and carry a wind shirt or softshell. In hot sun, strip to the base layer; moisture evaporates quickly directly off the skin. When cold wind hits the ridgeline, pull on the wind shirt. That ultralight shell, often 4 to 5 ounces, blocks wind chill and can boost perceived insulation by 10–15°F without causing overheating.
How do I dry my clothes quickly while on the trail?
Wring out wet garments thoroughly—squeeze, don’t twist, for wool—then lay them flat on a dry rock or hang them from your pack while hiking. In direct sun with a light breeze, a synthetic shirt dries in under 20 minutes; merino takes roughly 45 minutes. If you’re in a humid forest, remove the garment and shake it vigorously to break the water’s surface tension, then hang it from a branch where air can circulate on both sides.
How much should I spend on hiking clothes as a beginner?
Budget roughly $100–$150 for a quality merino base layer, $80–$120 for a grid fleece mid layer, and $150–$200 for a reliable waterproof shell. That $330–$470 investment covers the core trio that handles 90% of three-season conditions. The critical piece not to cheap out on is the base layer, because a $20 synthetic that doesn’t wick will leave you wet and cold regardless of the shell’s price tag.