How To Pack For Hiking: A Complete Guide
Contents
Most hiking advice tells you to buy the lightest gear you can afford. That’s a mistake. The gear you skip buying to save money is almost always the gear you regret not having when you need it most. Invest once, invest right. That mindset applies just as much to hiking as it does to motorcycling. How you pack for hiking matters more than what you buy. A poorly packed 30-liter bag can ruin a day hike faster than rain.
Key Takeaways
- Distribute weight so 60% of your load sits between your shoulder blades and your hip belt — not at the bottom of your pack.
- Use the ‘three-layer system’ for clothing: base, mid, and outer shell. Cotton kills on the trail.
- Always pack your rain gear and first aid kit on top of everything else. You don’t want to dig for them in a storm.
Why Most Hikers Pack Wrong
The biggest mistake is cramming everything into the main compartment without any thought to balance. On a motorcycle, a badly loaded pannier can throw your bike off at 60 mph. On a hike, it throws off your center of gravity, making you work harder with every step.
Over 500 miles of trail — from the gravel roads of NWA to the high desert in Utah — the same failure keeps turning up. A pack that sags to one side is a pack that was loaded without a system: the mass sits off the centerline of the spine, so one shoulder and one hip take more than their share and the hipbelt can no longer hand the weight cleanly to the pelvis. The goal isn’t just to carry gear; it’s to carry it so the weight feels like part of your body.
If you’re new to longer hikes, start by reading NWA Trails: The Complete Hiking Guide for 2026 to find routes that match your skill level. Then come back to this packing guide.
Step 1: Layer Your Clothing Like a Pro
The Three-Layer System
You don’t need a dozen shirts. You need three layers that work together. Your base layer should be merino wool or a synthetic blend — never cotton. Cotton absorbs sweat and stays wet, which can lead to hypothermia even in mild weather. Exposure to cold while wet is a danger even at 60°F.
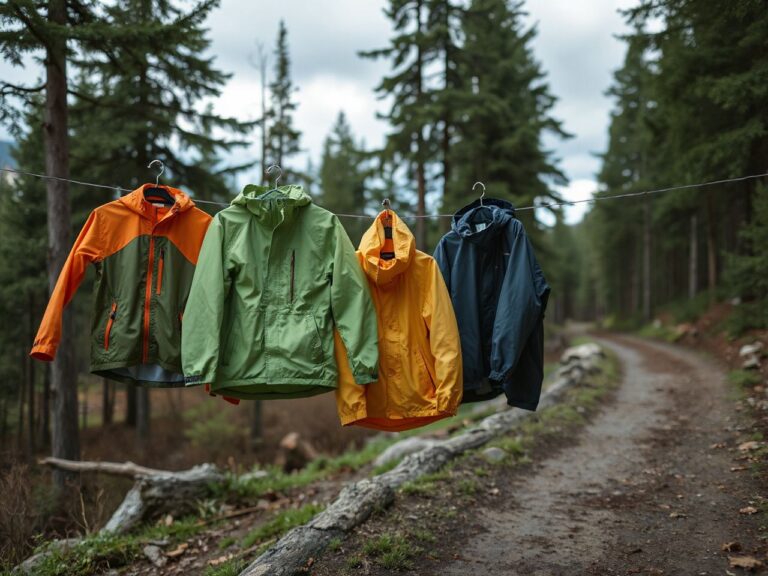
Your mid layer traps heat. A fleece or a lightweight puffer jacket works well. Your outer shell blocks wind and rain. Look for something breathable, not just waterproof. A jacket that doesn’t breathe will make you sweat inside, which defeats the purpose.
How to Pack Clothes in Your Bag
Roll your clothes instead of folding them. Rolling saves space and prevents wrinkles. Put your mid layer and extra socks in a dry bag inside your pack. Even if your pack isn’t waterproof, a dry bag inside keeps your spare clothes dry when you cross a creek or get caught in a downpour.
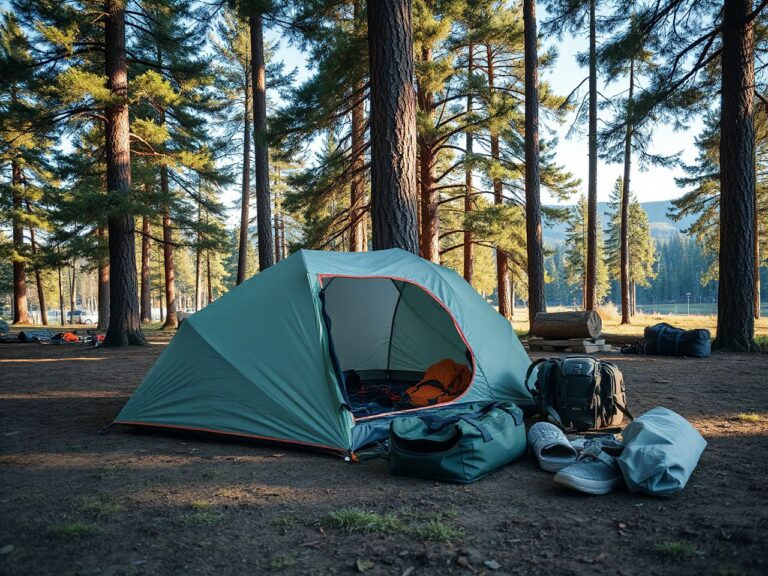
Pack a spare pair of socks and a lightweight pair of camp shoes. After a long day on the trail, changing into dry socks and loose shoes is the closest thing to a hot shower.
Step 2: Weight Distribution — The Golden Rule
How you pack for hiking determines how your body handles the load. The heaviest items — your water, food, and stove — should sit high and close to your back. Specifically, between your shoulder blades and the top of your hip belt. This keeps the weight centered over your hips, where your strongest muscles can carry it.
Medium-weight items like your tent or sleeping bag go in the middle of your pack. Light items like your sleeping pad, clothes, and rain gear go at the bottom. This setup keeps your center of gravity stable, which matters when you’re scrambling over rocks or crossing uneven terrain.
On trails where the grade hits 20% for a mile, load position stops being a preference and becomes the thing that decides whether you finish the climb. A pack with the sleeping bag at the bottom and water on top feels 5 pounds lighter than the reverse setup. It’s not magic — it’s physics.
Step 3: The Ten Essentials — Updated for 2026
The classic Ten Essentials list still works and has been refined over time. Here’s what to carry:
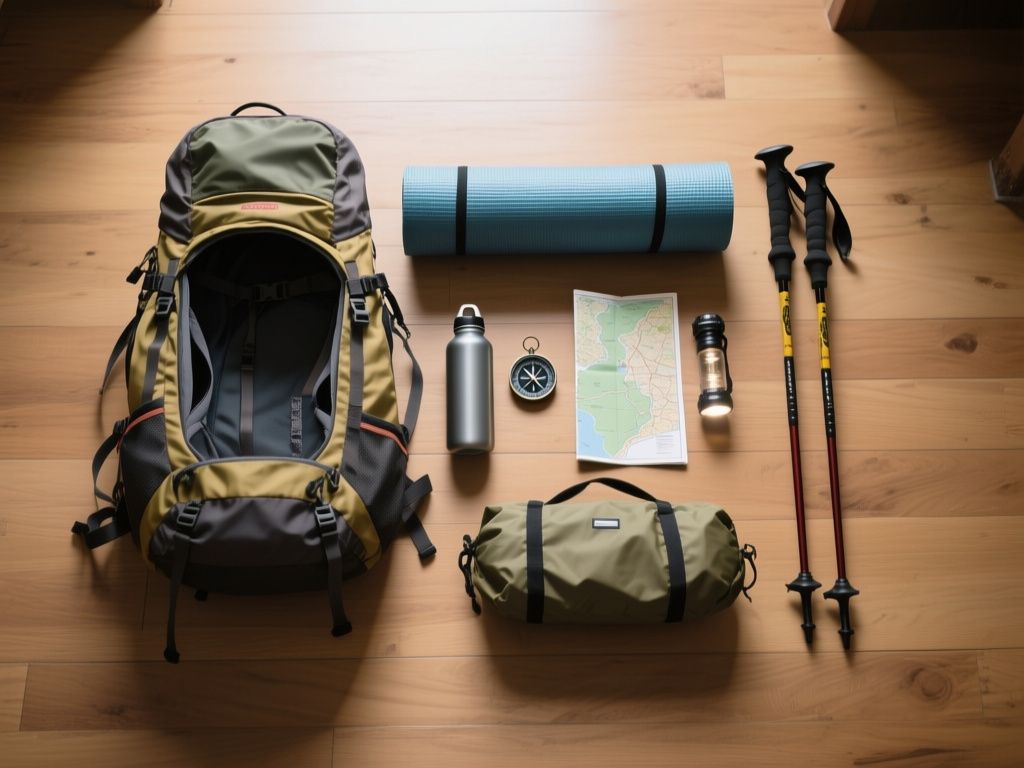
- Navigation: Map and compass — GPS is a backup, not a primary. Phones die. Learn to read a map before your trip. Check out The Complete Guide to Reading a Hiking Trail Map for a refresher.
- Headlamp: With extra batteries. A tiny keychain light won’t cut it after sunset.
- Sun protection: SPF 50 sunscreen, lip balm, and a wide-brim hat.
- First aid kit: Include blister care, antiseptic wipes, and a small roll of gauze. Add antihistamines and ibuprofen.
- Knife or multi-tool: Lightweight and functional.
- Fire: Lighter and waterproof matches in a small tin.
- Emergency shelter: A lightweight bivy or emergency blanket. It weighs 4 ounces but can save your life if you’re stuck overnight.
- Extra food: At least one more meal than you plan for. Energy bars, nuts, or dehydrated meals.
- Extra water: Carry at least 1 liter per 2 hours of hiking. In hot weather, double that.
- Insulation: An extra mid layer, even if the forecast says warm. Mountains make their own weather.
Step 4: Hydration and Food Systems
Water Bladders vs. Bottles
A 2-liter hydration bladder offers the convenience of drinking without stopping. It is also advisable to carry one hard-sided water bottle as backup, since bladders can leak or puncture. A Nalgene bottle is nearly indestructible. When hiking in an area with known water sources, a lightweight filter like a Sawyer Mini or Katadyn BeFree can be used. Treating water from a stream is faster and lighter than carrying 4 liters from the trailhead.
Food That Works on the Trail
Focus on calorie density. Nuts, dried fruit, cheese, and cured meats pack a lot of energy per ounce. Avoid anything that crumbles easily — trail mix dust is not a meal. Pack food in a separate stuff sack so crumbs don’t get all over your clothes.
Step 5: The Pack Itself — Fit Before Features
Your pack is the most important piece of gear. A 50-liter pack from a reputable brand that fits you perfectly is better than a 40-liter ultralight pack that doesn’t. When you try on a pack, load it with 20 pounds and walk around the store for 10 minutes. The hip belt should sit on your hip bones, not your waist. The shoulder straps should carry no more than 20% of the weight.
Buying packs based on color or brand name is a mistake. The best pack is the one designed to remain comfortable over long distances like 8 miles. If you’re hiking in the Wasatch Range, check out Park City Hiking Trails: Our Top Picks for 2026 for terrain-specific advice on what pack size works best.
Step 6: Field-Tested Packing Order
Here’s the order to use, from bottom to top:
- Bottom: Sleeping bag (in a compression sack) and sleeping pad.
- Middle: Clothes (in a dry bag), food bag, stove, and cook kit.
- Top: Rain jacket, first aid kit, headlamp, and map.
- Outside pockets: Water filter, sunscreen, snacks, and trekking poles.
- Hip belt pockets: Phone, lip balm, and a small knife.
This order means you never have to unpack everything to get to your lunch or your first aid kit. The arithmetic is stark. A rain jacket in the top pocket comes out in about 15 seconds; the same jacket buried at the bottom takes 2 minutes and requires pulling half the pack out, which is why, when a squall arrives, most people just get wet instead.
FAQ
How do I pack for a day hike vs. an overnight hike?
For a day hike, use a 20-30 liter pack. Carry 1-2 liters of water, a rain jacket, snacks, a map, a headlamp, and a small first aid kit. For an overnight hike, step up to a 40-60 liter pack. Add a tent, sleeping bag, sleeping pad, stove, and extra food. The packing order stays the same regardless of trip length.
How do I pack for hiking in cold weather?
Add a heavier mid layer like a down jacket or a thick fleece. Pack an extra pair of gloves and a warm hat. Use a 4-season sleeping bag rated to at least 20°F below the expected low. Keep your water bottle upside down in your pack — if it freezes, the ice forms at the bottom first, leaving the top drinkable. Carry chemical hand warmers as a backup.
How do I pack for hiking in the rain?
Use a pack cover and line the inside of your pack with a trash compactor bag. Put all clothes in dry bags inside that liner. Your rain jacket should be the last thing you pack so it’s on top. Wear quick-drying synthetic or wool layers — never cotton. If your boots get wet, change into dry socks and put plastic bags over your socks before putting your wet boots back on.