How to Do a Bike: A Complete Guide for 2026
Contents
Riding a bike is straightforward. The rest is practice.
The rides that turn into the best stories are almost always the ones where something went wrong, which is an argument for planning rather than against it. Preparation doesn’t prevent adventure — it just gives you better options when it shows up. The same principle applies when you learn how to do a bike. You don’t need a perfect bike or a pristine trail. You just need to know the basics and be ready to adapt.
Key Takeaways
- Balance comes from momentum, not from holding the handlebars tight.
- Braking is the most important skill — learn to feather both brakes before you need them.
- Choosing the right bike for the terrain saves you from unnecessary falls.
Understanding Your Bike Before You Ride
Before you throw a leg over, you need to know what you’re sitting on. Many people hop on a bike that’s the wrong size or set up poorly and then blame themselves for a rough ride.
Frame Size and Fit
Your bike’s frame size determines your comfort and control. Stand over the top tube — you should have about an inch of clearance for a road bike and two to three inches for a mountain bike. If you’re between sizes, go smaller. A smaller frame is easier to maneuver and adjust with a longer seatpost or stem.
Brakes and Gears
Know where your brake levers are before you start moving. On most modern bikes, the right lever controls the rear brake, and the left controls the front. Squeeze them gently at first to feel the bite point. Gears are less critical when you’re starting — keep the chain in the middle ring and the rear in the middle cog. That gives you a balanced gear for flat ground and gentle hills.
Tire Pressure
Check tire pressure every time you ride. Too low, and you risk pinch flats. Too high, and you’ll bounce over every root and rock. For general riding, aim for 40-50 psi on road tires and 25-35 psi on mountain bike tires. Use a pump with a gauge — guessing doesn’t work.
How to Do a Bike: The Step-by-Step Process
This is the core of the guide. Follow these steps in order, and you’ll be riding confidently within an hour.
Step 1: Mount and Find Your Balance
Stand next to your bike, swing your leg over the saddle, and sit down. Keep both feet flat on the ground. This is your starting position. Now, push off with one foot and lift the other onto a pedal. Don’t try to pedal yet. Just coast with your feet off the ground for a few seconds. This teaches your body that the bike will stay upright as long as you’re moving.
Step 2: Pedal Smoothly
Once you’re comfortable coasting, place one foot on a pedal at the top of its stroke (the 2 o’clock position) and push down hard. As you push, lift your other foot onto the other pedal. Keep pedaling in a smooth circle — don’t stomp. Aim for a cadence of 60-80 revolutions per minute. That means each foot goes around once per second or slightly faster.
Step 3: Brake with Control
To stop, squeeze both brake levers evenly. The front brake provides most of your stopping power, but if you grab it alone, you’ll flip over the handlebars. Practice feathering the brakes — squeeze gently, release, then squeeze again. This gives you control without locking the wheels. On loose gravel or wet pavement, use the rear brake more than the front.
Step 4: Shift Gears for Hills
Before you hit a hill, shift to an easier gear. The left shifter controls the front derailleur (big ring = hard, small ring = easy). The right shifter controls the rear (big cog = easy, small cog = hard). Downshift before the hill, not halfway up. If you wait until you’re grinding, the chain will skip and you’ll lose momentum.
Step 5: Corner with Confidence
When you approach a turn, slow down before you enter, not during. Look through the turn — your head should be turned to where you want to go. Lean the bike, not your body. Keep your outside foot down and your inside pedal up. This lowers your center of gravity and keeps the pedals from hitting the ground.
Choosing the Right Bike for Your Riding Style
Not all bikes are the same. If you try to ride a road bike on single-track, you’re going to have a bad time. Here’s what works for different terrain.
Road Riding
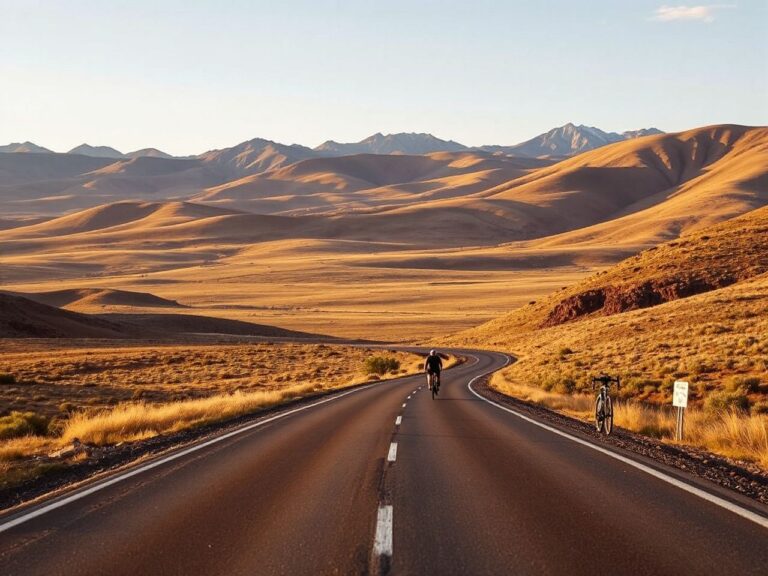
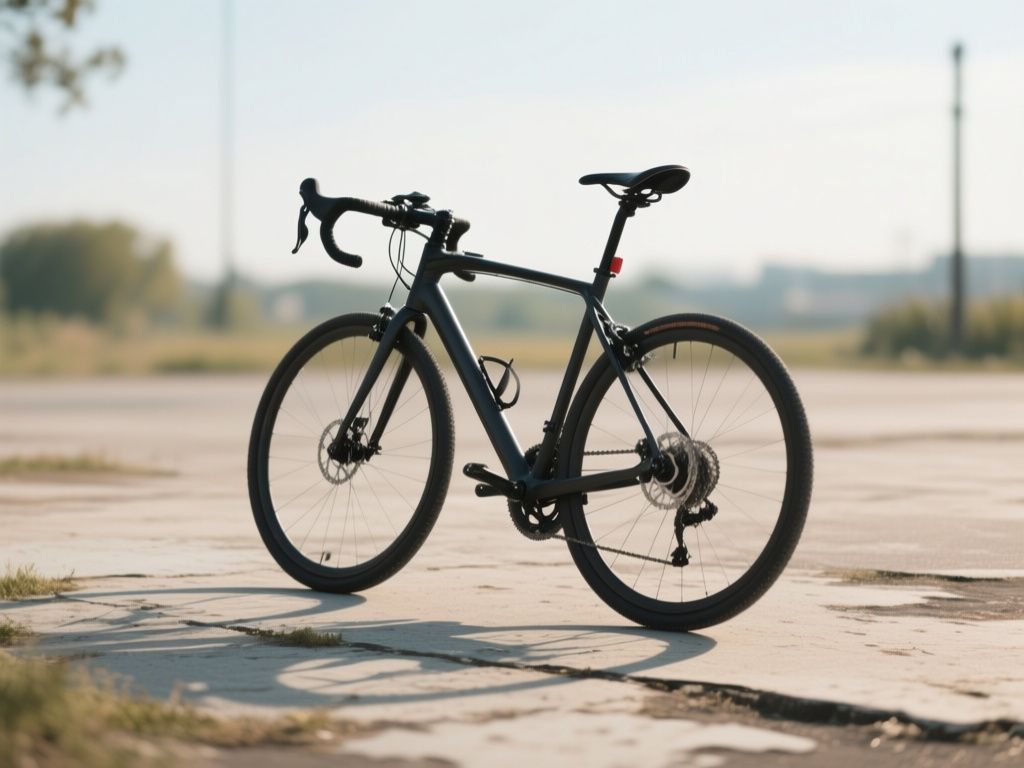
For paved roads and bike paths, a road bike with drop bars and smooth tires is the fastest option. If you want more comfort, look for a gravel bike. It has wider tires and a more relaxed geometry. Our Gravel vs Road Bike: Top Picks Tested for 2026 guide breaks down the differences.
Off-Road and Trails
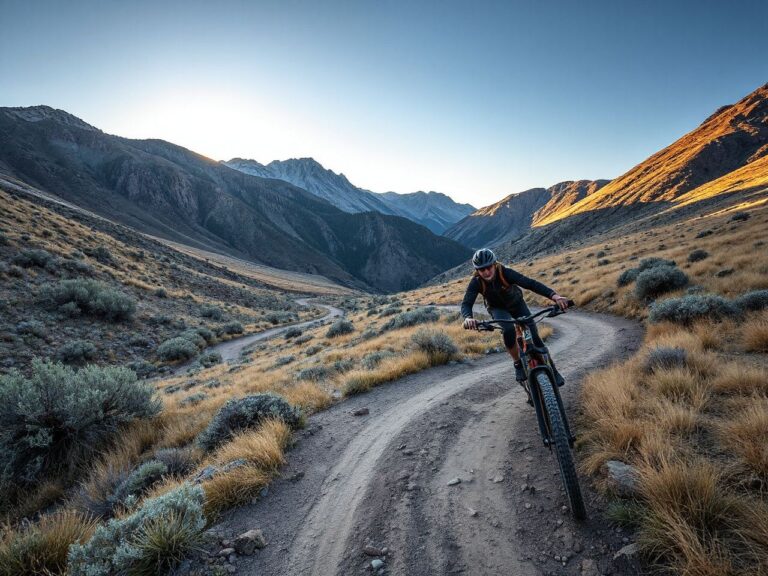
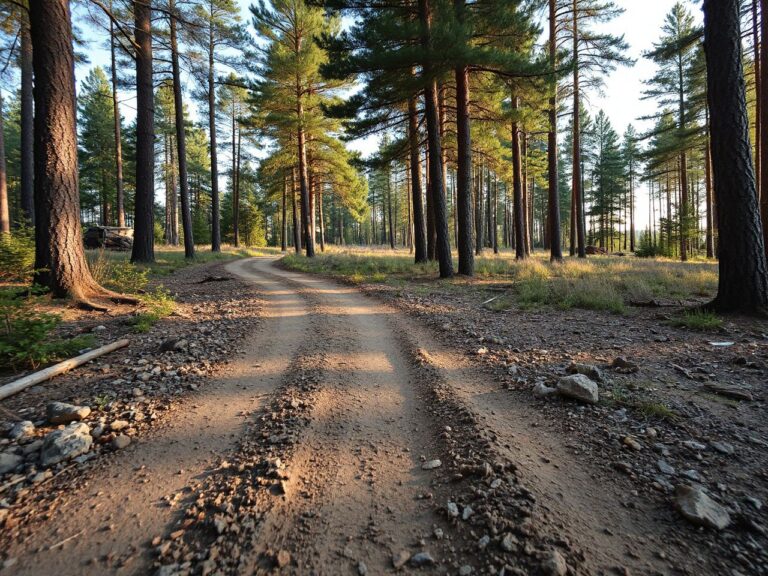
For dirt, roots, and rocks, you need a mountain bike with suspension and knobby tires. Hardtail bikes (front suspension only) are lighter and more efficient for climbing. Full-suspension bikes are better for descending rough terrain. If you’re torn between cyclocross and gravel, check out our Cyclocross vs Gravel Bike: Top Picks for 2026 comparison.
Touring and Long Distance
If you plan to carry gear, you need a touring bike. It has a longer wheelbase, stronger wheels, and mounting points for racks and panniers. A standard road bike can’t handle the load. For a detailed breakdown, see our Touring Bicycle vs Road Bike: Top Picks for 2026 article.
Common Mistakes Beginners Make
These are common mistakes to watch out for when learning to ride.
Death Grip on the Handlebars
When you’re nervous, you squeeze the bars like you’re trying to strangle them. This actually makes steering harder. Relax your arms and let the bike move under you. Your hands should be light, like you’re holding a bird.
Looking Down
Your bike goes where your eyes go. If you stare at your front wheel, you’ll weave and eventually crash. Force yourself to look 20-30 feet ahead. On trails, look at the exit of the turn, not the obstacle in front of you.
Pedaling Through Corners
Inside a turn, the inside pedal is at the bottom of its stroke. If you pedal, the pedal will hit the ground and lift your rear wheel. Always keep the inside pedal up and the outside pedal down when cornering.
Maintaining Your Bike for Safety
A well-maintained bike is a safe bike. You don’t need a full toolbox, but you do need to check a few things before every ride.
Brake Pad Wear
Look at your brake pads. If the grooves are gone or the pad is less than 3mm thick, replace them. Worn pads don’t stop, especially in wet conditions.
Chain Lubrication
A dry chain squeaks and wears out your drivetrain. Apply a drop of bike-specific lubricant to each roller, then wipe off the excess. Do this every 100 miles or after every wet ride.
Tire Inspection
Check for cuts, glass, or bulges in the sidewall. If you see any, replace the tire. A blowout at speed is not something you want to experience.
Frequently Asked Questions
How long does it take to learn how to do a bike?
Most people can balance and pedal within 30 minutes of practice. Mastery takes longer — cornering, braking, and shifting become second nature after about 10 hours of riding. The key is consistent short sessions rather than one long, exhausting ride.
What’s the easiest type of bike to learn on?
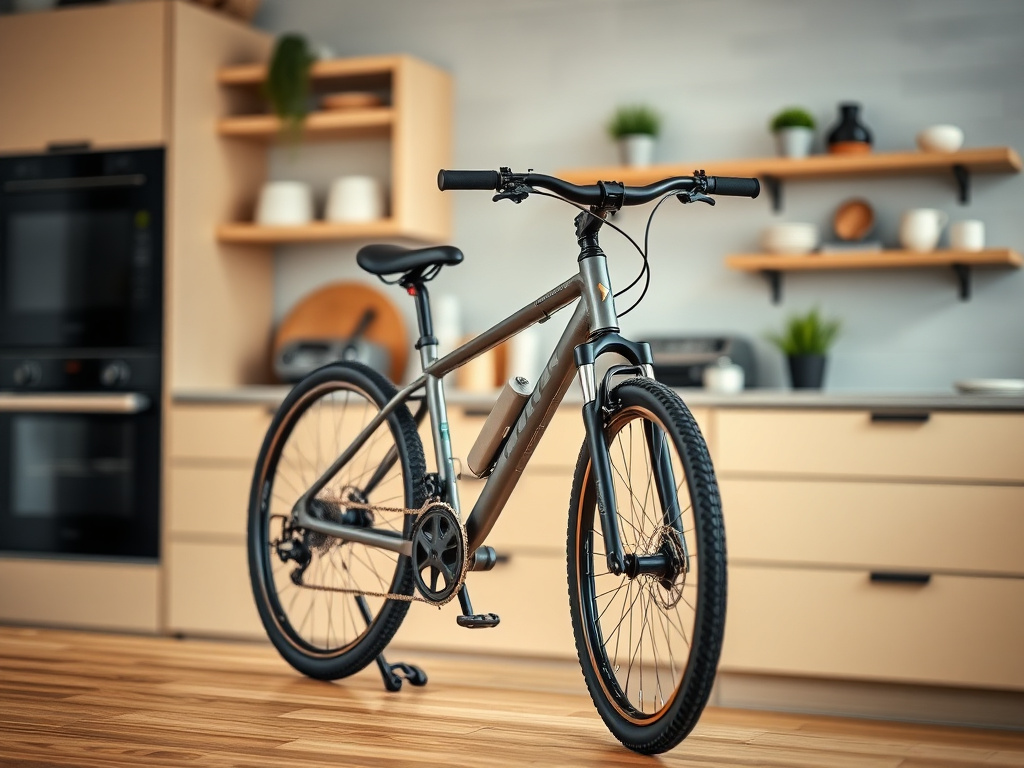
A flat-bar hybrid bike with wide tires and upright seating is the easiest. It gives you the most control and visibility. Avoid drop bars and aggressive geometry until you’re comfortable with basic handling. A used hybrid bike under $300 is a perfect starter.
Do I need special gear to start?
You need a helmet that fits snugly and doesn’t rock on your head. Gloves help with grip and prevent blisters. For night riding, a bright front light and rear red light are legally required in most places. Everything else — padded shorts, clipless pedals, cycling shoes — is optional until you’re riding longer distances.