Trail Running Rules of Thumb Every Newbie Should Know
Contents
Would you trust a piece of gear that looks sharp on the showroom floor but falls apart after three wash cycles? The same failure patterns appear across categories: stitching that pulls loose at flex points, coatings that peel after a season, buckles that snap in the cold. People search for “trail running running” every day because they want to know how to run trails without destroying their shoes, packs, and layers in a month. So let’s talk about what actually holds up, what fails first, and how to pick gear that survives more than a few weekends.
Key Takeaways
- Trail shoes need aggressive lugs and a rock plate, not just more cushioning.
- A locked-in heel and midfoot stops blisters better than thick socks.
- Waterproof membranes trade breathability; in heat, non-waterproof often wins.
- Wash gear gently and replace shoes by 400–500 miles, not by looks.
Trail Versus Road Shoes: The Durability Details That Matter
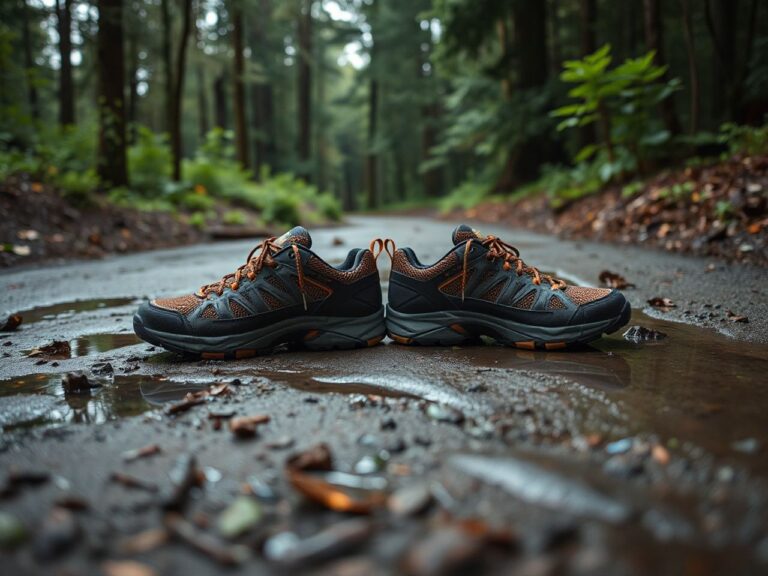
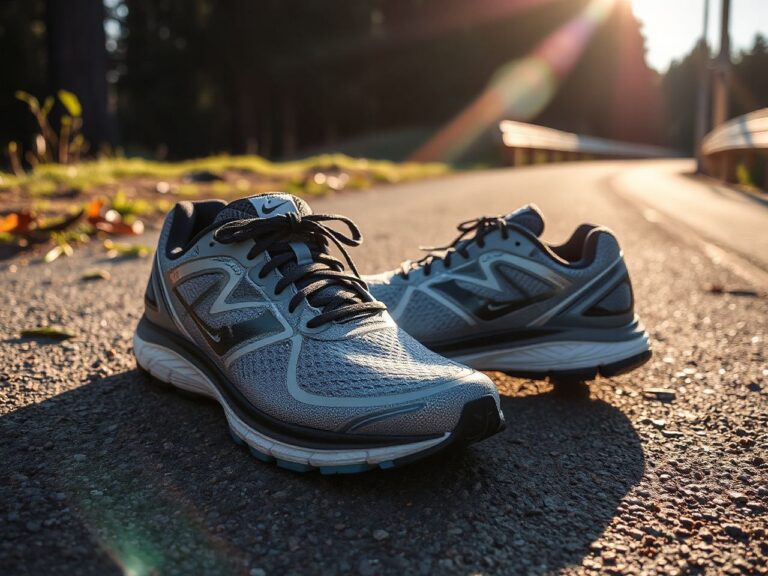
Road shoes prioritize smooth heel-to-toe transition and plush cushioning. Trail shoes have a completely different job: they protect your foot from sharp rocks, grip loose dirt, and shed mud. The first place to look is the outsole. Lugs between 4mm and 6mm deep dig into soft ground, while 2mm to 3mm lugs work better on hardpack and rock. Waffle patterns shed mud, and multi-directional lugs grip side slopes. The rubber compound matters more than lug depth: a soft, sticky compound conforms to wet rock but wears faster on pavement. Vibram compounds like Megagrip are often specified for exactly this balance, but the spec sheet should tell you durometer and lug depth, not just a marketing name.
A trail shoe with 5mm lugs in a soft compound will grip mud but wear down in under 300 miles on rocky hardpack, while a 3mm lug in a harder compound lasts longer but slips on wet leaves. That trade-off is real and shows up on every pair eventually. The midsole offers a second layer of protection through a rock plate: a thin, stiff layer between the outsole and midsole that spreads the force of a sharp stone so it doesn’t bruise your foot. Rock plates add stiffness and weight, so shoes without them feel more flexible but leave you limping after a rocky descent. Beginners often chase maximal cushioning, but a stiff rock plate does more for trail comfort than 10 extra millimeters of foam.
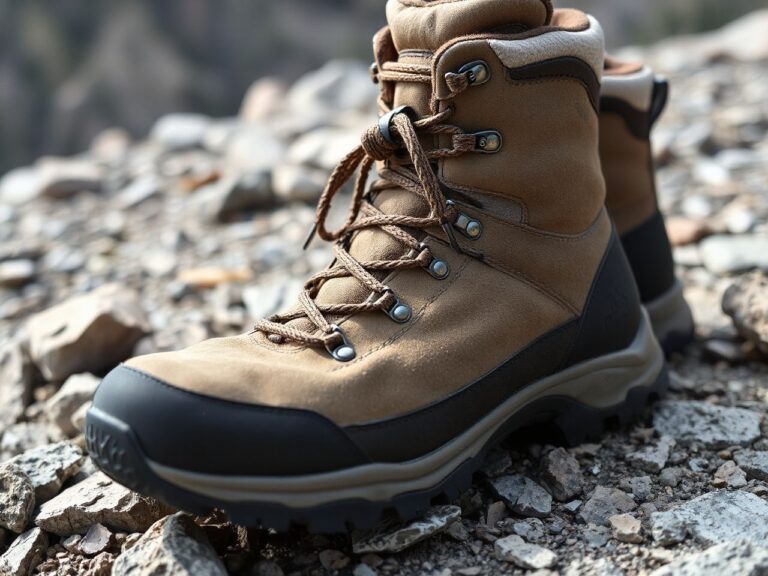
Uppers fail differently on trail than on road. Welded overlays or dense mesh resist abrasion from rocks, roots, and brush far better than loose knit fabric. A rubber toe bumper prevents the classic split toe seam that happens when you kick a hidden stump. After washing, check the bond between the upper and midsole: that is where water wicks in and glue fails first. On motorcycle gear, stitched seams hold longer than glued ones; the same principle applies here. Visible stitching around high-stress areas—the toe box, heel counter, and lace eyelets—is a good sign of long-term durability.

Matching Your Foot Shape and the Terrain You Actually Run
Foot Shape and Volume
The right last matters more than any brand reputation. If you have a wide forefoot, look for shoes labeled wide or with a rounded toe box. If you have narrow heels, a firm plastic heel counter prevents slippage. Salomon tends to run narrow through the midfoot, while Hoka often has a wider platform, but individual models vary widely. Check the spec sheet for last width if available; if not, try on multiple sizes and widths before committing. A shoe that fits in the store but pinches after two hours on trail is the wrong shoe, no matter how good the traction.
Terrain Matching: Mud, Rock, Hardpack
Mud demands deep, widely spaced lugs that shed clumps instead of clogging. Wet rock requires sticky rubber and a low stack height for stability: a high center of gravity increases ankle roll risk on technical descents. High stack heights over 30mm raise your foot off the ground and reduce proprioception. Many ultra-distance runners on UTMB-style courses opt for 4mm to 8mm drop with moderate stack rather than maximal shoes. Hardpack and gravel need moderate lugs and a firm midsole for efficient push-off. A shoe that excels in deep mud will feel sluggish on dry, buffed singletrack, and vice versa.
Waterproof vs Non-Waterproof
Gore-Tex membranes keep water out but trap sweat in. In cool, wet conditions that is fine; in heat or during stream crossings, water gets in over the collar and can’t escape, leaving your feet wet for hours. Non-waterproof mesh drains and dries in minutes. The listing should tell you if a membrane is present. If you run in dry climates, skip it entirely. If you must have weather protection, look for a waterproof sock instead—cheaper and replaceable when the membrane eventually delaminates. For a deeper look at membrane tradeoffs, our breakdown of waterproof trail shoes explains how to think about wet feet versus sweaty feet.

Locking In the Fit: Heel, Midfoot, and the Descent Problem
Heel Lock Lacing Technique
The most common cause of blisters and black toenails is the foot sliding forward on downhills. Even a tiny slide of 2mm per step adds up over 10,000 steps. The heel lock lacing—often called the runner’s loop—uses the extra eyelet at the top to cinch the heel back into the cup without overtightening the instep. Here’s how: lace normally to the second-to-last eyelet, then thread each end through the top eyelet on the same side to form a loop. Cross the laces and thread each through the opposite loop, then pull down and tight. This locks the heel in place and prevents forward migration almost completely.
Sizing Up for Descents
Your foot swells during a long run and slides forward on descents, so you need about a thumb’s width of space in front of your longest toe when standing. If you already have black toenails, your shoes are too short or your lacing is too loose, or both. Buy a half size larger than your street shoes for trail use, especially for technical terrain. A shoe that fits perfectly in the store will be too tight after two hours of hammering downhill.
Gaiters: The Cheapest Debris Insurance
Gaiters like Dirty Girl or Salomon models keep pebbles, sand, and pine needles out of your shoes. A tiny stone under your forefoot can cause a blister in under an hour. Gaiters cost less than $20 and attach via a hook on the laces and a heel Velcro tab. Many beginners skip them, then spend the rest of the run stopping to shake out rocks. The single most effective accessory for keeping debris out is a pair of lightweight gaiters, full stop. For a broader comparison of shoe categories, see our trail running shoes vs road running shoes guide.
Washing, Wear Limits, and What to Pack for a Half-Day Run
Cleaning and Drying Without Wrecking Your Shoes
Do not machine wash trail shoes unless the manufacturer explicitly says so. The agitator can break down midsole foam and delaminate the upper. Hand wash with cold water and a soft brush, use mild soap, and remove insoles and laces first. Never put them in a dryer or direct sunlight; heat breaks down adhesives and shrinks synthetic uppers. Stuff with newspaper or a dry towel to absorb moisture, changing it after a few hours. After washing, inspect the midsole-upper bond and the toe bumper for lifting—that is where failure starts.
When to Replace Trail Shoes
Most trail shoes last 400–500 miles of actual trail use, not treadmill miles. Signs of wear: midsole compression where the foam no longer rebounds, outsole lugs worn smooth in high-wear areas (usually the heel and forefoot), upper tears that expose the foot, and persistent foot pain that disappears with new shoes. Don’t go by calendar time. If you run rocky trails, the rock plate may crack before the outsole wears out; flex the shoe hard and listen for crunching. If you’re shopping for a replacement, our 2026 trail shoe reviews can help you narrow down current options by terrain.
Packing for a Half-Day Trail Run
A half-day means 3–5 hours on trail, which demands more than a handheld bottle. Use a hydration vest with front pockets: that keeps weight close to your center of mass and reduces bounce. Pack these essentials:
- Hydration: 1 liter per hour if hot, 500ml if cool, plus electrolytes. Carry a filter or purification tablets if you plan to refill from streams.
- Food: 200–300 calories per hour—gels, chews, nuts, or a sandwich. Test everything on a short run before committing.
- Safety: paper map, compass, whistle, headlamp, lightweight windproof jacket, and an emergency blanket.
- Navigation: phone with offline maps and a spare battery, or a dedicated GPS watch with preloaded topo maps.
- First aid: blister kit (moleskin, tape), ibuprofen, and a small roll of athletic tape for ankle support.
A hydration vest is about quick access and load balance, not just capacity. The ability to tuck water bottles or a bladder at the chest versus the back changes how you drink and how you carry weight. Front bottles are easier to sip without stopping, but they bounce more on technical descents. A bladder on the back feels more stable but is harder to refill on the go. Choose based on your terrain and how often you need to drink.
Poles, Navigation, and Winter Gear That Actually Works
Using Trekking Poles on Steep Terrain
Poles reduce load on quads during descents by up to 25% and provide balance on loose surfaces. Adjustable poles like the Black Diamond Distance Z allow you to shorten them for uphill (grip below the handle) and lengthen them for downhill. Plant the pole slightly ahead and to the side, never between your feet. On descents, use a double pole plant to brake. Wear the strap correctly: hand comes up through the strap, then grips over the strap, so you can release quickly if you fall. Poles are not a crutch; they are a tool that preserves your legs for later miles.
Navigation Without Signal: Maps and GPS Basics
Phone GPS fails in deep canyons and dense forest. Always carry a paper map of the area and know how to read contour lines. Use a dedicated GPS watch with preloaded topo maps or a handheld GPS. Before the run, mark waypoints at trail junctions. Learn to use a compass as backup: orient the map to north, identify a bearing, and follow terrain features. The National Park Service provides free trail maps and navigation tips for many public lands. Navigation skills are gear, too—and they weigh nothing.
Winter Trail Running: Spikes and Layering
On ice and hardpacked snow, traction aids like Kahtoola Microspikes are essential. They slip over any shoe and provide carbide steel spikes that bite into ice. Layer like you would for cold-weather hiking: a merino base, a breathable midlayer, and a windproof shell. Avoid cotton. Feet stay warm with merino socks and a shoe with a water-resistant upper. Cold-weather hydration is critical: insulate your hose or blow air back after drinking to prevent freezing. Skip heavy insulated boots; they cause blisters and slow you down. Microspikes are removable, so you can switch to bare shoes when the trail clears.
The Most Common Trail Running Mistakes (and How to Fix Them)
- Chasing max cushioning: A rock plate and stable platform beat thick foam on technical terrain. Test the twist resistance before buying.
- Wearing waterproof shoes in heat: The membrane traps sweat, causing maceration and blisters. Choose non-waterproof unless you run in cold rain regularly.
- Skipping gaiters: A $15 pair of gaiters prevents dozens of stops to shake out pebbles. They are the cheapest comfort upgrade available.
- Carrying water in a handheld bottle: A hydration vest distributes weight and keeps your hands free for balance. Handheld bottles throw off your arm swing.
- Ignoring the heel lock: Lace properly with the runner’s loop and your foot will stay put on descents. Black toenails are usually a lacing problem, not a shoe problem.
Frequently Asked Questions
How does trail running running on technical terrain differ from road running?
Technical trail running forces you to shorten your stride, increase cadence, and pick your foot placement every step. Road running rewards a smooth, efficient gait on predictable surfaces. On rocky or rooty trails, a higher cadence of 170–180 steps per minute reduces impact forces and gives you more reaction time. Your foot strike shifts from heel to midfoot or forefoot because a heel strike on loose rock is unstable. The gear priorities also flip: traction and protection matter more than cushioning.
How do I prevent black toenails on long descents?
Black toenails come from the foot sliding forward and jamming the toes against the front of the shoe. Use heel lock lacing to secure the heel, size up half a size from your street shoes, and trim toenails straight across before a run. On long descents, stop and retighten laces every hour—feet swell and laces loosen. If you already have a black toenail, it will grow out over several months; don’t drain it unless it is painful and you know how to do so safely.
What is the minimum gear for a half-day trail run?
A hydration vest with at least 1.5 liters of water, 600–900 calories of food, a paper map and compass, a headlamp even if you plan to finish before dark, a lightweight windproof jacket, a whistle, and a basic first aid kit with blister supplies. A phone with offline maps and a spare battery is a bonus but not a substitute for a paper map. This kit weighs under 2 kg and will keep you moving if you roll an ankle or get lost.
How often should I wash my trail shoes, and what’s the safest method?
Wash them when mud starts affecting traction or when they smell bad enough to notice at arm’s length. Hand wash with cold water and a soft brush after removing laces and insoles. Use mild dish soap and scrub the outsole and upper gently. Rinse thoroughly, stuff with newspaper, and air dry away from heat and direct sun. Machine washing is risky: the agitator can crack the rock plate and separate the upper from the midsole. After drying, apply a silicone-based water repellent to the upper if the manufacturer allows it.