The Trek at Tehaleh: A Trail Guide and Some Warnings
Contents
This trail demands humility. Every feature on the Trek at Tehaleh has a way of exposing gaps in your preparation, and it does that to experienced riders as readily as to newcomers. The rides that make the best stories are almost always the ones where something went wrong, and on a network like this one the gap between a good afternoon and a long walk back to the trailhead is usually one small thing left at home. Preparation doesn’t prevent adventure — it just gives you better options when it shows up. That’s exactly the lens you need when you roll up to this deceptively technical network of flow tracks, rock gardens, and root lattices carved into the foothills of Tehaleh.
Key Takeaways
- The Trek at Tehaleh isn’t a single trail — it’s a stacked loop system that ramps from novice wide-track to advanced off-camber descents; misjudge the progression and you’ll walk more than you ride.
- Wet roots and hidden granite shelves are the real hazard report — the danger zone isn’t the drops, it’s the innocuous-looking connector sections after heavy rain.
- No shuttle, no bailout fire road. Every mile you descend, you have to earn back under your own power; plan fuel and water for 3–4 hours minimum, not the 90 minutes the signage suggests.
What Most Descriptions Won’t Tell You About the Trek at Tehaleh
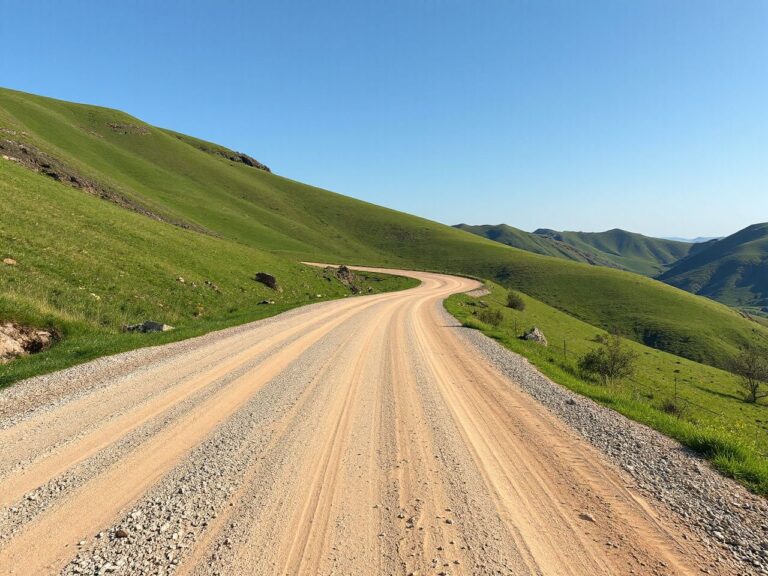
Search the local forums and you’ll find cheerful ride reports calling this a “family-friendly trail network.” That’s not wrong — but it’s dangerously incomplete. The green loop is indeed a gentle singletrack with rollers a first-timer can enjoy. The problem is how easily a rider drifts from the green spur into the blue-black connector that drops into a shale chute without a posted warning. Intermediate riders often freeze on a 22-degree rock slab because the bypass isn’t clearly visible until it is too late.
From a risk assessor’s angle, the entire system’s defining feature is progressive exposure. The terrain builds gradually, then hits you with a sustained section of off-camber bench cut where the penalty for a front-wheel washout is a tumble into a ravine with no cell service. You won’t find that in the marketing materials, but you need to know it before you clip in.
Beginner’s Gate: What Green Really Means Out Here
The Glacial Erratic Loop (2.1 miles, 380 ft vert)
This is the advertised entry point and it does deliver. Wide, machine-cut tread, clear sightlines, two rollable rock features that are more like speed bumps. But here’s the kicker: after the half-mile marker, the trail tracks along an irrigation culvert with a loose, softball-sized aggregate surface that punishes any rider who coasts with their heels down. Scraped shins are more common here than on any technical descent in the system. It’s not difficult; it’s just constantly inconsistent.
Beginners should treat the first mile as a mandatory skills checkpoint. Before you push deeper, confirm you can:
- Hold a low gear over sustained 6–8% grade without dabbing.
- Reliably brake with one finger while standing — the culvert section demands it.
- Track-stand for at least 3 seconds on a slight incline; the trail narrows to 18 inches in places with a drop on one side.
Non-Negotiable Gear for First-Timers
Leave the full-face helmet unless you’re here for the pro line on a dry August day. For the green and blue sections, a well-vented half-shell and knee pads rated for CE Level 1 are the sweet spot. What you can’t skip: a frame-mounted pump with a digital gauge, because pinch flats happen here with depressing regularity if you’re even 2 psi off. And pack a quick-link for a 12-speed chain — the granite ledge gardens have a habit of snapping links when you mis-time a pedal stroke.
Intermediate Obstacles: Where the Real Risk Assessment Begins
The Cedar Bench Cut (Blue, 1.7 miles, 520 ft descending)
This is the section that separates riders who think they’re ready from those who actually are. A narrowing singletrack cuts into the side of a forested slope with root webs that stay damp until mid-afternoon. The surface alternates between hero dirt and slick alder roots polished by the previous winter’s runoff. In 2026, after a particularly wet spring, three key roots about 0.9 miles in have become rideable only if you carry exactly 14–16 mph to skip over them; any slower and your front tire catches, stops dead, and sends your weight forward.
This section deserves respect: a front-wheel catch here can throw an unprepared rider over the bars onto a log-riddled slope. The bailout line is tiny: a 10-inch wide crack on the inside that you can pedal into if you spot it early. Most riders miss it on their first run.
The Granite Staircase and the Crucial Line Choice
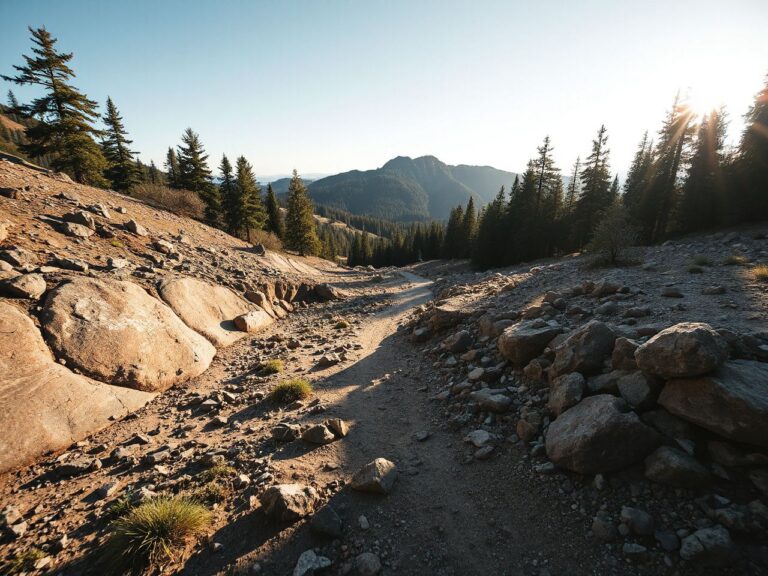
A 35-yard series of flat, squared-off stone ledges drops roughly 15 vertical feet in total. Each step is 10–14 inches high, with gaps filled with pea gravel that shifts under load. The obvious line straight down the center is a trap — the third ledge from the bottom has a hidden undercut that swallows 29-inch wheels whole if you don’t unweight. The safer right-side line demands a controlled hop-turn onto a diagonal slab with just 8 inches of clean granite. Attempt it without a dropper post and you’re committing to a 50% chance of a slow tip-over into the adjacent scree.
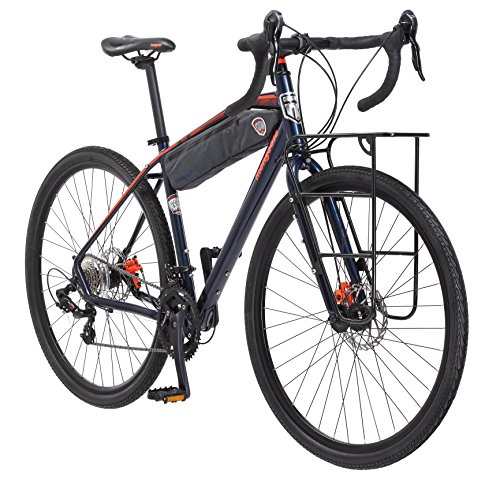
For intermediates, this is where the bike’s geometry gets tested. A head angle steeper than 66 degrees makes the hop-turn feel twitchy and prone to oversteering. If you’re on a cross-country bike, approach it with patience, not speed. This also happens to be the perfect moment to consider whether your current steed is really built for this kind of terrain — our year-end roundup of the top Trek 800 mountain bike options for 2026 has some geometry comparisons that might change how you think about the descent.
Advanced Lines and When to Back Off
The Pro Jump Park and Its Deceptive Air
Beyond the blue loop lies the volunteer-built jump park, a series of tabletops and one gap jump over a dry creek bed. The lips are sharpened, the landings are steep, and the run-in requires pedaling at a solid 110–120 RPM cadence for 80 feet to clear the gap cleanly. The takeoff angle is a consistent 32 degrees, which produces a relatively low arc and a fast dead-sailor window if you don’t pop actively. The gap itself is only 7 feet, but the consequence of casing the landing is a collapsed front wheel into the rock garden that lives in the shadow of the jump. Broken collarbones occur here from riders who overestimate their ability to clear the gap on their first attempt.
Advanced riders should session the smaller tabletop lines for at least 10–15 repetitions before eyeing the gap. The soil compresses differently at 9 a.m. versus 2 p.m. — early morning moisture gives the lips more grip, which means less speed scrubbed on takeoff. By afternoon, the dry, dusty surface can rob you of 2–3 mph, exactly the margin that turns a stylish whip into a hard case.
Self-Rescue Competency: The Overlooked Skill
There is no sweep wagon. No marked cutout to the parking lot from the backcountry edge of the advanced loop. If you blow a tire or snap a derailleur at the furthest point, your only exit is a 600-foot hike-a-bike up loose scree to the doubletrack. Many riders who venture into the black-diamond terrain do not carry a proper first-aid kit beyond a few bandages and ibuprofen. You need at minimum:
- A coagulant-impregnated gauze (Celox or QuikClot) for deep lacerations from sharp granite.
- A SAM splint compact enough to stabilize a forearm or ankle.
- 2 spare derailleur hangers — the Trek at Tehaleh’s rock strikes claim at least one per week during peak season.
- A water filter capable of 0.1-micron filtration; the creek water is clear but carries Giardia from the elk herd that beds down near the southern fork.
Weather Windows and Seasonal Danger
The trail tread here is volcanic clay that turns to peanut butter with just 0.3 inches of rain. The Pacific Northwest weather can deliver that overnight without warning. Check the 24-hour precipitation total before any ride. If it’s above 0.2 inches, the root sections become treacherous and the trail sustains deep ruts that take volunteer crews weeks to repair. Beyond the safety factor, riding wet clay trails is a fast track to destroying the trail surface for everyone else. In the dry summer window — July through mid-September — you can ride at 8 a.m. and finish before the sun bakes the exposure-heavy sections. Temperatures on the south-facing slopes can hit 98°F by 11 a.m., and there’s only one reliable water source on the entire loop.
Frequently Asked Questions
Riders assessing the Trek at Tehaleh often ask these questions before committing to a trip. Here’s the unfiltered version.
Do I need a full suspension bike for the Trek at Tehaleh?
You can ride the green loop on a rigid bike with plus tires, but anything beyond the first mile becomes punishing and potentially unsafe without at least a short-travel trail bike. For the blue and black sections, 120–140mm of rear travel is a practical minimum — not for comfort, but to keep the rear wheel tracking over the endless root webs. A hardtail can work if you’re strong, but every mistake magnifies the fatigue, and fatigue is what causes most crashes here by the third hour.
What time of day is safest to ride the trail system?
Between 7:30 and 9:30 a.m. from June through September. The marine layer keeps the roots tacky, and the parking area isn’t yet a zoo of dog walkers and trail runners who move unpredictably. After 2 p.m., the western-exposure sections bake into a dusty mess that reduces tire grip by roughly 20%, and descending traffic on the two-way sections becomes a real collision hazard.
Is there any way to shuttle the descent and avoid the climb back?
No. There is no legal shuttle access and the fire road that borders the system is private. Every descent on the Trek at Tehaleh is earned. Plan your water and snacks with the assumption you’ll be grinding a 6–8% grade for over an hour to get back to your car. I budget 1 liter of water per hour on the bike and an extra 500ml for the post-trail stretch.
Can a beginner realistically build skills here without getting hurt?
Yes, but only if they strictly stay on the green loop and session the skills park near the trailhead. The two pump tracks and the progressive drop zone allow practice of body position and braking without the exposure of the full trail. At least three dedicated practice sessions there are advisable before attempting even the easiest of the blue connectors, and always with a riding partner who knows the trail and can demonstrate the line choices from a safe vantage point.