How To Plan Solo Travel: A Complete Step-By-Step Guide
Contents
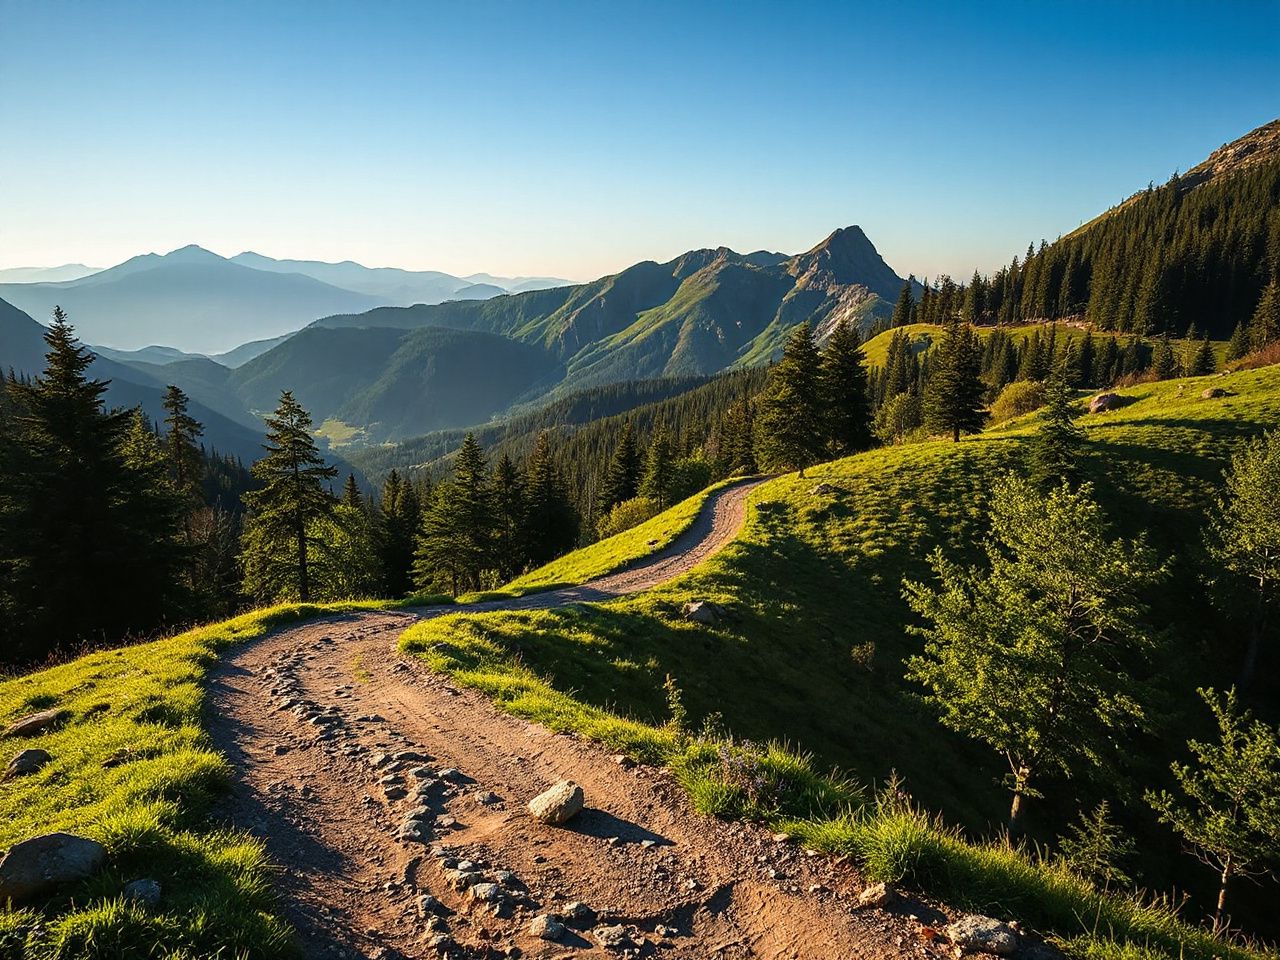
What happens when your bike breaks down at sunset, 200 miles from the nearest town, with rain clouds building to the west? Most trip planners never ask that question. They map out scenic routes and book charming hostels, then hope nothing goes wrong. Hope is not a plan.
The trips that turn into the best stories are almost always the ones where something went wrong: the missed connection, the closed road, the guesthouse that never received the booking. Preparation doesn’t prevent any of that. What it changes is what happens next, because a traveler carrying a spare route, a spare hour and a spare way to pay has options where an unprepared one only has bad luck. That is the core philosophy behind learning how to plan solo travel the right way: build for failure, and everything else becomes easy.
Every route should be judged not by the best-case ride, but by how survivable it is when everything goes sideways 300 miles from the nearest town. This guide will teach you that same mindset.
Key Takeaways
- Plan for failure first: Map alternate routes, identify emergency services, and pack for breakdowns before you choose your scenic overlooks.
- Communication is your lifeline: Carry a satellite messenger or personal locator beacon — cell service dies well before you do.
- Weather windows are your friend: Check forecasts for every leg of your route, not just your destination. Build in buffer days for storms.
- Share your plan, then stick to it: Leave a detailed itinerary with someone at home and check in at predetermined times. Deviations are how search parties get delayed.
Step 1: Define Your Risk Tolerance and Trip Scope
Before you open a map or book a room, you need to answer one question honestly: How much discomfort can you handle? Solo travel strips away the buffer of a partner’s optimism. When you’re alone, every problem is yours to solve.
Trips fall into three risk levels. Level 1 is paved roads, cell coverage, and motels every 50 miles. Level 2 is mixed surfaces, spotty cell service, and camping. Level 3 is remote backcountry, no cell service, and self-supported travel for multiple days. Your skill level and equipment determine which level you can safely attempt.
Assess Your Vehicle and Gear
If you’re on a motorcycle, your bike’s range, reliability, and load capacity define your planning horizon. Plan a leg no longer than your tank range minus a 20% reserve. For cars, consider your spare tire situation — many modern cars don’t carry full-size spares. Know your vehicle’s limitations before you leave your driveway.
Your gear list should include: a basic tool kit, tire repair kit, first aid kit, extra water (one gallon per person per day), high-calorie food bars, fire starter, emergency blanket, and a headlamp with extra batteries. This is not optional. This is your survival baseline.
Step 2: Build Your Route With Escape Hatches
Most people plan a route as a single line from A to B. That’s a trap. Plan every route as a network of options. For each day’s ride, identify at least two alternate routes — one that avoids high elevations if weather turns, and one that cuts the day short if you’re exhausted or the bike is acting up.
Use mapping software like Gaia GPS or CalTopo to download offline maps for the entire region. Cell service is unreliable. Paper maps are backup to the backup. Mark fuel stops, water sources, campgrounds, and hospitals on your map before you leave.
Weather Windows Are Everything
Check forecasts for every segment of your route, not just your destination. A storm 200 miles away can close a mountain pass while you’re enjoying sunshine. The National Weather Service’s point forecast system gives precise hourly data. Build in buffer days — one for every five days of travel is a sensible minimum.
If the forecast shows sustained winds over 30 mph, thunderstorms, or freezing temperatures at your elevation, reroute. The mountain will be there next year. Your bike won’t start if you’re hypothermic.
For those planning longer international trips, understanding travel insurance for solo travelers is a critical part of your route planning. Medical evacuation coverage is not a luxury — it’s a necessity when you’re far from help.
Step 3: Prepare Your Communication and Check-In System
When you’re solo, communication is your lifeline. A Garmin inReach Mini 2 sends text messages via satellite and has an SOS button that contacts a 24/7 emergency response center. Cell phones are backup, not primary. In remote areas, your phone is a camera and a paperweight.
Set up a check-in schedule with someone at home. Texting a contact every evening with your location and next day’s plan can provide a safety margin if they don’t hear from you within an expected timeframe.
Digital Copies of Everything
Take photos of your driver’s license, passport, insurance card, and vehicle registration. Email them to yourself and store them in a password-protected cloud folder. If you lose your wallet or your phone gets wet, you still have access to your documents.
Carry a laminated card with emergency contact numbers, blood type, allergies, and medical conditions in your jacket pocket. First responders will check pockets before they check phones.
Step 4: Pack With Redundancy in Mind
Redundancy is not paranoia — it’s practicality. Carry two ways to start a fire (a lighter and a ferro rod), two ways to purify water (a filter and purification tablets), and two ways to navigate (GPS and paper map). Each system should be able to work independently if the other fails.
Your clothing system should follow the same logic. Use a three-layer system: a moisture-wicking base layer, an insulating mid layer, and a waterproof outer shell. Temperatures can drop 30 degrees Fahrenheit between midday and midnight, especially in mountain terrain.
If you’re traveling internationally and staying in shared accommodations, our guide to the best hostels for solo female travelers of 2026 includes safety features like 24-hour reception, lockers, and female-only dorms that add an extra layer of security.
Food and Water Planning
Pack one extra day of food and water beyond what you think you need. If a road closure forces a detour that adds six hours, you don’t want to be rationing granola bars. High-calorie, shelf-stable options like peanut butter, nuts, dried fruit, and energy bars are compact and don’t require cooking.
Water is heavy but non-negotiable. Carry a 3-liter hydration bladder plus two 1-liter collapsible bottles. When crossing a known dry stretch, cache water at a midpoint — bury a sealed gallon jug marked with GPS coordinates and pick it up on the way through.
Step 5: Execute With Flexibility and Discipline
The day your trip starts, your planning shifts from theory to execution. Stick to your check-in schedule. Follow your route until conditions force a change. If you feel tired, stop. If the weather turns, take shelter. Pride is the enemy of survival.
Keep a trip log: start time, end time, mileage, fuel stops, weather notes, and any mechanical issues. This log helps you spot patterns — if the bike is using more oil than usual, you can address it before it becomes a breakdown.
For destination decisions, consider factors like climate and infrastructure. If you’re torn between two Scandinavian countries, our comparison of Sweden vs Norway breaks down road conditions, fuel availability, and emergency services to help you choose the safer option for solo travel.
When Something Goes Wrong
It will. Something will go wrong. A flat tire at the wrong moment. A closed pass that adds 100 miles. A storm that pins you down for a day. This is not failure — this is solo travel. Your preparation determines whether it’s an inconvenience or a crisis.
If you break down, stay with your vehicle unless you can see help within walking distance. Vehicles are easier to find than people. Use your satellite messenger to send your location and a description of the problem. Then wait. Rescue takes time in remote areas — expect a minimum of 4 to 6 hours for a response, longer if weather is bad.
Frequently Asked Questions
How do I start planning a solo trip if I’ve never traveled alone before?
Start with a short, low-risk trip close to home. Choose a destination within 2 to 3 hours of your house where you have cell coverage and familiar infrastructure. Practice your check-in system, test your gear, and learn what it feels like to solve problems alone. Build confidence with small successes before tackling remote or international travel.
What is the most important safety item for solo travel?
A satellite communication device like the Garmin inReach or ZOLEO is the single most important safety item for solo travelers. It allows you to send text messages and SOS alerts from anywhere on Earth. Cell phones fail in remote areas, but satellite messengers work in deserts, mountains, and oceans. This is your emergency button when everything else goes wrong.
How do I plan a solo trip on a tight budget?
Focus on free and low-cost camping instead of hotels. Use apps like iOverlander and FreeRoam to find dispersed camping spots. Cook your own meals with a camp stove. Travel during shoulder seasons (spring and fall) when fuel prices and accommodation costs are lower. Reduce distance per day to save on fuel — 200 miles per day is a comfortable target for budget solo travel.
What should I do if I get lost while solo traveling?
Stop moving. The moment you realize you’re lost, stop and assess. Use your GPS or paper map to identify your last known location. If you can’t determine your position, stay put and use your satellite messenger to send your coordinates to your emergency contact. Moving randomly makes it harder for rescuers to find you. Conserve energy and water while you wait.
How do I plan solo travel routes in winter?
Winter routes require extra buffer for weather closures and shorter daylight hours. Plan no more than 150 miles per day. Check road conditions for mountain passes — many close with little notice. Carry tire chains, extra warm layers rated for 20 degrees below your expected low, and a portable jump starter for your vehicle. Always have a backup route that stays at lower elevation.