Heel Support Insoles: The Complete Step-by-Step Guide
Contents
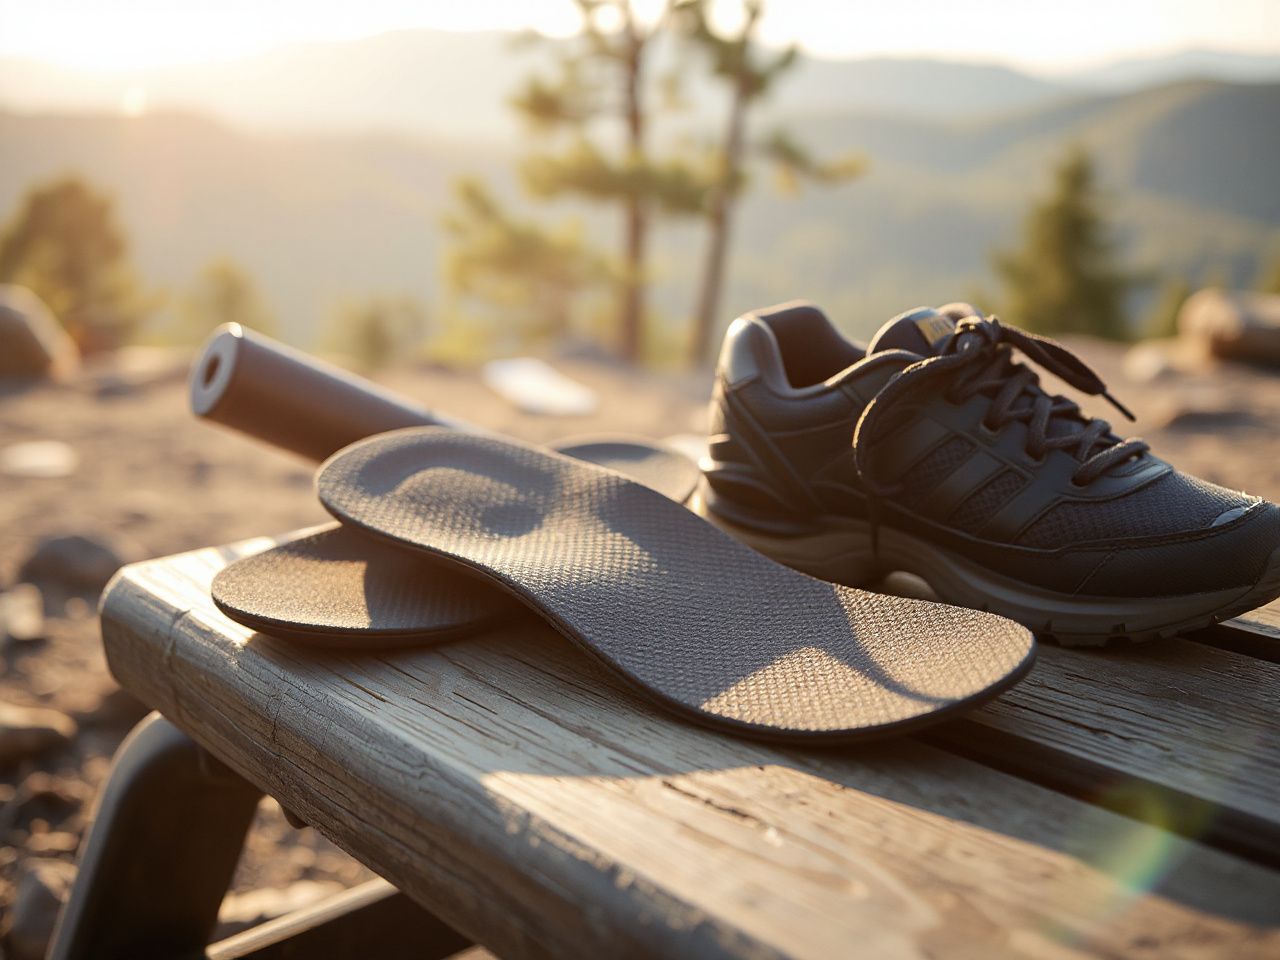
Travelers now spend more time on their feet than ever, walking through terminals, hiking to overlooks, and standing on footpegs for six-hour stretches. A quiet shift is happening: many riders are leaving bulky custom orthotics at home and packing slim, versatile heel support insoles instead. These insoles are designed to travel light, fit in multiple pairs of shoes, and keep your heel stable without adding volume. For riders who prefer sneakers over boots off the bike, our complete guide to sneakers with good heel support pairs well with this article.
Key Takeaways
- Heel support insoles differ from full-length orthotics by their deep heel cup, which manages the Achilles insertion and reduces shock at the calcaneus.
- The critical fit factor is heel cup depth relative to your shoe’s heel counter—too deep causes slippage, too shallow gives no support.
- Match insole thickness to your shoe’s existing drop; raising your foot too high can cause instability and blisters.
What Makes Heel Support Insoles Different
A heel support insole does one thing that a flat cushioned insole cannot: it cradles the calcaneus, the large bone at the back of your heel. That cradling action stabilizes the foot at the moment of impact, when your body weight transfers from the heel to the midfoot. The American Podiatric Medical Association has long recognized that concentrated heel support changes how forces travel up the leg, reducing strain on the plantar fascia and the Achilles tendon. Heel support insoles are comfort and alignment aids, not medical devices, and cannot correct structural foot deformities.
The effective insole must cradle without squeezing, which means the cup rim should wrap around the heel bone but leave the peroneal tendons on the outside edge of the foot entirely free. If you feel a hard edge pressing into the side of your heel, the cup is too narrow for your foot shape. That pressure point, left uncorrected, turns a supportive insole into a blister factory within a single day of walking.
Materials That Matter: EVA, Polyurethane, and Gel
EVA foam is the workhorse material for heel support insoles because it offers a predictable balance of cushion and rebound, and it weighs almost nothing when packed in a travel bag. Polyurethane foam starts firmer and wears slower, which makes it a better choice for riders who stand on footpegs for long stretches and need consistent heel positioning. Gel heel cups absorb shock exceptionally well but provide almost no structural support on their own; they work best when paired with a firmer base layer that holds the heel in place. Brands like Superfeet and Currex build rigid heel cups into their designs, while PowerStep and SOLE often use gel heel cups layered over firmer foam to prioritize impact absorption.
The material choice matters less than how the insole fits inside your shoe. A gel heel cup that is too thick will lift your foot out of the shoe’s heel counter, eliminating the very support the shoe was designed to give. That lift also shortens the effective length of the shoe, cramping your toes against the front of the toebox on descents or hard braking.
How Deep Should the Heel Cup Be?
Heel cup depth must match your shoe’s heel counter. A cup that is deeper than the counter will sit proud of the shoe’s back wall, allowing your heel to slide side-to-side inside the insole—the exact opposite of support. A cup that is shallower than the counter leaves the heel unsupported at the most critical moment of impact. Most travel shoes have a heel counter between 20 and 25 millimeters tall, so a cup depth in that same range works for the majority of riders. The thin cardboard insole that came with your shoe is the best reference: if the new insole’s cup rises noticeably higher than that, you will almost certainly feel heel slip.
Fitting Heel Support Insoles to Your Travel Shoes
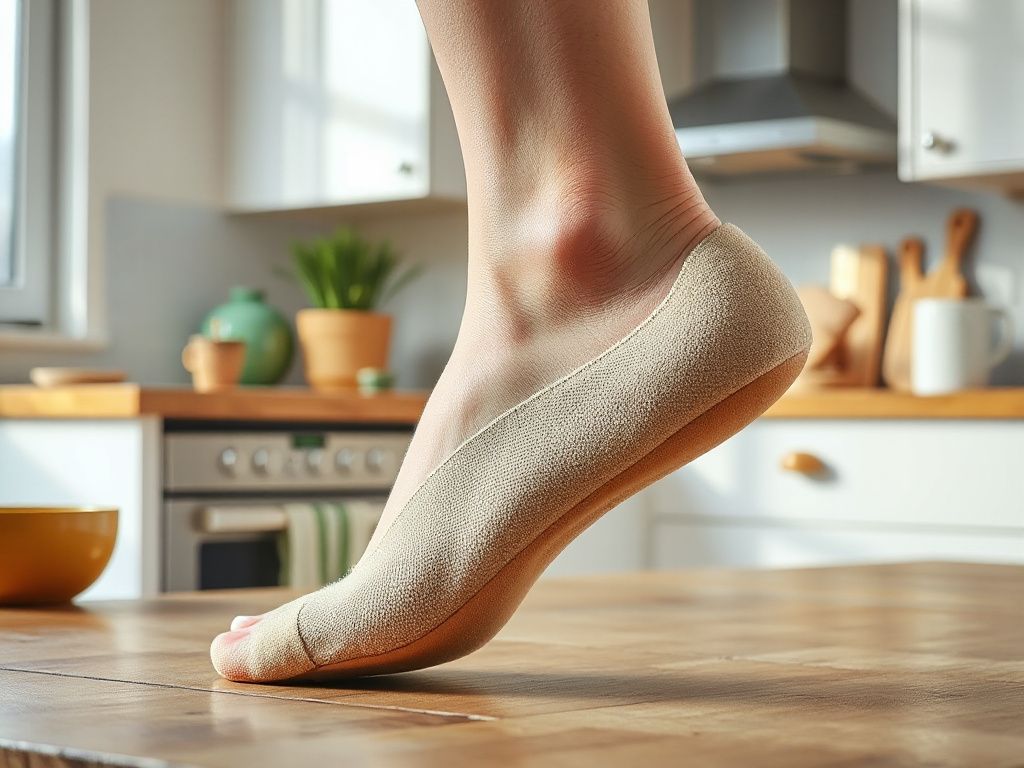
Travelers rarely wear one pair of shoes for an entire trip. You might ride in motorcycle boots, hike in trail runners, and walk through a city in low-profile sneakers. Each shoe has a different heel counter height, a different drop from heel to toe, and a different internal volume. The same insole that works in your boot may not work in your sneaker, and forcing it will cause more harm than good.
Matching Insole Thickness to the Shoe’s Existing Drop
Every shoe has a built-in drop: the height difference between the heel and the forefoot. Most running shoes have an 8 to 12 millimeter drop, while minimalist shoes sit near zero. When you slide a heel support insole into a shoe, you are effectively increasing that drop. A 6 millimeter heel cup added to a 10 millimeter drop shoe gives you a 16 millimeter drop—nearly double what the shoe’s designer intended. That radical change shifts your weight forward, overloads the Achilles tendon, and can cause calf tightness within a few days of walking. The fix is simple: choose an insole whose heel thickness matches your current insole, or buy a full-length insole with built-in heel support rather than a standalone heel cup that only adds height.
Boots, Sneakers, and Hiking Shoes: Three Different Fits
Motorcycle boots generally have the tallest heel counters and the most interior volume, so they accept deeper heel cups without compromising fit. Hiking shoes fall in the middle, with a stiffer midsole that masks some insole compressibility. Low-profile sneakers, with their thin midsoles and snug heel counters, are the least forgiving: any added heel height quickly causes heel slip. When traveling with one pair of insoles, I choose a design with a moderate cup depth and a low-profile heel that works in boots and sneakers alike, accepting that it may not be perfect in either. The alternative is packing two pairs of insoles, one for boots and one for casual shoes, which adds only a few ounces to your kit.
Break-In Period and What “Comfortable” Actually Means
Heel support insoles should feel supportive immediately, not painful. A short break-in period of two to three hours of walking is normal as the foam conforms to your heel shape, but any sharp pain, numbness, or hot spots during that first hour are red flags. A properly fitted heel cup will center your heel in the shoe and eliminate side-to-side movement without any conscious effort. If you feel like you are fighting the insole, it is the wrong shape for your foot. That rule applies to any off-the-shelf insole, regardless of brand claims about orthopedic correction.
Advanced Travel Strategies for Heel Support
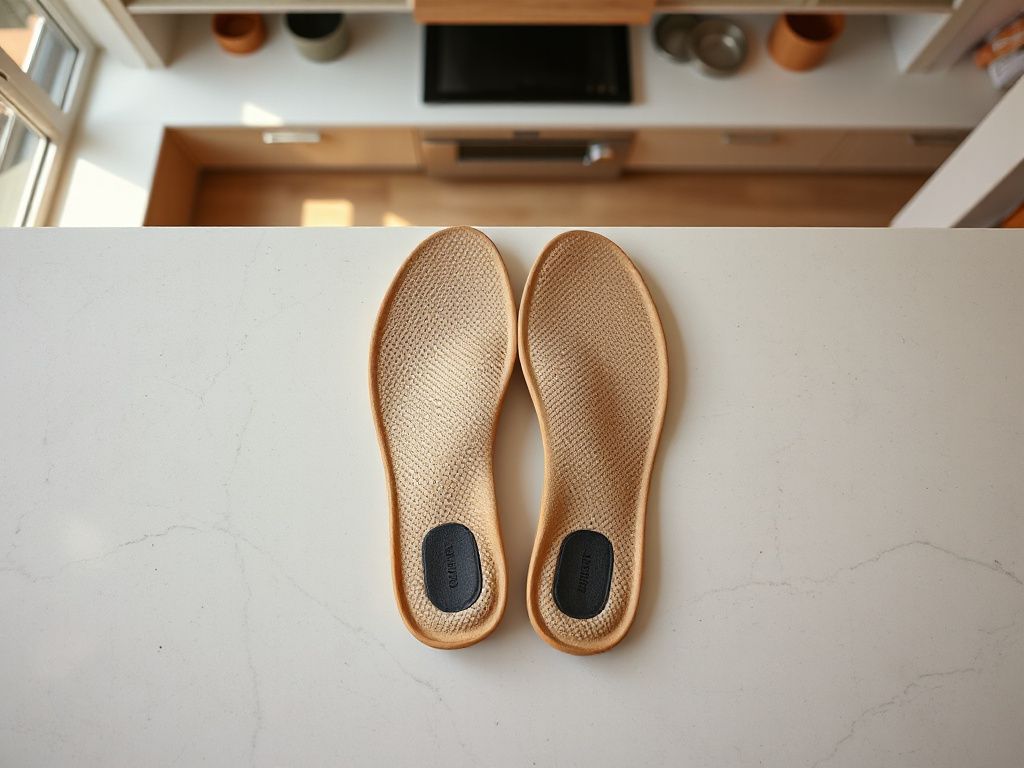
Long riding days are hard on feet, not just because of vibration but because standing on footpegs forces the heel to bear weight in a single position for hours. A heel support insole that works for walking may not be firm enough for riding, because constant compression over time causes the cup to flatten. Riders who spend more than four hours a day on footpegs should look for insoles with a rigid heel counter built into the insole itself, not just a soft foam cup. That rigidity prevents the cup from collapsing under sustained load, which is the difference between finishing a day with tired feet and finishing a day with sharp heel pain.
Care, Drying, and Replacement Timeline
All insoles need air circulation after use, especially after sweaty travel days in warm climates. Moisture trapped inside the shoe accelerates material breakdown and promotes bacterial growth, which breaks down the foam from the inside out. Pull your insoles out of your shoes every evening and let them dry completely before packing them for the next day. Most EVA and polyurethane insoles can be hand-washed in cool water with mild soap, but never machine-washed or dried; heat will warp the heel cup and destroy the very structure you bought. A good heuristic for replacement: if you wear the same pair of insoles daily while traveling, expect to replace them every four to six months, or roughly 500 to 700 miles of walking. The Cleveland Clinic notes that worn-out insoles lose their shock absorption and can cause new foot pain, so tracking mileage on long trips is a practical habit.
When to Stop Swapping and See a Podiatrist
Heel pain that persists after two to three weeks of testing a new insole is a signal to see a podiatrist rather than keep swapping products. That timeline is not arbitrary; it gives the soft tissues enough time to adapt to a new alignment while still catching real structural problems early. A podiatrist can measure your gait dynamics, assess whether you have flat feet or high arches, and determine whether a custom orthotic is justified. Off-the-shelf insoles work for the majority of travelers with mild to moderate heel pain, but they cannot replace a proper diagnosis. If you have flat feet, look for insoles with a firm arch support that carries weight away from the heel; if you have high arches, a deep heel cup with a softer base layer often works better because it distributes impact without forcing the foot into an unnatural position.
Frequently Asked Questions
How do I know if I need heel support insoles or just better shoes?
If your heel pain improves when you switch to a shoe with a taller, stiffer heel counter, your problem may be shoe fit rather than foot mechanics. But if heel pain persists across multiple quality shoes, heel support insoles can provide the targeted cradling and shock reduction that generic shoe cushioning cannot. A good test: press your thumb into the center of your heel after a long walk. If that spot is tender and the shoe’s original insole has compressed to paper-thin, an insole upgrade is the right next step.
How deep should the heel cup be on an insole that actually supports the heel?
The cup should match the height of your shoe’s heel counter, usually between 20 and 25 millimeters in travel shoes. A cup that is deeper than the counter will slip, and a shallower cup will not hold your heel in place. Pull out your shoe’s original insole and compare; the new cup should rise no more than a few millimeters above the original’s heel area.
Will gel insoles give me more cushioning but less support than foam ones?
Yes. Gel heel cups excel at absorbing vertical shock but provide almost no lateral stability on their own. Foam insoles, especially those made from dense polyurethane or with a rigid heel counter, hold your heel in a fixed position better. Many designs combine the two: a firm foam base for structure with a gel pad only under the calcaneus for impact absorption.
Can I use heel support insoles for plantar fasciitis, and how should they feel?
Heel support insoles can reduce plantar fascia strain by stabilizing the heel and limiting excessive pronation, but they should never cause sharp pain at the arch or heel. The feeling should be one of firm support under the arch and secure cradling around the heel, with no pressure points. If the arch support digs in or the heel cup rubs, the insole is either too aggressive or the wrong shape for your foot.
How often should I replace heel support insoles if I’m traveling daily?
For daily travel use, plan to replace heel support insoles every four to six months, or roughly 500 to 700 miles of walking. Signs of wear include visible flattening of the heel cup, loss of rebound when you press on the foam, and a musty odor that persists after washing. Keep a small log of your walking miles on long trips, or simply replace them at the start of every major travel season.