The Best Clothes to Wear Backpacking: A Complete Guide
Contents
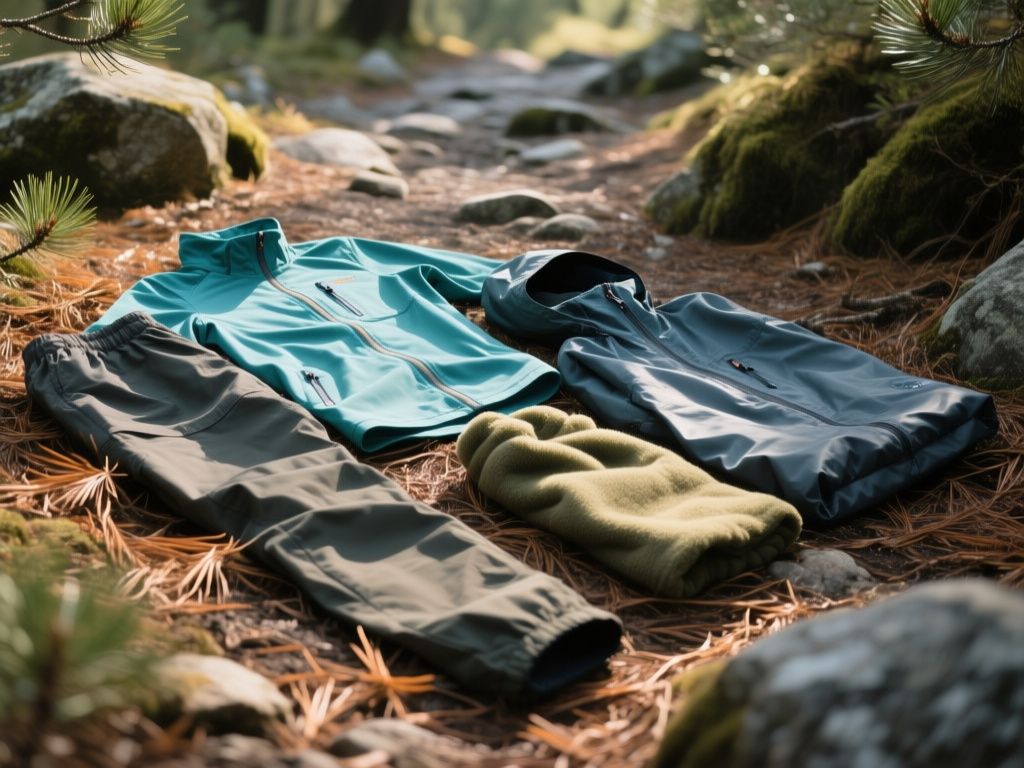
Backpacking clothes are your first line of defense. The gear you skip buying to save money is almost always the gear you regret not having when you need it most. Invest once, invest right. Whether you’re on a motorcycle or hiking a trail, your clothing system must handle sweat, rain, cold, and sun without weighing you down. Here’s exactly what clothes to wear backpacking, based on manufacturer recommendations and product specifications.
Key Takeaways
- Choose merino wool or synthetic base layers — never cotton, which traps moisture and causes chafing.
- Your mid-layer should be a lightweight fleece or down jacket rated for 20°F to 50°F temperature swings.
- Rain shells must have sealed seams and a waterproof rating of at least 10,000mm to stand up to mountain storms.
- Footwear with Vibram soles and a stiff shank prevents fatigue on rocky terrain and reduces injury risk.
Why Your Clothing System Matters More Than Your Pack
Most hikers obsess over pack weight and tent specs, but your clothing is what keeps you alive in a storm. A 3-season backpacking setup needs to manage moisture, temperature, and wind with zero failure points. Riders in full leathers can shiver through a rainstorm if they skip a proper base layer. The same principle applies on the trail.
Your body loses heat fastest when wet. A wet cotton T-shirt can drop your core temperature by 2°F in 10 minutes at 50°F. Merino wool or synthetic fabrics keep you dry even when soaked. That’s the difference between a great trip and a hypothermia scare.
Step 1: Start With a Proper Base Layer
The base layer sits against your skin. Its job is to wick sweat away and dry fast. For backpacking, you need two sets: one to wear, one to sleep in. Never wear cotton. Cotton absorbs 27 times its weight in moisture and takes hours to dry. On a 7-day trek, that’s a recipe for blisters and chills.
Merino wool is the gold standard. A 150-200 gsm weight works for most 3-season conditions. It’s naturally antimicrobial, so you can wear it 3-4 days without stink. Synthetic options like polypropylene dry faster but hold odor after a week. For cold weather (below 30°F), bump up to 250 gsm merino.
How to Choose Base Layer Weight
- Lightweight (150 gsm): 50°F to 80°F, high-exertion days.
- Midweight (200 gsm): 30°F to 60°F, most 3-season backpacking.
- Heavyweight (250+ gsm): Below 30°F, winter camping.
Step 2: Add a Versatile Mid-Layer
The mid-layer traps body heat and lets moisture escape. For backpacking, you want something that packs small and layers under a rain shell. A 100-weight fleece or a 800-fill down jacket works. Down is warmer per gram but useless when wet. Synthetic insulation like Primaloft or Climashield retains heat even soaked.
A 10-ounce synthetic puffy is suitable for shoulder seasons. It compresses to the size of a Nalgene bottle and handles 20°F mornings with a shell over it. For summer, a thin fleece hoodie is enough. Avoid heavy wool sweaters — they’re too bulky and take forever to dry.
Mid-Layer Temperature Guide
- Summer (60°F+): No mid-layer, just a base layer and sun hoodie.
- Spring/Fall (40°F-60°F): 100-weight fleece or thin synthetic puffy.
- Winter (Below 40°F): 800-fill down or 200-weight fleece.
Step 3: Invest in a Reliable Rain Shell
A rain shell is your shelter from wind and water. It must be waterproof, breathable, and durable. Look for a jacket with a waterproof rating of at least 10,000mm and breathability of 10,000g/m²/24h. Sealed seams are non-negotiable — taped seams prevent water from seeping through stitch holes.
Gore-Tex is the industry standard, but brands like eVent and Pertex Shield offer similar performance at lower weights. A 3-layer construction (outer fabric, membrane, inner liner) lasts longer than 2.5-layer shells. For backpacking, aim for a jacket under 12 ounces. A 10-ounce Gore-Tex shell provides lightweight waterproof protection for extended use.
What to Look For in a Rain Shell
- Waterproof rating: 10,000mm minimum, 20,000mm for alpine conditions.
- Breathability: 10,000g/m²/24h minimum to avoid sweat buildup.
- Seams: Fully taped or seam-sealed.
- Hood: Helmet-compatible (even if you’re not biking — it fits over a beanie).
- Pockets: Two hand pockets accessible with a pack waist belt.
Step 4: Choose the Right Bottoms
Your legs need flexibility, durability, and weather protection. Hiking pants with a stretch fabric (like nylon-spandex blends) are ideal. Avoid jeans — they’re heavy, slow to dry, and chafe. For cold weather, add a base layer under your pants. A softshell pant with DWR coating handles light rain and wind without overheating.
Convertible pants (zip-off legs) are polarizing. They’re convenient for variable weather, but the zippers can rub against pack straps. A dedicated pair of lightweight hiking pants and separate shorts for camp is a good option. For temperatures below 40°F, insulated pants or a fleece-lined softshell are worth the weight.
Bottoms by Season
- Summer: Lightweight nylon hiking shorts or pants with UPF 50+.
- Spring/Fall: Softshell pants with DWR, plus merino leggings for cold mornings.
- Winter: Insulated pants or fleece-lined softshell, over a base layer.
Step 5: Footwear That Prevents Injury
Your feet carry everything. A good pair of boots or trail runners can prevent blisters, ankle rolls, and fatigue. For backpacking with a pack over 25 pounds, boots with a stiff shank (nylon or steel) and a heel brake are recommended for descents. Trail runners suit lighter loads (under 20 pounds) on well-groomed trails.
Look for Vibram outsoles — they grip wet rock and loose gravel better than generic rubber. A Gore-Tex liner keeps feet dry in puddles, but it also traps heat. For hot climates, non-waterproof trail runners drain faster. Always test boots with the socks you’ll wear on trail. A half-size larger than your street shoe accounts for foot swelling after 10 miles.
Boot vs. Trail Runner Decision Guide
- Boots: Pack weight over 25 pounds, rocky terrain, ankle support needed.
- Trail Runners: Pack weight under 20 pounds, smooth trails, faster movement.
- Hybrid: Mid-height boots with a flexible shank for moderate loads.
Step 6: Don’t Forget Socks and Accessories
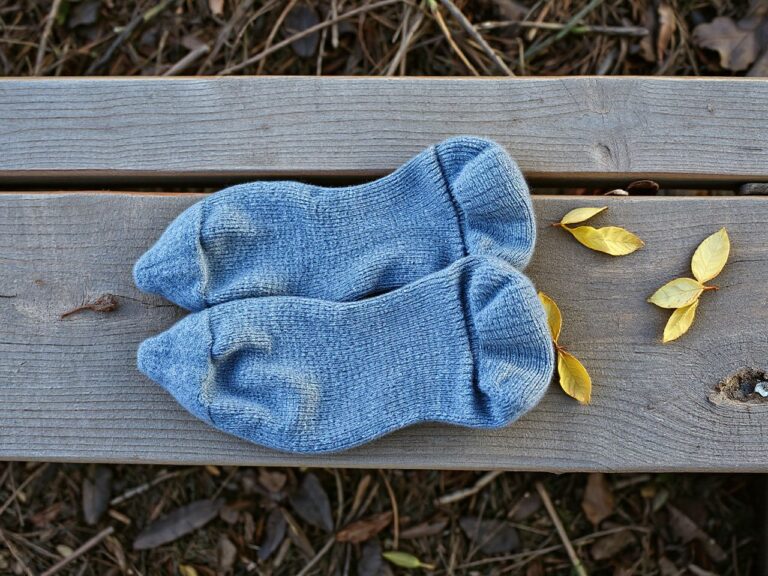
Socks are the most overlooked piece of your clothing system. Merino wool socks (medium cushion) prevent blisters and manage moisture. Bring one pair for hiking, one for camp. Never wear cotton socks — they cause blisters within 3 miles. A sock liner (thin synthetic) can reduce friction further.
Accessories include a sun hat, a beanie, gloves, and a buff. A buff works as a neck gaiter, headband, or face mask. For sun protection, a wide-brim hat or a cap with a neck flap is essential above 8,000 feet. Gloves: lightweight fleece for cold mornings, waterproof shells for rain. Liner gloves are useful for dexterity tasks like setting up camp.
Frequently Asked Questions
Can I wear jeans backpacking?
No. Denim absorbs water, weighs 2-3 pounds when wet, and takes over 12 hours to dry. It also chafes and restricts movement. Choose nylon hiking pants or softshells instead. They dry in under 2 hours and stretch for scrambling.
How many base layers do I need for a week-long trip?
Two sets: one to wear, one to sleep in. Rotate them every other day. Merino wool resists odor, so you can wear a shirt 3-4 days before washing. Rinse them in a stream or use a dry bag with soap for trail laundry.
What’s the best fabric for backpacking in rain?
A rain shell with a waterproof membrane (Gore-Tex, eVent, Pertex Shield) over a synthetic base layer. Avoid cotton or down when rain is forecast. Synthetic insulation like Primaloft retains warmth even when wet.
Should I bring a separate camp shirt?
Yes. A lightweight merino or synthetic shirt for camp keeps your sleeping bag clean and gives you a dry layer to change into after hiking. It also serves as a backup if your hiking shirt gets soaked.
How do I layer for high-elevation backpacking?
Start with a 200 gsm merino base, add a 100-weight fleece, then a waterproof shell. For temperatures below 20°F, swap the fleece for a 800-fill down jacket. Always vent by unzipping your shell during climbs to avoid overheating.