Long Distance Bicycle Riding Tips: The Complete Guide
Contents
Most cyclists chasing long distance miles obsess over the wrong things. They count grams off a carbon seatpost or debate gear ratios on internet forums while their saddle is two centimeters too high and they’ve never practiced fixing a chain on the roadside. The number one factor separating a comfortable ride from a miserable one isn’t a fancy bike—it’s a meticulous fit, especially saddle height and reach. Beginners obsess over gear weight but neglect to practice shifting hand positions or adjusting their setup, and they consistently overestimate how many miles they can cover in a day. Proactive comfort centers on dialing in the bike to your body, planning breaks every 45–60 minutes, and treating food and water as essential as your pedals, not an afterthought. These long distance bicycle riding tips are based on mechanical principles regarding bicycle geometry and physiological demands rather than marketing copy. If you’re still deciding what kind of bike you need before you start dialing in fit, my breakdown of the touring bicycle vs road bike debate covers that first decision.
Key Takeaways
- A saddle set too high or a reach that’s too long will hurt your knees and back long before any upgrade makes you faster.
- Eat and drink on a timer from the first hour, not when you feel hungry or thirsty—bonking is a pacing problem, not a fitness problem.
- Carry a chain tool, quick link, and know how to use them; a broken drivetrain fifty miles from help is a real threat, not a hypothetical.
Long Distance Bicycle Riding Tips for Beginners: The Setup Matters More Than the Bike
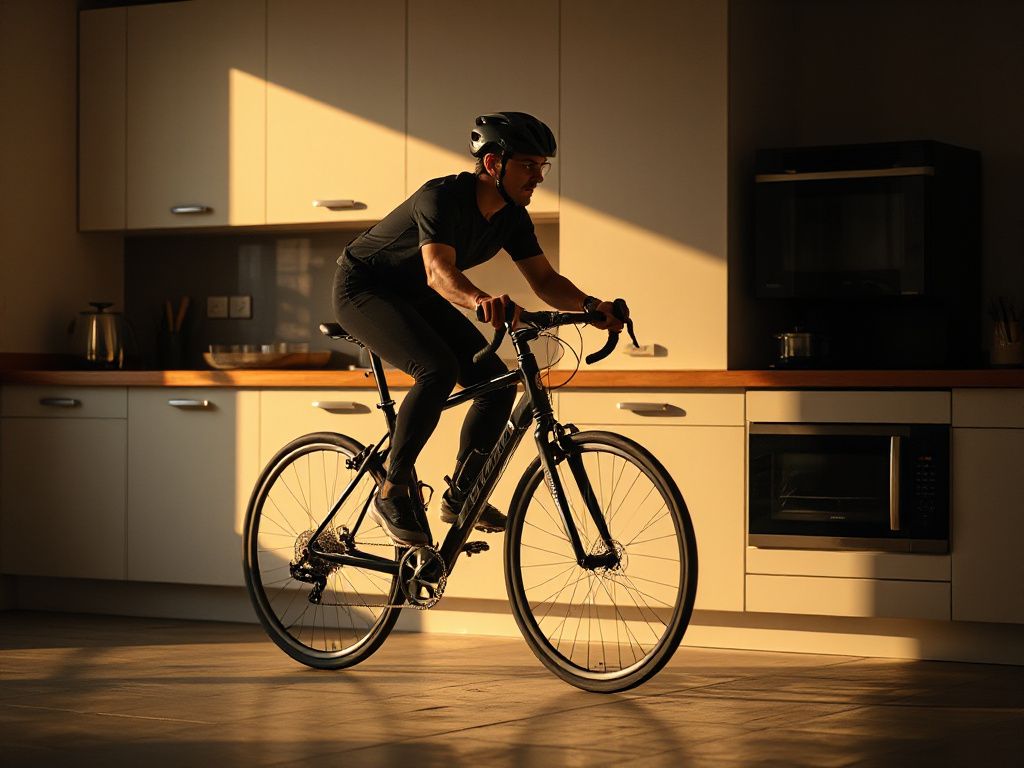
A first proper century often ends with numb hands and a right knee that clicks for a week, and the bike is rarely what caused it. A lightweight aluminium road machine with a Shimano 105 groupset—exactly what every magazine recommends—will still punish a rider whose position was set by feel. The usual culprit is saddle height chosen by the “heel on pedal at bottom dead center” method, which sits most riders higher than their pedal stroke wants and leaves the hips rocking side to side for eighty miles. That rocking motion, repeated thousands of times, drags the iliotibial band across the outside of the knee and shows up as pain behind the kneecap. Proper saddle height is not a guess; it’s a measured relationship between your leg length, crank length, and pedal stroke. When your foot is at the bottom of the stroke, your knee should be bent just enough to keep a slight flex—around 25 to 30 degrees—not locked straight and not overly bent. You can start with your existing saddle, but spend thirty minutes with a measuring tape and a friend. Mark your current height, lower it by five millimeters, ride twenty minutes, and pay attention to whether your hips stay level. A saddle that’s too low loads the front of the knee; too high strains the hamstring and forces you to point your toes, which causes calf cramps after two hours. Reach matters almost as much. If you find yourself sliding forward on the saddle or locking your elbows on the hoods, the stem is too long. A shorter stem with a slight rise costs thirty dollars and changes the entire personality of the bike.
What kind of bike should you actually use for long distance touring: a road bike, a hybrid, or a dedicated touring bike? I’ve ridden all three across multi-day trips, and the honest answer is that a road bike with 28mm tires works for credit-card touring, but a loaded tour with panniers demands a frame designed for the weight. A dedicated touring bicycle has longer chainstays, more stable geometry, and mounting points for racks. A road bike with a rear rack can oscillate at speed when the panniers catch a crosswind, and that shimmy is terrifying at 40 mph down a mountain. If you’re choosing between a road bike and a dedicated tourer, the link I mentioned earlier covers the trade-offs in detail. For now, know that a hybrid with a suspension fork is the worst option for long pavement miles—the suspension saps energy and adds weight you don’t need.
Saddle choice is the third piece of the beginner fit puzzle. A Brooks B17 leather saddle has a break-in period that many riders never survive, but once molded it supports sit bones without pressure on the perineum. A modern synthetic saddle with a cutout does the same job without the three weeks of discomfort. The mistake I see first-timers make is buying the widest, most padded saddle on the shelf, then padding their shorts on top of that. Every millimeter of extra foam creates friction and heat. Your sit bones measure somewhere between 100 and 150 millimeters apart; a bike shop with a simple pressure-mapping pad can measure that in ten minutes. Match the saddle width to your bones, not to your body weight. Proper saddle height, reach, and saddle choice solve ninety percent of knee pain, back pain, and saddle soreness before you ever turn a pedal.
Preventing Saddle Sores on a Multi-Day Tour
Saddle sores are infected hair follicles or pressure ulcers, not just “chafing.” They form when sweat, friction, and bacteria combine in the same spot for six hours a day. The fix starts with clean shorts—two pairs minimum, wash one pair each night with camp soap and hang it to dry. Chamois cream helps, but it’s not a substitute for a clean chamois. Stand up on the pedals for thirty seconds every ten minutes, even on flat ground. That simple habit moves blood flow through compressed tissue and prevents the kind of deep bruising that turns into a sore three days later. If you feel a hot spot forming, stop immediately and apply a small amount of antibiotic ointment; ignoring it turns a one-day irritation into a week of riding standing up.
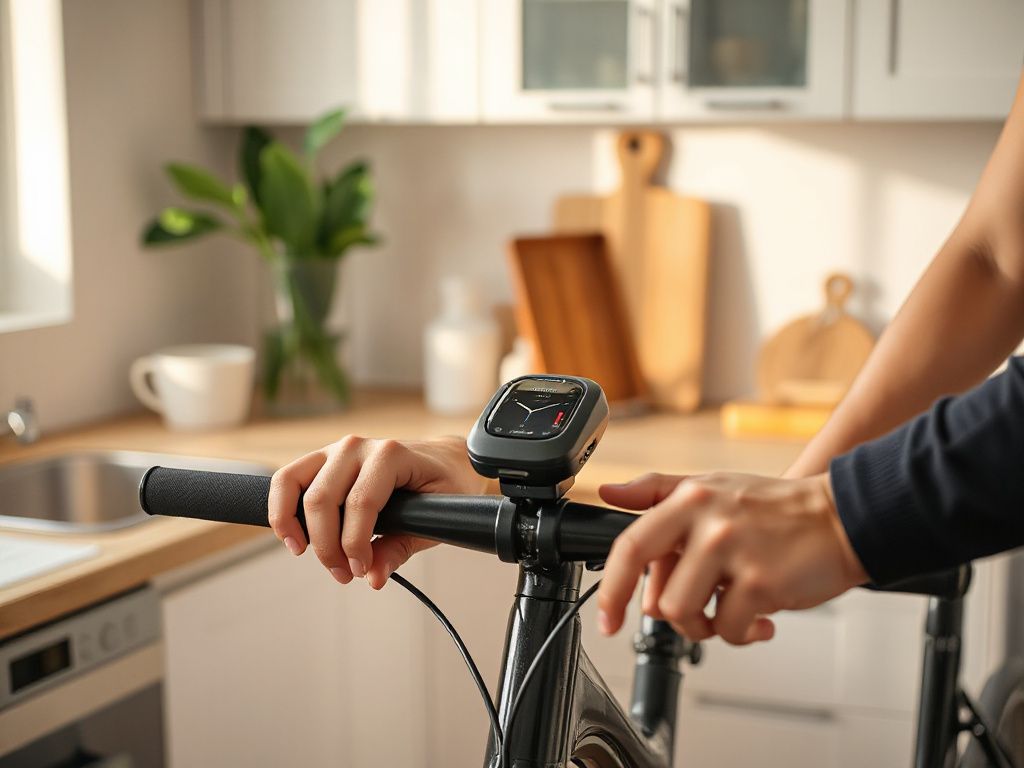
How much does it realistically cost to set up a bike for serious distance riding? Reliable long-distance rigs can be configured for under $800, while gear expenses can easily exceed $5,000 without necessarily increasing utility. The essentials: a fitted saddle ($80–$150), a set of reliable tires like the Schwalbe Marathon ($100–$140 per pair), a rear rack and two Ortlieb panniers ($300–$400 total), a multi-tool with a chain breaker ($40), a frame pump like the Topeak Road Morph ($50), and a basic repair kit with a Park Tool patch kit ($15). Add a Garmin Edge 830 for navigation if you’re riding unfamiliar routes, but a paper cue sheet works. Sugino 50/34T compact crankset with an 11-34 cassette gives you a low gear below 1:1 for loaded climbing—no need to spend more. The rest of the budget goes to food, campsites, and the occasional hotel room.
Intermediate Long-Distance Riding: Nutrition, Hydration, and Daily Mileage Planning
The biggest mistakes first-timers make on their first century ride stem from one error: they treat eating and drinking as a response to signals instead of a scheduled routine. By the time you feel thirsty on a hot day, you’re already down one to two percent of body weight in fluid, and that level of dehydration reduces your time to exhaustion by roughly ten percent according to Gatorade Sports Science Institute hydration research. On a 200-mile ride, that means bonking twenty miles before you otherwise would. Drink every 15 minutes—two or three large sips—and eat every 30 minutes. That’s 40 to 60 grams of carbohydrate per hour, which you can get from bananas, fig bars, or maltodextrin powder mixed into water. I prefer real food for the first four hours, then switch to gels and chews when my stomach stops digesting solid food efficiently. Your gut shuts down slowly under prolonged exercise; force-feeding solid energy bars at hour six leads to nausea because blood is shunted away from digestion toward working muscles.
Hydration Beyond Water Bottles
How do you carry enough water for an all-day ride in heat? Two CamelBak Podium bottles on the frame hold 48 ounces total, which lasts about two hours at 85°F if you’re drinking properly. That’s not enough between towns. I carry three bottles—one on the downtube, one on the seat tube, one on a behind-the-saddle mount—and a hydration bladder in my jersey pocket for the first leg. Electrolytes are non-negotiable. Sodium losses in sweat range from 500 to 2,000 milligrams per liter, and drinking plain water dilutes your blood sodium, leading to hyponatremia, which causes confusion, nausea, and in severe cases seizures. The World Health Organization recommends oral rehydration solutions containing sodium and glucose for fluid replacement during prolonged exertion. Mix one electrolyte tablet per bottle on any ride over three hours. If a gas station appears at mile 60, buy a bottle of pickle juice—it’s cheap, salty, and stops cramps for many riders I’ve toured with.
How can you estimate your daily mileage on a multi-day trip without overdoing it? Use a flat pace of 12–14 mph as your planning baseline, not your solo speed. Subtract one hour for every 1,000 feet of climbing. Add thirty minutes for photo stops, fifteen minutes for lunch, and twenty minutes for mechanicals and bathroom breaks. For a 60-mile day with 3,000 feet of climbing, that’s roughly 5 hours of riding plus 2 hours of stoppage—seven hours door to door. Start by 8 a.m. and you finish by 3 p.m. with daylight left to set up camp, stretch, and eat a proper dinner. That schedule is sustainable for two weeks. A 9 p.m. arrival because you planned 12 mph average while carrying gear is not.
Advanced Long-Distance Bicycle Riding Tips: Repairs, Load Management, and Mental Grit
A broken chain or derailleur miles from help is a real threat—carry a chain tool and a quick link, and know how to use them. I learned this the hard way at mile 87 of a 120-mile day in the Cascades when my chain snapped on a climb. I had a patch kit and a pump but no chain tool because “chains never break.” I push-walked four miles to a forest service road intersection, then hitched a ride into town. Now my seat bag contains a Park Tool CT-5 chain breaker, two quick links for my chain width, and a pair of nitrile gloves. Replacing a broken link takes under five minutes: remove the damaged link, press in the quick link, and pedal slowly to hear if it clicks into place. Practice at home before you need it roadside. Flat tires are more common, and fixing one fifty miles from the nearest shop means knowing your rim strip condition, carrying two spare tubes, and having a patch kit as backup. A Topeak Road Morph pump with a hose and gauge gets a tire to 80–90 psi without exhausting your arms, which a mini-pump will not do after three flats in a day.
Packing Gear So the Load Doesn’t Mess Up Your Back and Handling
The most common touring mistake is distributing weight like a hostel backpack: heavy stuff on top, light stuff on bottom, everything swaying. On a bicycle, the heaviest items go in the bottom of rear panniers—stove, fuel, tools, spare tire. Sleeping bag and pad go on top of the rear rack in a dry bag. Front panniers, if you use them, carry only lightweight clothing and food; overloading the front wheel makes steering sluggish and increases the chance of a tank-slapper wobble at speed. Total gear weight for a multi-week self-supported tour should stay under 30 pounds, excluding water and food. If you’re new to loaded riding, my advice on last-minute camping essentials will save you from overpacking on your first overnight test run.
Bikepacking versus traditional pannier touring is a constant debate, but for long pavement routes, panniers win on capacity and ease of access. Bikepacking bags force you to unpack half your gear to reach a rain jacket, while an Ortlieb pannier opens from the top in two seconds. Trails and singletrack favor bikepacking’s narrow profile. If your route mixes gravel with singletrack, consider a hybrid setup: rear panniers plus a handlebar roll for your tent. The one piece of advice I refuse to soften: do not strap a heavy backpack to your body for an all-day ride. The pressure on your sit bones doubles, your lower back spasms by hour four, and sweat pools under the straps. Let the bike carry the load.
Gear ratios for climbing long hills with a loaded bike deserve a quick explanation because most road bikes come with a low gear around 39/28, which is useless at 8 mph with 25 pounds of gear. A Sugino 50/34T compact crankset paired with an 11-34 cassette gives you a 34/34 low gear—exactly a 1:1 ratio. On a 10% grade with a loaded bike, that lets you sit and spin at 5–6 mph at 80 rpm without standing. Standing on steep climbs with panniers causes the rear wheel to skip and wastes energy. If your current drivetrain won’t accept a 34T cassette, a mountain bike rear derailleur with a longer cage is a $60 fix that opens up a whole new world of climbing comfort.
Mental Toughness and Pacing on Multi-Hour Rides
In the first 100 miles of any tour, conservative pacing beats aggression. Riders who push at high intensity early often reach fatigue prematurely, leading to early stops. The physiology is simple: your body burns glycogen at a predictable rate, and going anaerobic early depletes that store before you’ve converted enough fat to fuel the ride. Keep your effort at a conversational pace for the first hour, no matter how fresh you feel. On climbs, shift to an easier gear and keep your cadence above 80 rpm. A high cadence stresses your cardiovascular system, which recovers quickly; a low cadence stresses your muscles, which do not. After hour three, every decision matters more: stop for ten minutes in the shade, eat a salty snack, and check your feet for hot spots. Boredom is the real enemy on a flat 40-mile stretch into a crosswind. Break the ride into ten-mile segments and focus only on the next segment. Sing a song, count fence posts, do math in your head. Anything that prevents you from staring at your computer and calculating how many hours remain.
Cross-training on other types of two-wheeled adventures keeps your mind fresh. When I’m not touring by bicycle, I scout motorcycle routes near me for future motorized camping trips—the navigation and endurance demands are surprisingly similar. That perspective helps me avoid the tunnel vision that makes a 200-mile day feel like a death march. You’re not racing anyone; you’re travelling.
Frequently Asked Questions
How do I choose a saddle that won’t hurt on a 150-mile day?
Measure your sit bone width first—most shops do this free with a gel pad. Choose a saddle 20 to 30 millimeters wider than that measurement, with a center cutout or channel if you experience perineum numbness. Skip excessive padding; it compresses and creates friction. A Brooks B17 breaks in beautifully but takes 300 miles; many riders prefer a synthetic saddle like the Specialized Power or Fabric Scoop. Test any saddle for at least three rides before judging it.
What’s the ideal gear ratio for climbing long hills with a loaded bike?
A 1:1 low gear—meaning a 34-tooth chainring paired with a 34-tooth cassette cog—should be your minimum for loaded climbing. That lets you spin at 80 rpm up a 10% grade while seated, saving your knees and keeping rear wheel traction. If you’re running a road compact with an 11-28 cassette, swap to an 11-34 and add a longer-cage rear derailleur. These long distance bicycle riding tips work because climbing efficiency matters more than top speed.
How often should I eat and drink on a 200-mile ride to avoid bonking?
Drink every 15 minutes—two to three large sips—and eat every 30 minutes. Target 40 to 60 grams of carbohydrate per hour from the start, not when you feel hungry. Alternate real food with gels or chews after hour four. Include sodium in every other bottle; plain water alone can cause hyponatremia on very hot rides. The riders who bonk are the ones who wait until they’re depleted.
What’s the best way to carry enough water for an all-day ride in heat?
Carry at least three bottles, each 24 ounces, plus an electrolyte mix in two of them. A behind-the-saddle mount adds a third bottle cage. Plan refill stops every 20–30 miles using gas stations, parks, or public fountains marked on your route. If resupply is sparse, a hydration bladder in a frame bag adds another 50 ounces. Never ration water to “save” it; dehydration is cumulative and faster than you think.
How do I fix a flat tire when I’m 50 miles from the nearest shop?
Carry two spare tubes, a patch kit, three tire levers, and a pump with a hose and gauge. Find the puncture cause before installing a new tube—a thorn or glass shard left in the tire will flat the new tube in under a mile. Use a Park Tool patch kit to repair the old tube as a backup. Practice the whole procedure at home in your garage until it takes under ten minutes; roadside is not the place to learn.