MTB Basics: What Nobody Tells You Before Your First Ride
Contents
Mountain biking punishes complacency. The gear skipped to save money is almost always the gear regretted when needed most. Invest once, invest right. If you’re searching for mountain biking basics because you’re curious about getting started, understand this: the fundamentals are less about speed or distance and more about staying in control when things go sideways. Every trail, whether a mellow fire road or a rock-strewn canyon descent, demands respect for physics, terrain, and your own limits. The goal is to ensure riders never experience that sinking feeling of realizing they weren’t prepared.
Key Takeaways
- Genuine mountain biking basics start with risk recognition: trail ratings, terrain reading, and personal skill assessment are the first skills you must develop, not an afterthought.
- Body position and braking technique account for over 80% of new rider crashes; mastering a neutral stance and controlled deceleration prevents most common injuries.
- Safety gear is non-negotiable: a well-fitted helmet, gloves, knee pads, and an emergency kit are the minimum barrier between you and a preventable trip to the hospital.
The First Step in Mountain Biking Basics Is Honesty
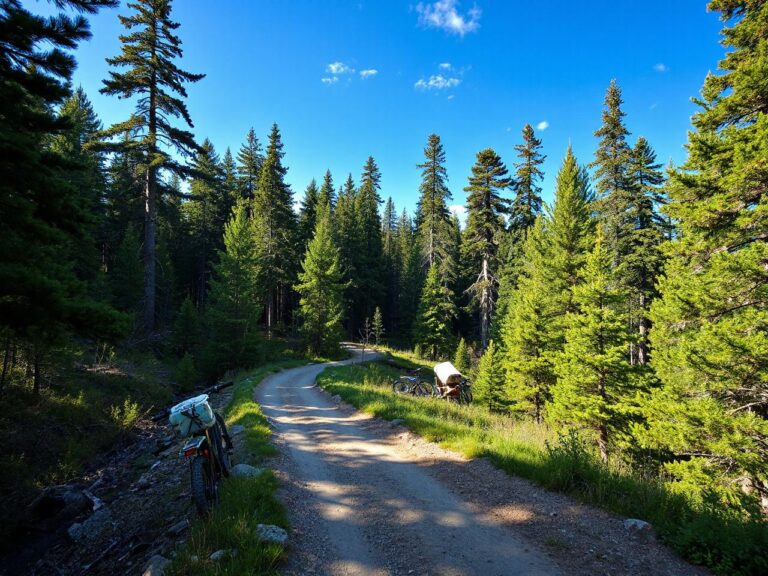
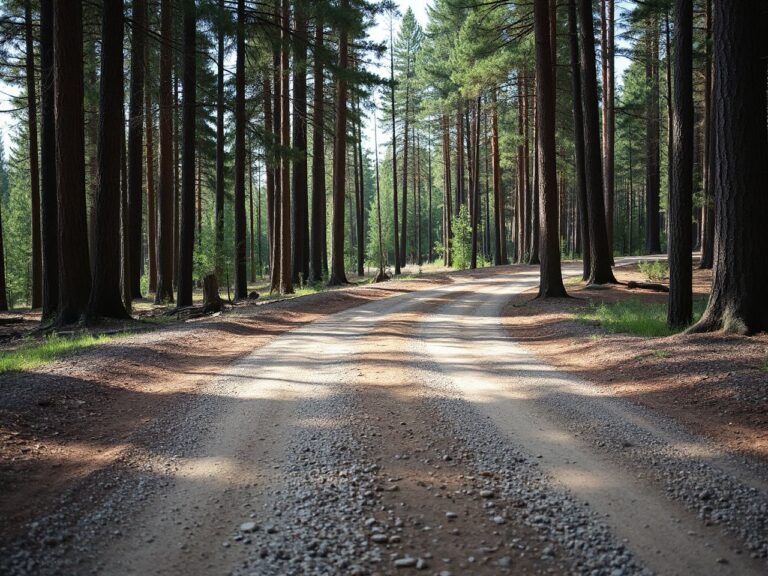
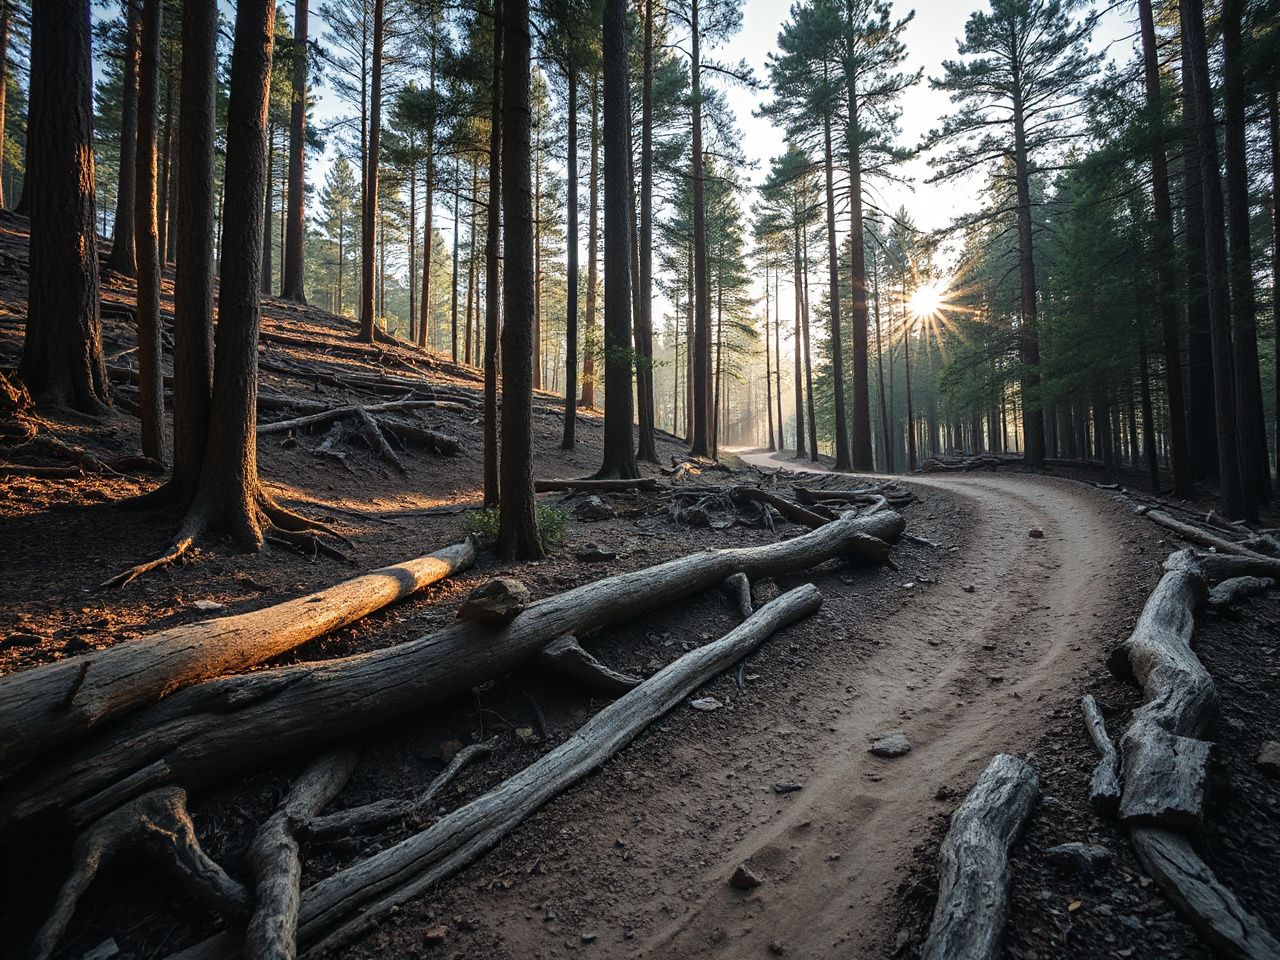
Most travel writers paint an idyllic picture of smooth singletrack under towering pines. They rarely mention the loose scree, the hidden roots, or the split-second that separates a good line from a broken collarbone. Trail ratings should be treated as consequence forecasts rather than vague suggestions.
Trail Ratings Aren’t Suggestions
A green circle doesn’t mean safe. It means the steepest pitch, most abrupt drops, and technical features are absent. You can still crash hard on a green trail. Green trails often lull riders into a false sense of security, leading to higher speeds through blind corners. A blue square introduces rocks up to 4 inches tall, steeper grades, and surface variations that demand active bike-body separation.
Black diamond trails assume you already possess expert-level line choice and obstacle clearing at speed. Double black routes? Those require repeated exposure to consequential terrain and the ability to ride with a clear head when the penalty for error is severe injury. Check local land manager websites for current trail conditions and rating clarifications before you ride. Trails change with weather; a rainstorm can turn a blue into a temporary black.
The Fallacy of ‘Easy’ Terrain
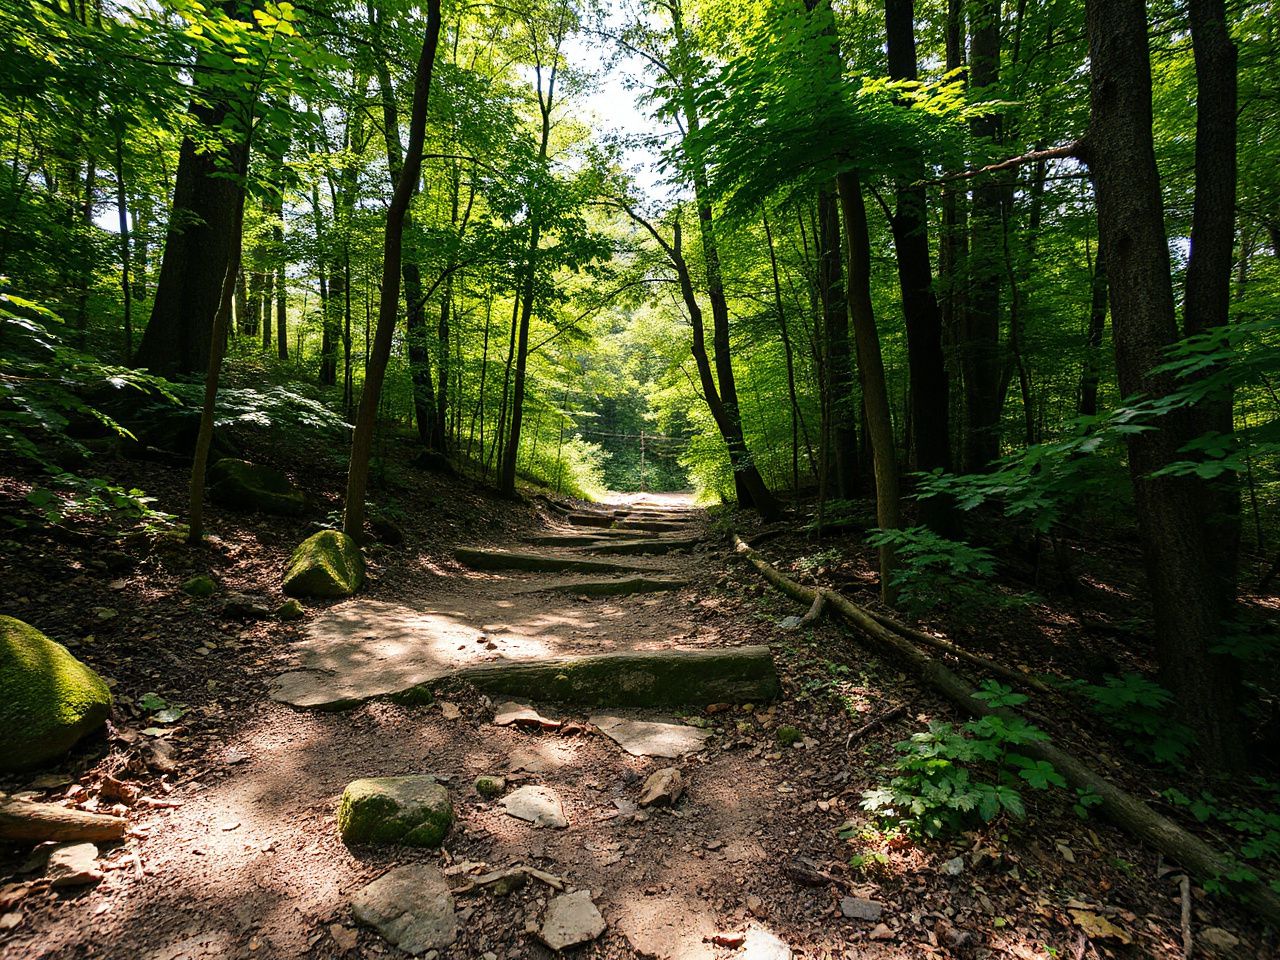
One of the most overlooked fundamentals of MTB riding is learning to read the ground directly in front of you. A flat, wide section of dirt can hide loose sand over hardpack, creating a slide-out hazard when you lean the bike. Gradual downhill slopes that look harmless often funnel water, creating off-camber sections that push your wheels sideways.
Beginner riders must understand that speed amplifies every surface mistake. At 8 miles per hour, you have time to react. At 15 miles per hour, your reaction window shrinks by more than half. The difference between rolling out of a slide and getting pitched over the bars comes down to recognizing those surface changes before you’re on top of them. Practice scanning 15 to 20 feet ahead, not just your front tire.
Mastering Stability Before Speed
True MTB fundamentals hinge on three interrelated skills: body position, braking, and vision. Most new riders invert the priority list, chasing downhill thrills before they can stop the bike without drama. Weigh every trail against these three factors before you ride it.
Body Position and the Neutral Stance
The neutral stance is your foundation. Stand on the pedals with your feet level at the 9 o’clock and 3 o’clock positions. Hinge at the hips so your chest lowers slightly, elbows bent and out, knees flexed. Your weight should distribute roughly 60% rear, 40% front on flat ground.
This posture does three things: it lowers your center of gravity, engages your legs as shock absorbers, and keeps your head up to scan the trail. Without this position, every rock sends jolts through your spine and arms, causing fatigue and loss of control. Descending demands a more aggressive rearward shift, but never lock your arms straight—that’s a direct path to a face-first impact.
Braking: The Art of Not Going Over the Bars
Watch an experienced rider scrub speed on a steep incline. They don’t grab a fistful of front lever. Braking fundamentals dictate that 70% of stopping power comes from the front brake, but that power must be modulated with finesse. The front brake, when applied gradually with your weight back, presses the front tire into the ground, increasing traction. A sudden jab at speed shifts weight forward violently, unloading the rear and launching you.
The rear brake stabilizes speed and prevents acceleration, but locked rear wheels skid, destroying trail tread and removing directional control. Practice on flat ground: ride at a walking pace, gently squeeze the front lever until you feel the pads engage, then add rear brake to come to a smooth stop. Do this until it’s muscle memory. On loose surfaces, rely slightly more on the rear to avoid front-wheel washouts, but with the understanding that overall stopping distances increase.
Looking Where You Want to Go
Target fixation is the nemesis of every off-road rider. Stare at the rock you want to avoid, and your brain will steer you directly into it. Instead, lock your eyes on the exit point of a turn or the clean line through a rocky section. Peripheral vision handles the obstacles. On switchbacks, turn your head early and deliberately look through the corner; the bike follows the chin.
This is as much a risk management tool as a physical skill. When you anticipate what’s coming rather than reacting to what’s under your wheel, your speed decisions become proactive. You’ll find natural braking points and line adjustments well before you’re in trouble.
The Equipment Gap No One Talks About
Yes, you can strap a helmet to a borrowed hardtail and wobble down a gravel path. But if you’re serious about absorbing the basics of mountain biking without learning through injury, a few pieces of gear close the gap between “getting by” and actual protection.
The Helmet Is the Minimum
A certified helmet that fits correctly is non-negotiable. Look for MIPS (Multi-directional Impact Protection System) or similar rotational force mitigation, because most crashes involve angled impacts. The helmet must sit level on the head, with the chinstrap snug enough that you can’t roll it off forward. Replace any helmet after a significant impact, even if the shell looks intact—the inner EPS foam compresses once and loses protective capacity.
Gloves, Pads, and the ‘Just in Case’ Kit
Full-finger gloves aren’t about style. Palms are the first thing that hit the ground in a slide. Gloves prevent deep abrasions and keep your hands functioning for the ride out. Knee pads with flexible D3O or similar viscoelastic material stay soft while pedaling but harden instantly on impact. Plenty of ride-ending knee lacerations could have been prevented by a $60 pair of pads.
Carry a small kit: a multi-tool with a chain breaker, a spare tube (even if tubeless), tire levers, a mini pump or CO2 inflator, and a basic first aid pack with bandages, antiseptic, and a space blanket. The trail doesn’t care how close you are to the parking lot; a mechanical failure or injury without resources turns a fun afternoon into a survival situation. The gear skipped to save money is almost always the gear regretted when needed most.
The Bike: A Tool, Not a Toy
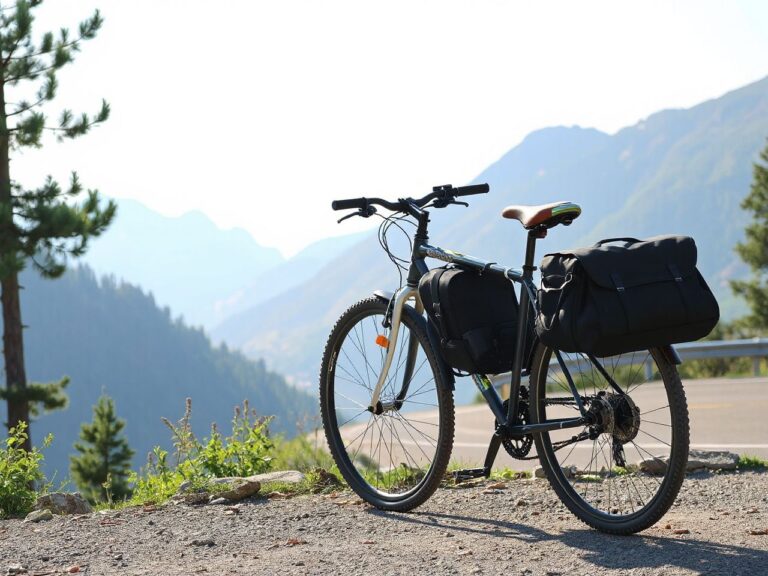
Your first mountain bike doesn’t need a five-figure price tag. It needs to fit. Standover clearance, reach, and effective top tube length matter more than suspension travel. A properly sized bike allows you to move dynamically without fighting the frame. Test ride several sizes if possible, because brand geometries vary.
When you’re ready to look at a bike that balances trail confidence with everyday practicality, our look at this year’s standout hybrid MTB models is a solid starting point. Hardtails remain the best teachers for skill building; they force line choice accuracy and weight placement that full-suspension bikes can mask. Regardless of what you ride, keep tire pressure deliberate. Too high and you lose grip; too low and you risk pinch flats or rim damage. Start around 25-28 PSI for 2.3-inch tires and adjust based on rider weight and terrain.
Reading Terrain Like a Pro
The mental side of mountain biking basics separates casual participants from lifelong riders. Physical skill gets you up a climb; terrain anticipation carries you safely down the other side. Developing this ability doesn’t require extraordinary talent—just deliberate practice of awareness.
Speed Checking and Line Choice
Before entering a section of unknown trail, perform a speed check: reduce pace enough to scan the next 30 to 50 feet. Identify the line that offers the smoothest transition. Often the “clean” line is not the most direct. It avoids deep ruts, wet roots, or sharp-edged rocks. Ride with this mantra: smooth is safe, safe is fast.
On rock gardens, look for flat spots between obstacles where you can unweight the bike or pedal lightly. Avoid the temptation to stare at the biggest boulder—pick your exit points instead. When traversing off-camber slopes, weight the outside pedal and lean the bike into the hill while keeping your body upright. This simple technique dramatically improves sidehill grip.
When to Walk (And Why It’s a Sign of Strength)
Risk assessment means knowing when a feature exceeds your current skill threshold. Walking a section isn’t failure; it’s a calculated decision to ride another day. Many broken wrists result from riders attempting rock rolls or drops under peer pressure. Removing ego from the equation must be part of your fundamentals from day one.
If you dismount, use the hike to study the feature. Identify where entry speed, body position, and line would need to be. Visualize the move, then decide if you’ll attempt it next time after more practice on lower-consequence terrain. This is how progression happens organically, without hospital bills.
Building Your Foundation with Purpose
Approach the learning process like an evaluator. After every ride, note what went well, what felt unstable, and where you hesitated. Did a rear-end slide catch you off guard? Spend your next outing practicing controlled rear braking on loose surfaces. Felt off-balance in turns? Drills like slow-speed figure eights in a parking lot teach bike lean and body separation without trail pressure.
Sessions focused on a single skill yield faster improvement than just logging miles. Devote 20 minutes before or after a ride to deliberate practice: track stands, manual balance drills, or repeated cornering with correct posture. Over weeks, these targeted sessions become the difference between a rider who survives trails and one who reads them effortlessly.
Remember that fatigue is the invisible variable in every risk equation. Most crashes occur in the final quarter of a ride when arms are pumped and concentration fades. Cut rides shorter if your form degrades. Proper hydration with electrolytes and a calorie intake of 200–300 calories per hour of moderate riding sustain cognitive sharpness and muscle function.
Frequently Asked Questions
What are the mountain biking basics I should learn before hitting a trail?
Start with the neutral stance, controlled braking using both levers, and vision that looks through turns, not at obstacles. Add fundamental terrain reading: recognizing loose surfaces, off-camber slopes, and how to adjust speed before technical sections. These skills form the safety triad that prevents the majority of new-rider crashes.
How do I choose a beginner-friendly trail for learning MTB fundamentals?
Stick to trails rated green circle with a smooth surface, minimal rocks, and wide tread. Use apps like Trailforks to read recent condition reports. Avoid trails with sustained steep grades or mandatory technical features until you can handle small features consistently. Progress to blue squares only after green trails feel controlled at a range of speeds.
What protective gear is essential for mastering mountain biking basics?
A MIPS-equipped helmet is mandatory. Full-finger gloves, knee pads, and eye protection come next. A portable kit with a multi-tool, spare tube, pump, and basic first aid supplies ensures you can self-rescue. Elbow pads and a back protector add value when you advance to rockier, faster terrain.
Is learning the basics of mountain biking on a full-suspension bike a bad idea?
Not necessarily, but a hardtail often teaches better habits. Full suspension can mask poor line choice and sluggish body positioning because the bike absorbs more mistakes. A rigid frame transmits feedback instantly, rewarding precise movement. If you start on full suspension, consciously focus on body separation and don’t rely on the shock to solve poor technique.
How can I build confidence while staying safe as a beginner?
Separate skill drills from ride distances. Practice braking, cornering, and slow-speed balance in a controlled environment like an empty parking lot or mellow grass field. Join group rides with riders slightly better than you, not those who push risks. Set personal boundaries before each ride and honor them—confidence grows from repeated success, not from surviving unnecessary danger.