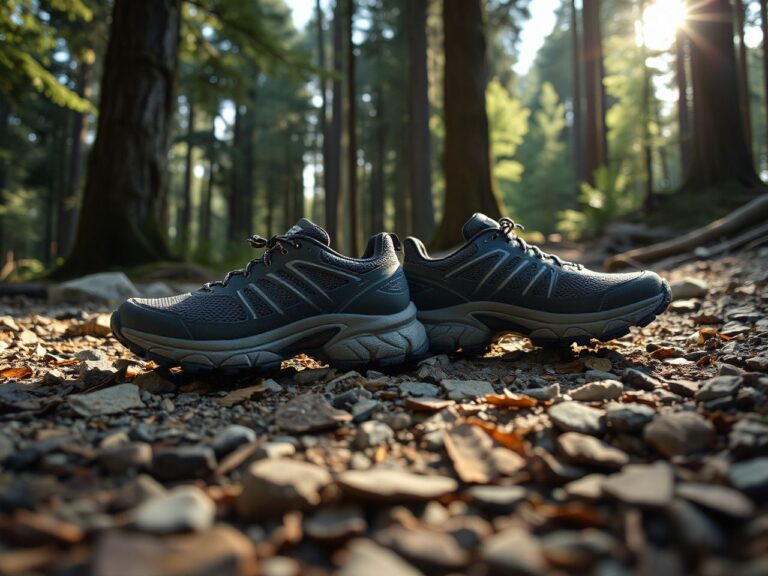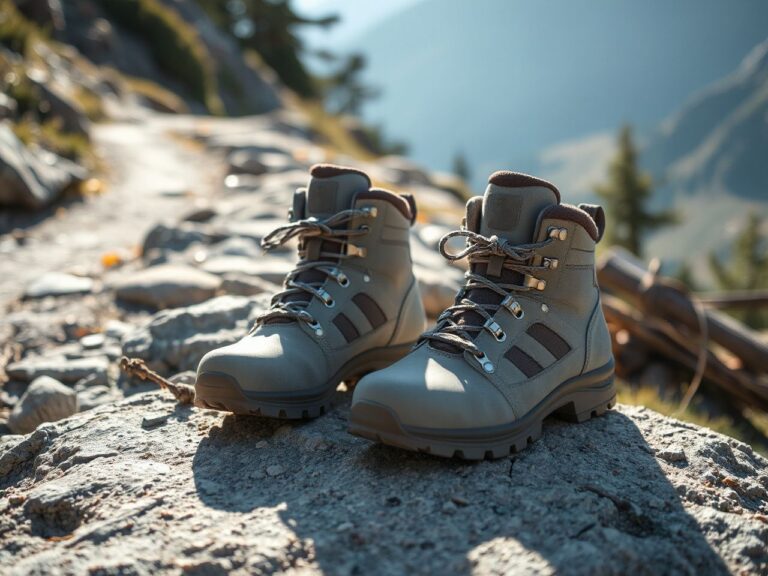
Pictures of Running Sneakers: What Changes the Result
Contents
The parking lot was dusty, the BMW GS fully loaded for a two-week traverse of the Pyrenees. Cheap aftermarket crash bars can fail badly: even a slow-motion tip-over, like a clumsy foot placement at a toll booth, can fold a bar into the cylinder head. The repair bill later cost more than a premium set would have, and the downtime stole three riding days. Budget gear on a loaded adventure is a false economy every time. The same logic runs deep when you’re logging miles on foot in unfamiliar terrain. Nothing derails a multi-day trip faster than limping into a rural hostel with a blister the size of a silver dollar or a collapsed midsole because you failed to decode the warnings your shoes were sending. Studying crisp, well-lit pictures of running sneakers before, during, and after your travels offers a forensic layer of prevention that keeps your feet happy and your itinerary intact.
When you’re a rider who slows down to chat with farmers, taste local goat cheese, and hike the ridge the village elder recommended, your shoes become your primary connection to the ground. Whether you’re a motorcycle traveler who runs at dawn through olive groves or a backpacker navigating cobblestones, the story your sneakers tell in a photograph can guide smarter packing, earlier replacement, and even a deeper understanding of your own biomechanics.
Key Takeaways
- High-quality photos of running sneakers expose wear gradients that the naked eye misses, flagging alignment issues and material fatigue before they cause injury.
- Travelers who document their soles and uppers after each major leg of a trip can prevent catastrophic shoe failure in remote areas where replacements are scarce.
- Combining visual analysis with a simple log of surface types and mileage turns your shoe library into a personalized fitting tool for future adventures.
Why a Rider’s Footprint Starts with Shoe Photos
Motorcyclists obsess over tire tread. They snap photos of chicken strips, measure with a tread depth gauge, and swap rubber early because a blowout at 70 mph isn’t negotiable. Yet the same analytical rigor rarely extends to the very thing carrying us into a cathedral, up a volcano, or across a muddy fairground: our running sneakers. Plenty of travelers carry a phone full of scenery but zero images of their worn trail runners, and end up with plantar fasciitis that could have been spotted weeks earlier in a simple photo of compressed heel foam.
The act of visually cataloging your shoes isn’t about vanity. It’s about building a data set that blends with the culture of slow travel. When you photograph your kicks against the red dirt of the Australian outback and then again on the basalt steps of a Sicilian village, you’re not just recording mileage—you’re mapping how local geology eats rubber differently. That awareness makes you a more respectful visitor, too, because you start noticing trail erosion, the fragility of desert crust, or the wear that hundreds of feet leave on ancient stones. Those observations are worth acting on. When a local ranger mentions fragile cryptobiotic soil after rains, that is the morning to put the run on pavement instead: the crust is a living layer that takes decades to rebuild and a single footfall breaks it.
The Traveler’s Guide to Capturing Useful Photos of Running Sneakers
Before any analysis happens, you need images that don’t lie. A fuzzy phone shot taken at midnight in a hostel dorm tells you nothing. A small ritual that takes under two minutes fits neatly between coffee and kickstand-up.
Step 1: Clean the Outsoles Just Enough
You don’t need a toothbrush, but caked mud hides wear. Tap the shoes together to dislodge debris, then give the soles a quick wipe with a dry cloth or a splash of water. The goal is to let the rubber’s wear facets shine through, not to sterilize them. If you’re in a region with particular soil—red clay in Georgia, volcanic grit in Guatemala—leave a light dusting for context, but clear the deep tread channels so you can see depth.
Step 2: Use Diffuse Natural Light, Not Flash
Take the photos outdoors in open shade: under a tree, beside the tent, or in the doorway of your guesthouse. Direct sun creates harsh shadows that hide subtle foam wrinkling. Flash flattens texture. A cloudy morning is perfect. If you’re stuck indoors, position the shoes near a window and avoid overhead fluorescents that give a sickly color cast. Shoot with your phone’s main camera at 1x or 2x zoom, never ultra-wide, to avoid distortion.
Step 3: Capture Six Standard Angles
Consistency is what turns snapshots into comparison tools. Shoot: (1) close-up of the outsole, (2) medial (inner) side, (3) lateral (outer) side, (4) heel counter from behind, (5) toe cap from above, and (6) a level overhead shot of the footbed with the insole removed. Label each photo in your phone’s album with the location and estimated miles since last capture. On muddy trails, that overhead footbed shot can reveal a deep toe impression that signals the shoes are packing out sooner than expected.
Decoding Wear Patterns: What Running Shoe Photos Reveal for Travelers
Once you have a clear series, you can read the narrative of your stride, just as a mechanic reads spark plug color. This skill is especially valuable for nomadic types who can’t visit the same podiatrist year-round.
Lateral Heel Scuffing and Supination
Heavy wear on the outer edge of the heel, visible in both the outsole photo and the lateral side shot, indicates a supinator’s strike. Supinators underpronate, rolling the foot outward. That rigid, high-arched foot transmits more shock up the kinetic chain, often leading to IT band issues or stress fractures on hard surfaces. This pattern shows outboard rubber worn nearly through, while the medial side looks fresh. Taping the arches can help reduce pain during activity.
Medial Collapse and Overpronation
An overpronator’s shoe tells a story of excessive inward roll. Look for a severe crush line on the medial midsole foam, especially around the arch area. In the footbed shot, you’ll see a deep, dark depression where the arch collapses. Long days on hard, flat tile can make one shoe develop this inside edge breakdown faster, especially with an old ankle injury. Recognizing it early means you can switch to a stability model before plantar fasciitis sets in. For those curious about ankle support for uneven city surfaces, understanding how best mid top running shoes of 2026 handle overpronation might inform your next travel purchase.
Toe-Off Asymmetry and Leg Length Discrepancy
Compare the toe area of each shoe. One shoe consistently showing a worn-through patch under the big toe while the other is intact can hint at a functional leg length difference or a hip hike you’re not aware of. Motorcycle riders frequently develop asymmetries from always putting the same foot down at stops, leaning the bike, or favoring an injured side. Photographs of outsoles over time can reveal uneven wear patterns that suggest a pelvic tilt—something fixable with a few targeted stretches done leaned against a top case.
Leather, Mesh, and Mud: Material Stories in Travel Shoe Photos
Different materials degrade differently in the environments we pass through, and photos capture the timeline beautifully. A leather trail runner in Patagonia will show cracking and stiffness across the forefoot flex zone after weeks of wet-dry cycling. Mesh uppers in the Sahara will reveal UV damage as a faded, brittle fabric that tears along the toe box stitching. Documenting these changes helps you predict how long a shoe will last in a given climate and pack accordingly.
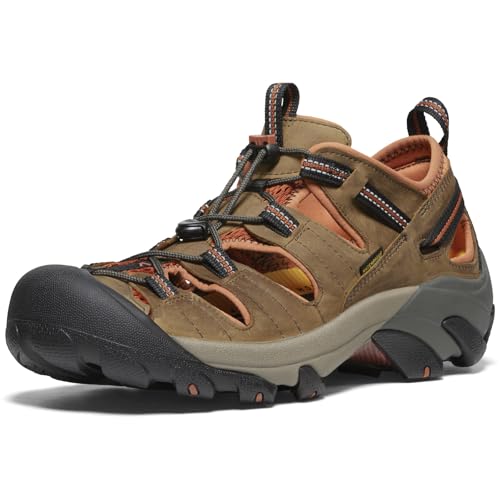
The midsole foam on these waterproof runners can develop a linear compression set just behind the ball of the foot—a telltale sign that the waterproof membrane’s bootie may also start to delaminate from the upper, though no leak may appear at first. This kind of wear can eventually lead to a slow wicking failure in the waterproofing. For travel kits meant for variable weather, pairing shoe photos with insights from best waterproof running shoes tested for 2026 can help you choose a model whose membrane holds up longer in the visual wear cycle you’re already tracking.
When to Retire Shoes on the Road: A Photo Checklist
Replacement availability is the tricky variable. In a city with a running shop, you can be liberal. On a moto trip across rural Anatolia, you might need to squeeze every mile from your kicks. A photo-based checklist prevents both premature trashing and dangerous prolonging.
1. Outsole Lug Depth Reaches 1mm or Less in Key Zones
Place that penny next to the flattest lug. If you can barely see Lincoln’s scalp, the shoe still grips. If you’ve entered smooth rubber territory over a patch larger than a coin, you’re risking slips on wet cobblestones or steep gravel. Retire them in a city where you can safely find a replacement.
2. Midsole Compression Creases Extend Across the Entire Forefoot
Look at the medial and lateral side photos. Wrinkles that look like shallow cracks are normal aging. But when those creases become deep, parallel accordion lines running continuously from the outsole to the upper, the EVA foam has permanently collapsed. That means your foot will sink into an uneven cradle, straining the plantar fascia even if the tread looks decent.
3. Upper Tearing Exposes Sock or Skin in Structural Areas
A rip near the metatarsal flex point or heel counter loosens the foothold. In the back-of-heel photo, check for fabric separating from the heel stiffener. Any significant gap means the shoe can slip during technical maneuvers, which on a scouting hike away from your motorcycle could mean a twisted ankle with no easy extraction.
4. Insole Imprints Turn Into Holes or Lost Arch Support
Remove the insole and photograph it against a flat surface. A healthy insole will show a gentle foot shadow; a dead one reveals deep craters where the ball of the foot and heel live, with the arch zone flattened completely. In a pinch, flipping the insole over and sticking a thin drink coaster under the arch can extend shoe life just enough to reach the next town with a gear shop. That MacGyver move wouldn’t have occurred without first seeing the imprint photo and realizing the arch had died while the forefoot still had life.
Integrating Shoe Photo Analysis into a Low-Impact Travel Ethic
Riding philosophy rooted in leaving a place better than it was found extends to trail running shoes. Wet shoes carry invasive seeds, soil pathogens, and even amphibian chytrid fungus between watersheds. A quick photo of pre- and post-run tread can remind to scrape and rinse before crossing into new terrain. A small brush in panniers is useful specifically for this, and before/after images serve as a visual accountability log. In biosecurity-sensitive zones, such photos demonstrate understanding of the assignment.
Similarly, if your shoes are breaking down faster than expected on a given substrate, you might reconsider your route. Runners who switch from a wet coastal single-track to a rocky inland path mid-trip will see the outsole photo change dramatically. That’s data to support whether the existing trail can handle your foot traffic without erosion, or whether it’s better to move to a durable surface. Sometimes the best way to protect a place is to stop running there and walk instead, and your shoe photos give you the honest feedback to make that call.
When documenting your soles across seasons, you might also notice how temperature affects material behavior. Rubber stiffens as it cools, so on a frigid highland crossing of the kind Lesotho serves up an outsole goes noticeably hard, and a close-up photo will show micro-crazing in the compound that vanishes again once the shoe warms back up. That pattern isn’t just a curiosity—it explains why a dry rock at 5°C can still be slippery underfoot: below its glass transition sweet spot the rubber stops deforming into the surface it is standing on, and grip is nothing more than that deformation. Sharing these observations with fellow travelers builds a communal knowledge base, especially if you’re assembling a running base layer kit that needs to match foot warmth and blood flow in cold climates.
Teaching Your Eye: From Snapshots to Systematic Diagnosis
Details on gear condition can be observed in the field. Ignoring early warning signs in gear is the most expensive form of denial. Transfer that lesson to shoes. Start a dedicated album on a phone called “Sole Journal.” Set a reminder to snap the six angles every two weeks or after particularly brutal stages—a 15-mile scree descent, a day of wet riding where boots stayed dry but evening runners got soaked in the hotel laundry basin.
After six months, you’ll have a flipbook of change. You’ll notice that your left shoe’s heel counter wrinkles three weeks before the right, which tracks back to that old ski injury. You’ll see that the “super durable” carbon rubber on the sole still wore through in the same 400-mile window, because your loping gait scrubs the toe-off harder than the lab test dummy. That self-knowledge is worth more than any shoe review, because it’s calibrated to your actual biomechanics and the distinct surfaces you seek out as a cultural wanderer.
If you ever need to see a podiatrist while abroad, having a chronological series of shoe photos is like handing over a detailed tire log. The doctor can spot compensation patterns immediately. The same goes for buying your next pair remotely: a video call with a specialty running store becomes far more productive when you can show them exactly where the last model deteriorated.
Frequently Asked Questions
How many angles of a running shoe should I photograph for a proper wear analysis?
Six standard views offer the most consistent data: outsole tread, medial side, lateral side, heel counter, toe cap from above, and the insole removed. This covers the footbed impression, exterior material stress, and tread pattern. Using the same angles each time lets you create a visual timeline, comparing changes across days and terrains without missing hidden damage like liner delamination or asymmetric toe wear.
Can I use just my smartphone camera to capture usable pictures of running sneakers?
Absolutely. Modern phones have excellent sensors. The key is lighting: shoot outdoors in open shade without flash. Avoid ultra-wide lenses to prevent distortion, and tap the screen on the most worn area to lock focus and exposure. Good technique matters more than the device. Even a beat-up phone in monsoon light will return a diagnostic image if the camera is held still — bracing both elbows against a railing buys more sharpness than any upgrade in sensor.
What specific wear patterns in shoe photos suggest I might need a stability shoe for travel?
Look for severe midsole collapse on the medial (inner) side, pronounced arch area depression in the insole photo, and a dark, concentrated footbed shadow under the navicular bone. These signs indicate overpronation. If paired with knee pain after long walking days, a stability shoe with medial posting could help. The photographic evidence of the roll pattern gives you objective data to share with a fitter even when far from home.
How do I store and organize photos of my running sneakers across multiple trips?
Create a dedicated album labeled “Sole Journal” with subfolders by trip name or shoe model. Tag photos with location, date, and approximate miles. Cloud backup is essential; a damaged phone on the road shouldn’t cost you months of wear data. Jot down the predominant surface in the photo’s description—cobblestone, wet clay, asphalt—so later you understand why the rubber wore in that specific way.
Is there a simple depth test I can do in my shoe photos to confirm tread life?
Yes. Place a penny, Lincoln’s head down, into the most worn tread groove and take a macro photo. If the top of his head disappears into the groove completely, you still have at least 1.5mm of depth, which is functional for most dry terrain. If you can see all of Lincoln’s hair, the lug is too shallow for reliable grip on loose or wet surfaces. The photo serves as a timestamped record that removes guesswork.