Transamerica Map: Your Complete Guide to Navigating
Contents
You’ve got the bike, the bags, and the grit. But you’re staring at a screen or a folded piece of paper wondering why the TransAmerica Trail never lines up with what Google Maps shows. That frustration is real. Every rider hits a moment where the route disappears into a farm track or an unmarked gravel road, and the map you’re holding suddenly feels useless.
The rides that make the best stories are almost always the ones where something went wrong, which is an argument for planning rather than against it. Preparation doesn’t prevent adventure — it just gives you better options when it shows up. The same rule applies to the TransAmerica map. It’s not a perfect turn-by-turn guide. It’s a tool for making better decisions when the pavement ends, the signage fades, and you’re staring at a fork in the road with no cell service.
Key Takeaways
- The official Adventure Cycling Association TransAmerica map is your primary navigation tool, but you need to supplement it with local county maps and GPS tracks for the roughest sections.
- Route surfaces vary wildly — from smooth asphalt to loose gravel and deep sand — and your map should indicate surface type, but you must verify conditions with local riders or land managers.
- Detours are inevitable due to construction, wildfires, or private property closures. Always carry a paper backup and know how to read a topo map.
What a TransAmerica Map Actually Shows You
The Adventure Cycling Association (ACA) produces the official set of maps for the TransAmerica Bicycle Trail. These aren’t standard road maps. They’re designed specifically for self-supported touring cyclists. Each map covers a specific section, typically 100 to 150 miles, and includes elevation profiles, services (campgrounds, grocery stores, bike shops), and surface descriptions.
But here’s the catch: the ACA maps are a snapshot in time. They are updated every few years, but roads change. A gravel road marked as “smooth” can turn into a washboard nightmare after a single rainstorm. A campground listed as open might be permanently closed. The map is a starting point, not a gospel.
Reading the Surface Type Icons
On the ACA maps, you’ll see symbols for pavement, gravel, dirt, and sometimes unmaintained roads. The majority of the TransAmerica route is paved, but there are notable gravel and dirt sections, especially through the Rocky Mountains and the Oregon Coast Range. Pay close attention to the legend. A dashed line often indicates a route where surface conditions are unpredictable.
A solid line marked “paved road” on a map can turn out to be a stretch of loose river rock. That’s where local knowledge beats the map. Before you head out, check the ACA’s route updates page and look for rider reports on forums like BikeForums or Crazy Guy on a Bike.
How to Use the TransAmerica Map for Route Planning
Route planning with a TransAmerica map requires a different mindset than planning a car trip. You’re not just looking for the shortest distance. You’re looking for safe shoulders, low traffic volume, available water sources, and manageable climbs. The ACA maps already optimize for these factors, but you need to overlay your own constraints.
Step 1: Identify Your Daily Range
Start by calculating your average daily mileage. A loaded touring bike on mixed surfaces averages between 40 and 60 miles per day. Mark your planned endpoint on the map. Then look at the elevation profile. If the profile shows a 2,000-foot climb in the last 10 miles, adjust your endpoint to a campground earlier in the day.
The maps include elevation profiles at the top of each page. These are critical. A seemingly short 50-mile day can take 8 hours if you’re climbing continuously. It’s easy to underestimate climbs in the Appalachians. The map’s elevation profile is just as useful in the Rockies.
Step 2: Mark Water and Resupply Points
ACA maps list services like grocery stores, restaurants, and bike shops. But they don’t always list natural water sources like streams or public spigots. In dry sections — eastern Oregon, central Kansas — you might go 60 miles without a guaranteed water refill. Mark every potential water source on your map. Use a highlighter to note which ones are seasonal. A stream shown on the map might be dry in August.
For the driest stretches, carry extra capacity. A 3-liter hydration bladder plus two 1-liter bottles is a minimum in the desert sections. The map won’t tell you that the only gas station for 50 miles has been closed for two years. That’s why you call ahead.
Handling Detours and Route Changes
Detours on the TransAmerica Trail are not rare. They happen every year. Wildfires close sections in the West. Flooding washes out bridges in the Midwest. Private landowners occasionally block access through their property. When the map says “go straight” and the road is closed, you need a backup plan.
Finding Alternate Routes
The official ACA maps often include suggested alternate routes for specific detours. But these alternates are printed in the margins or on a separate sheet. If you’re using a digital version on your phone, you might miss them. Before you leave, photocopy or screenshot the alternate route pages. Keep them in a separate waterproof pouch.
If no official alternate exists, use a county road map or a topo map to find a parallel route. Look for roads that run in the same direction but at a lower elevation. In the Rockies, the alternate might be a forest service road that adds 20 miles but saves you a 1,500-foot climb over a pass. The map won’t show you that tradeoff. You have to read the contours.
Navigating the Gravel and Dirt Sections
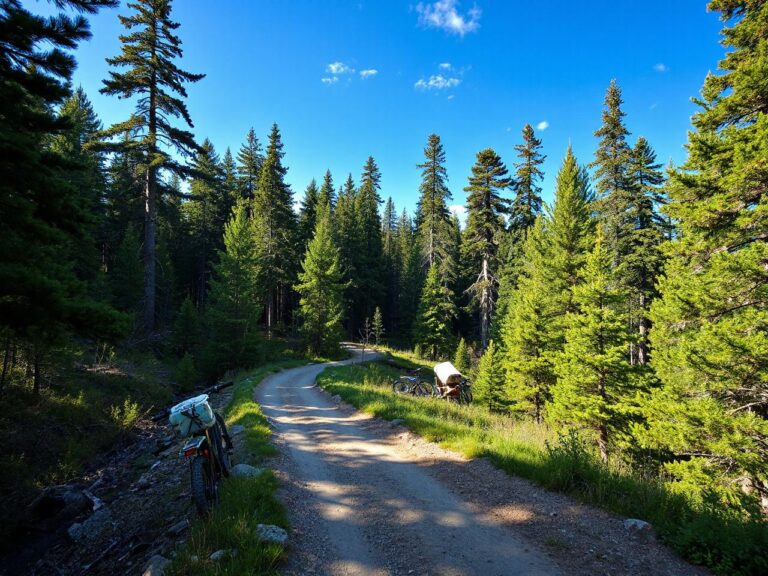
The TransAmerica Trail includes several notable unpaved sections. The most famous is the stretch through the Ochoco National Forest in Oregon, where the route follows gravel roads for about 30 miles. Another is the section through the Mark Twain National Forest in Missouri, where the route uses unpaved county roads that can turn into mud after rain.
Reading Surface Conditions
The ACA map will label these sections as “gravel” or “dirt,” but it won’t tell you the current condition. Gravel can range from hard-packed, smooth crushed stone to loose, deep gravel that feels like riding on marbles. Dirt can be hardpan clay or soft, sandy loam. The only way to know is to check recent rider reports.
Join a TransAmerica-specific Facebook group or check the ACA’s online forum a week before you arrive at a gravel section. Ask specifically about the surface condition. Riders who just came through will tell you if the gravel is loose, if there’s washboarding, or if the road is freshly graded and smooth.
Bike Setup for Unpaved Sections
If your route includes significant gravel, consider wider tires. A 32mm tire is the minimum for loaded touring on gravel. A 38mm or 40mm tire is better. Lower your tire pressure to around 40 psi for gravel and 30 psi for deep sand. The map won’t tell you this, but your bike’s handling will. If you’re fighting the handlebars on a gravel descent, you’re likely overinflated.
In the sandiest sections, like the short stretch through the Nebraska Sandhills, you might need to walk your bike. That’s fine. The map shows the route, but it doesn’t promise it’s rideable. Walking a quarter mile of deep sand is better than crashing and breaking a derailleur.
Digital Tools vs. Paper Maps
Every rider has an opinion on this. I use both. A paper map makes a strong primary navigation tool because it never runs out of battery, it’s readable in direct sunlight, and it gives a big-picture view of the terrain. The digital tool is for zooming in on tricky intersections and following a GPX track when the route is not well marked.
Best Practices for Digital Navigation
Download the ACA’s official GPX files. Load them into an app that allows offline maps. RideWithGPS and Gaia GPS both work well. Set your phone to airplane mode to save battery. Carry a small power bank (10,000 mAh minimum) and charge your phone every night. The map itself won’t drain your battery, but the screen will if you leave it on continuously.
For the most remote sections, like the stretch through the Great Divide Basin in Wyoming, consider carrying a dedicated GPS device like a Garmin Edge or a handheld unit. These devices have longer battery life and are more durable than a phone. They also work with the same GPX files. The map is the same, but the hardware is more reliable.
Section-by-Section Breakdown
Here’s a brief overview of the TransAmerica Trail’s major sections, with notes on what the map does and doesn’t tell you.
Astoria, Oregon to Missoula, Montana
This section includes the Oregon Coast Range, the Cascade Mountains, and the Rocky Mountains. The map shows significant elevation gain. Pay attention to the passes: McKenzie Pass (5,325 feet), Lolo Pass (5,233 feet), and Chief Joseph Pass (7,241 feet). The map lists services, but many small towns have limited hours. In the Rockies, gas stations might close by 6 PM. Plan accordingly.
Missoula, Montana to Pueblo, Colorado
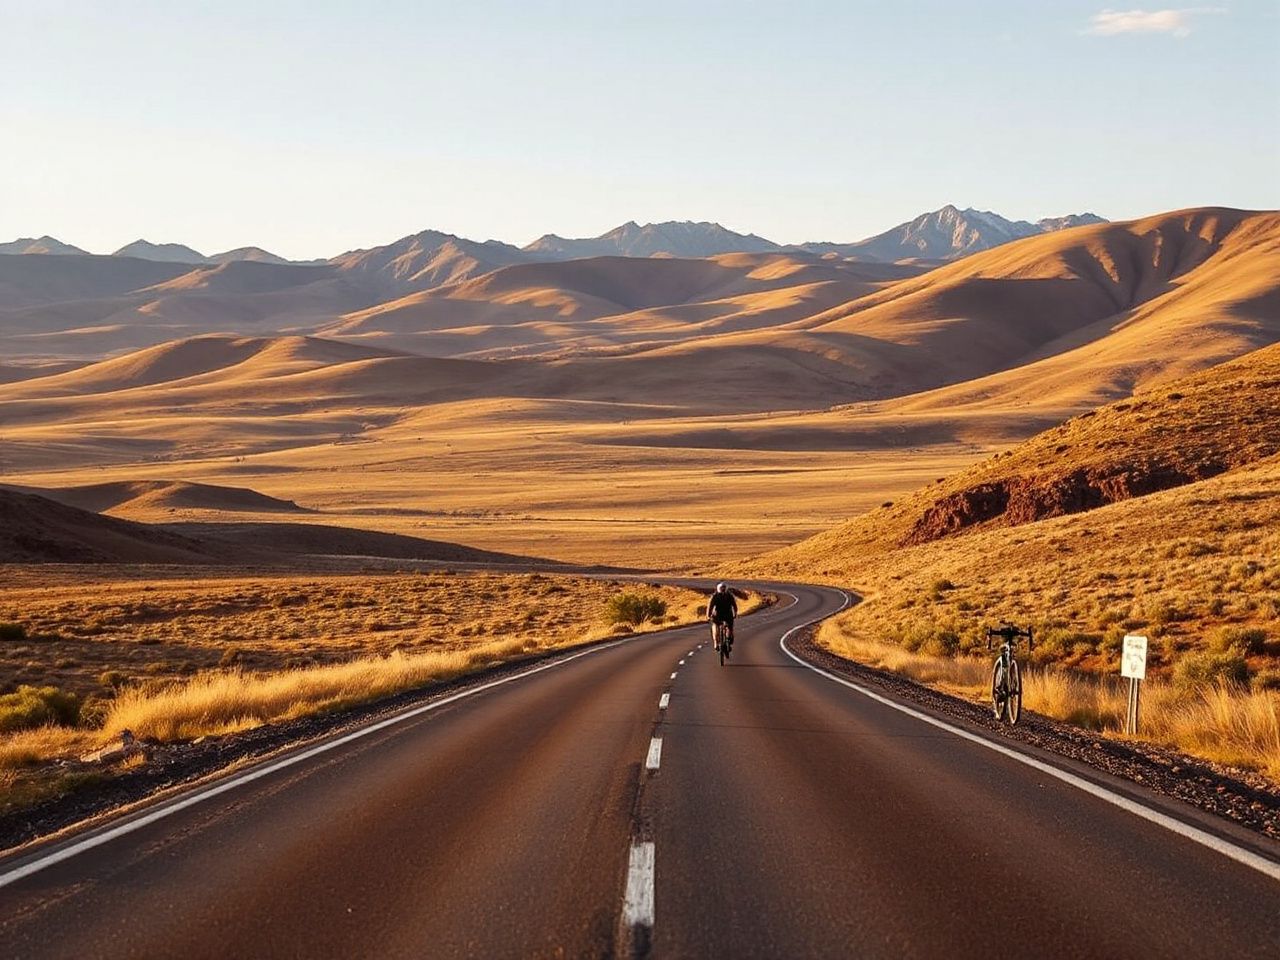
This section crosses the Great Plains. The map shows long, straight roads with few services. The wind is a major factor here. The map doesn’t show prevailing wind direction, but you can check historical wind data online. Expect headwinds from the south in the summer. The map also shows the route through Yellowstone National Park, which requires a permit and has specific camping restrictions.
Pueblo, Colorado to the East Coast
This section crosses the Great Plains, the Mississippi River, the Appalachians, and ends in Yorktown, Virginia. The map shows a mix of rural roads and small towns. The Appalachians have steep, short climbs. The map’s elevation profile is essential here. In the East, the route follows the TransAmerica Trail through Kentucky and Virginia, which includes some of the oldest and most scenic roads in the country.
Frequently Asked Questions
Do I need to buy all 12 TransAmerica maps?
Only if you’re riding the entire route. The ACA sells individual maps for each section. If you’re riding a specific segment, buy only the maps for that segment. Each map costs around $15. You can also buy the complete set as a digital download for about $100. The digital version includes GPX files, which are invaluable for GPS navigation.
Can I use Google Maps instead of the TransAmerica map?
Google Maps is not designed for bicycle touring. It prioritizes car routes, which often include highways with no shoulders or high traffic volumes. The TransAmerica map routes you on low-traffic roads and includes services relevant to cyclists. Google Maps also doesn’t show surface type or elevation profiles in enough detail. Use the TransAmerica map as your primary guide and Google Maps only for finding specific addresses.
How often are the TransAmerica maps updated?
The ACA updates the maps every 2 to 4 years. However, road conditions change faster than the print cycle. Always check the ACA’s route updates page before you leave. They list temporary detours, road closures, and changes to services. If you’re using a map that’s more than 3 years old, expect significant changes, especially in the West where wildfires and floods are common.
What should I do if I lose my map on the trail?
First, don’t panic. You can download the GPX files from the ACA’s website at any public library or bike shop. Most towns along the route have a bike shop that stocks the ACA maps. If you’re in a remote area, use a phone with offline maps to navigate to the nearest town. Once there, buy a replacement map or print a copy of the GPX track. For more on reading maps in the backcountry, check out The Complete Guide to Reading a Hiking Trail Map.